


https://gamebanana.com/tuts/18009 : How to Adjust Breast Size in SIFAS Modeling
https://gamebanana.com/tuts/18172 : How to Edit SIFAS Models(Without Blender)Part 1
For reference, I’m the type who’s fine as long as it works, so my methods are often not the most optimal.
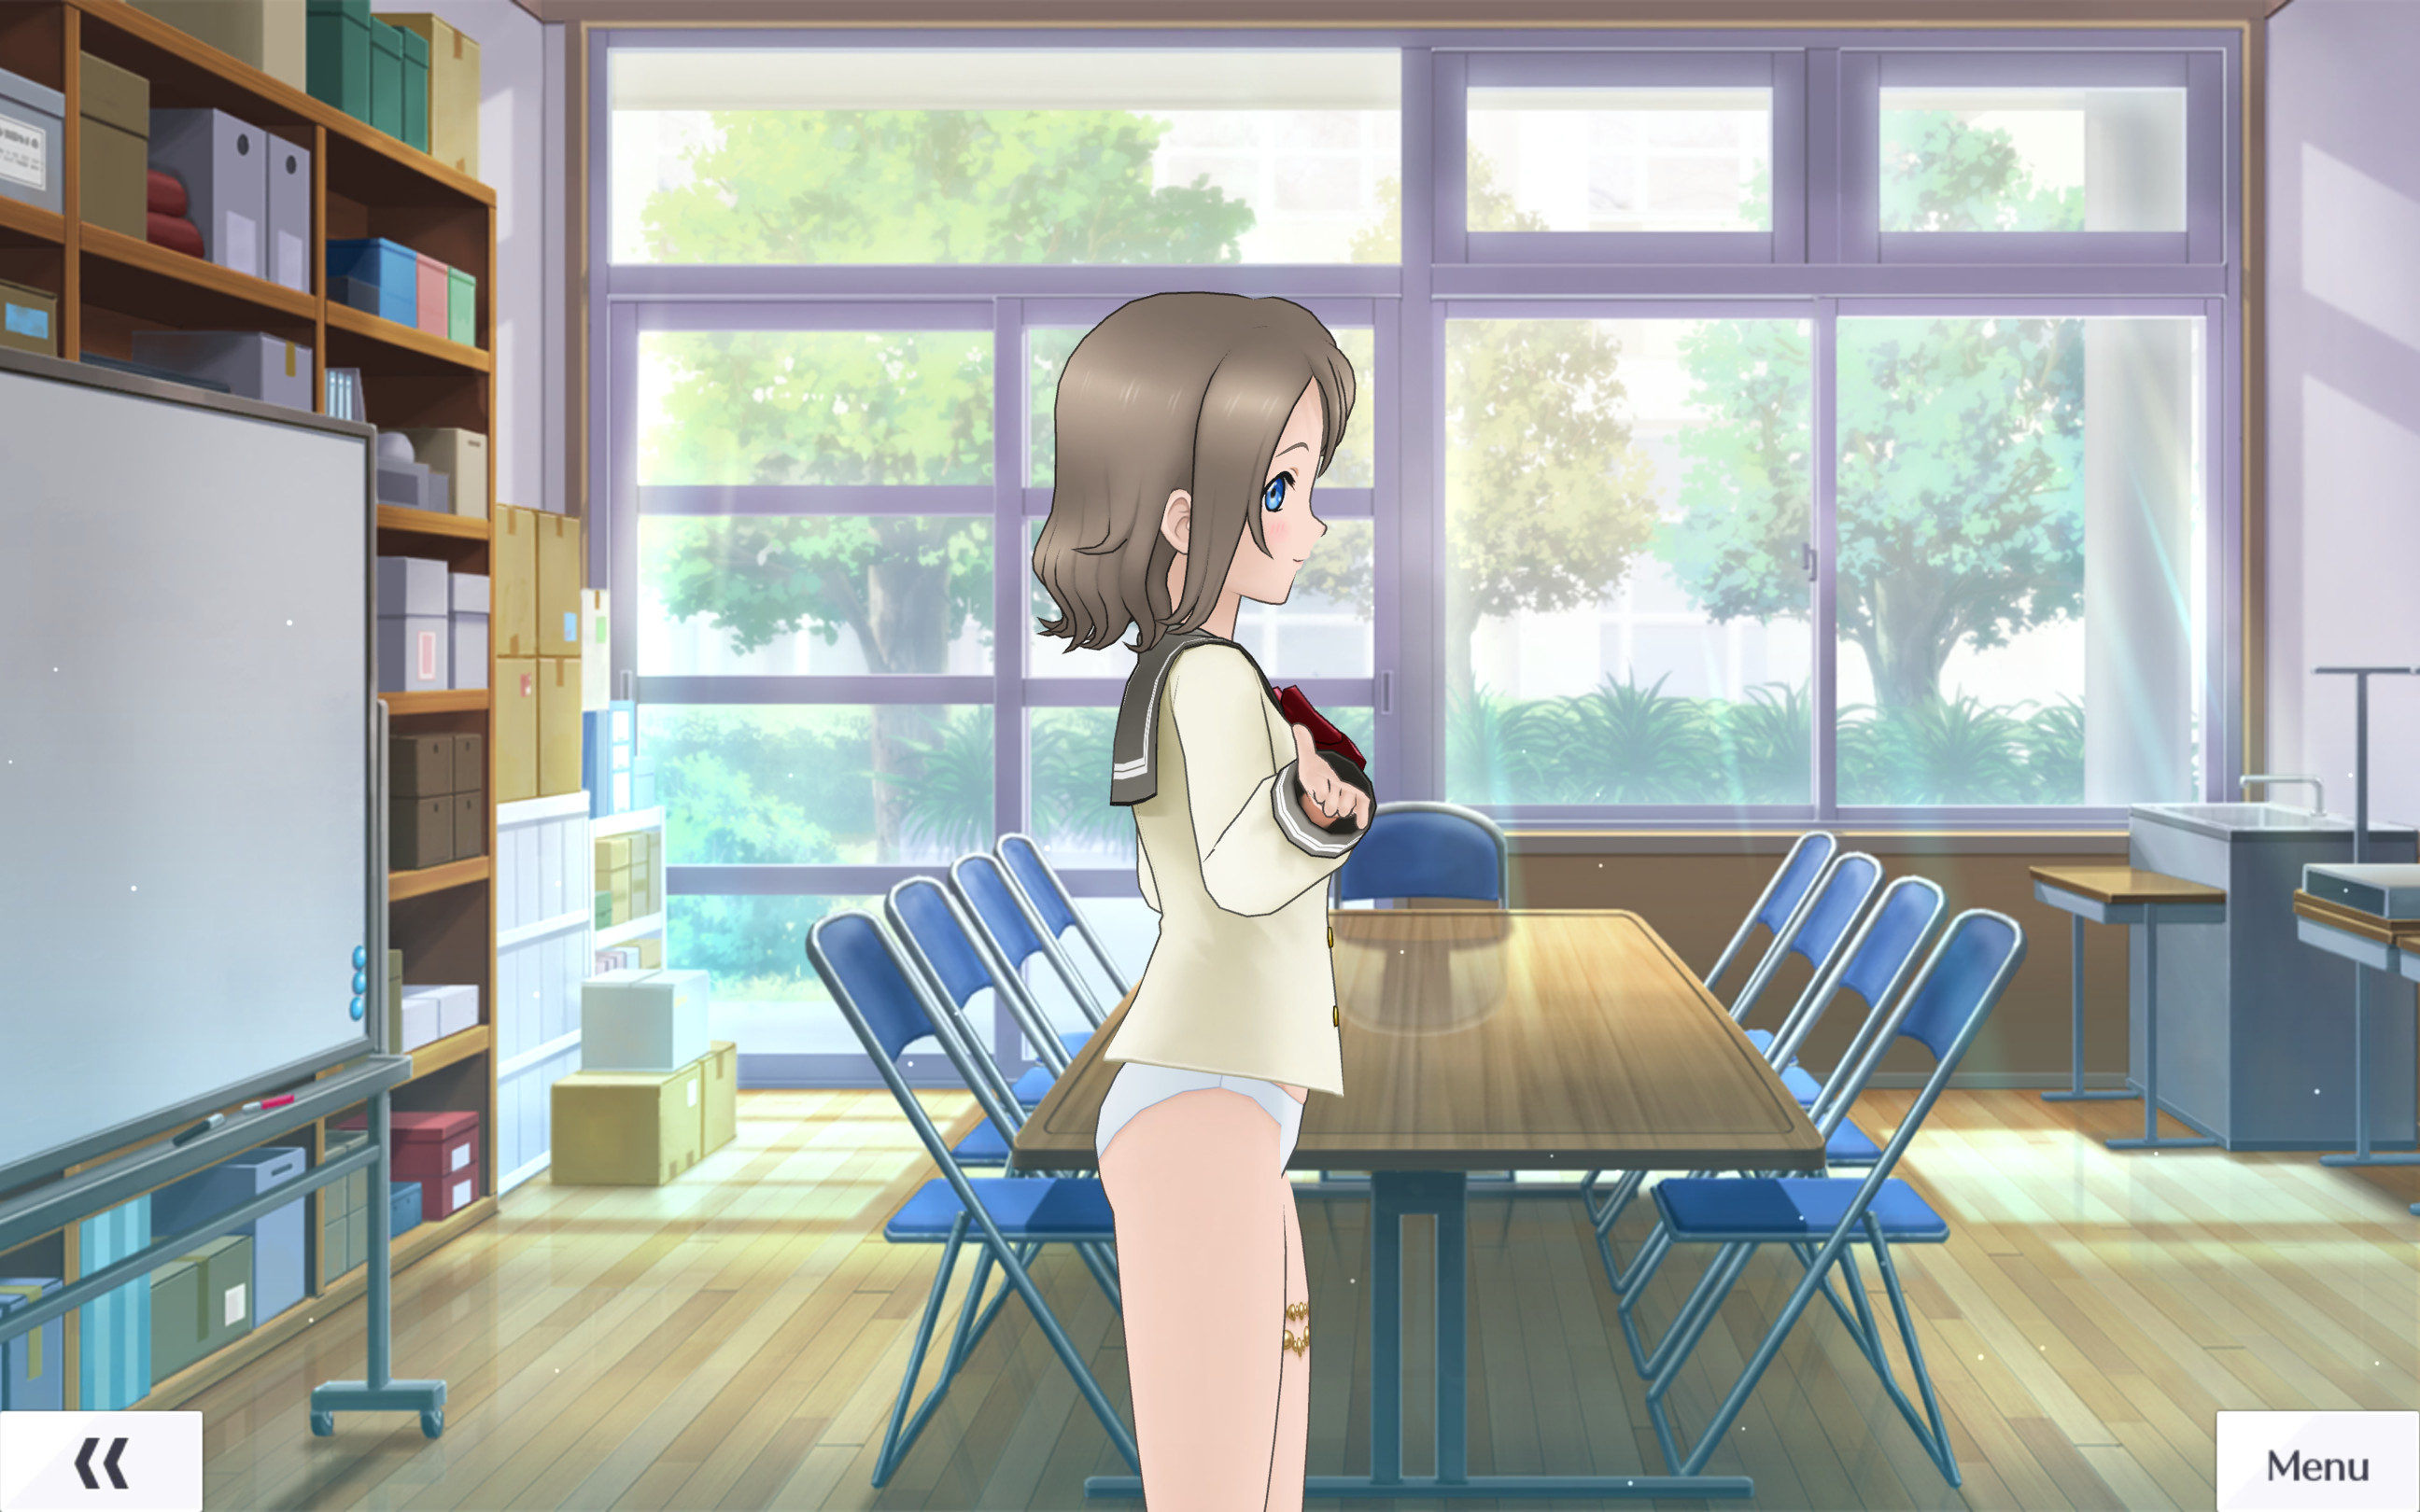
To start with the result of the edited modeling in this tutorial


the goal is to combine two meshes in this way.(Uranohoshi Uniform & Summer Splash 2021)
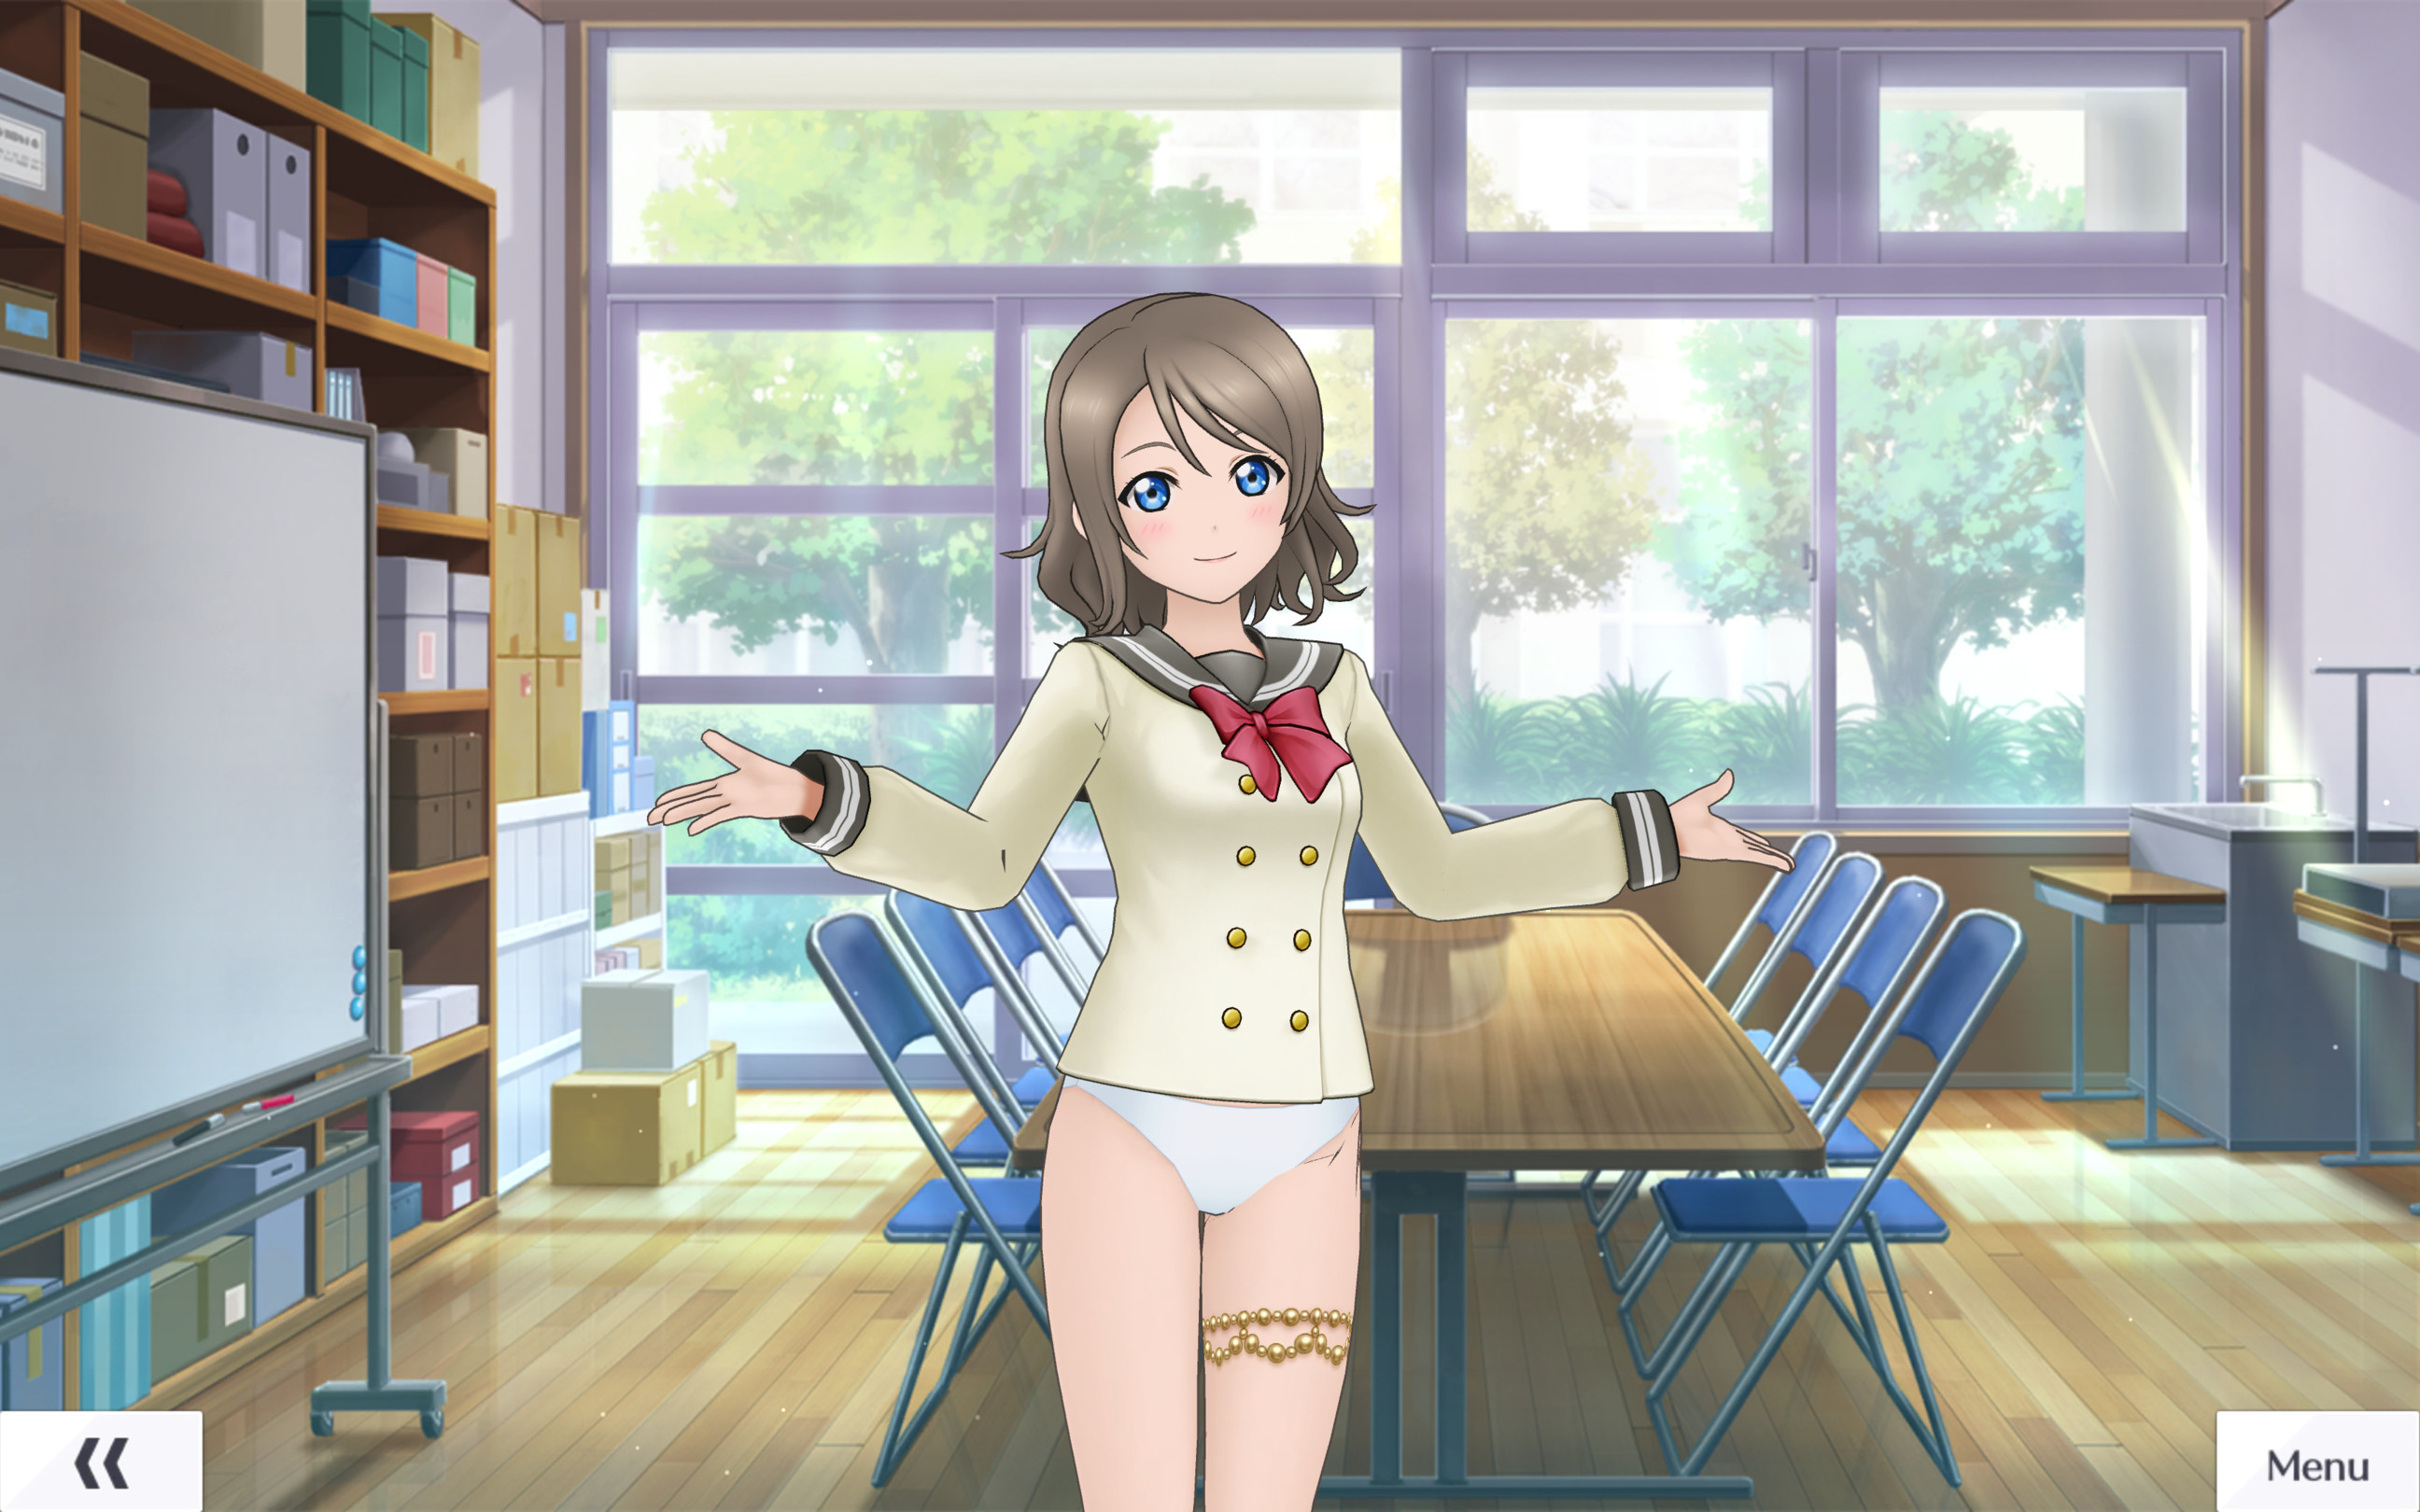
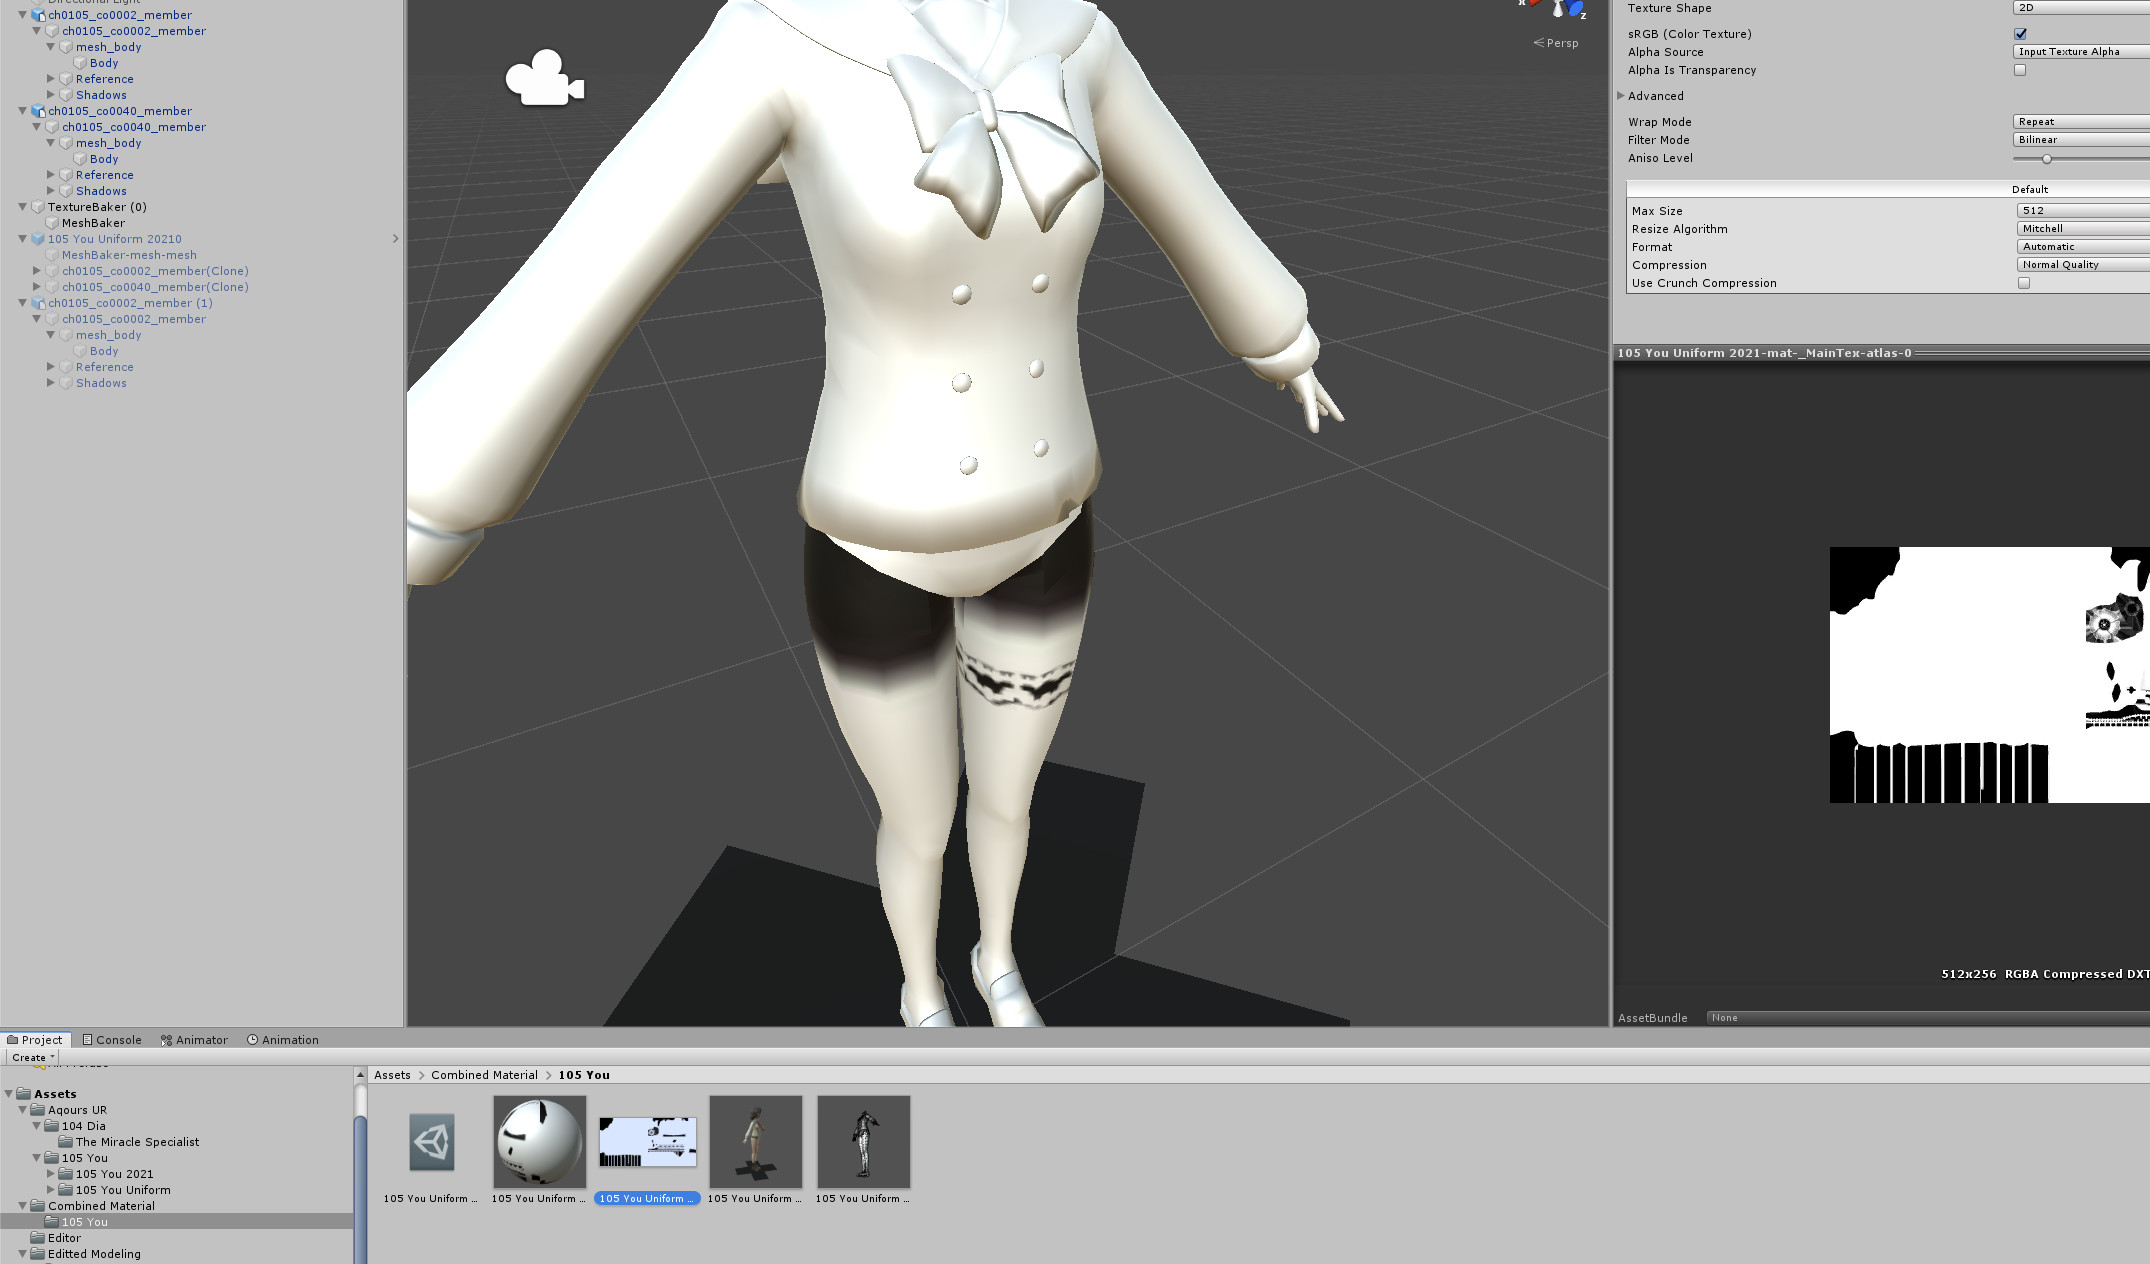
This is how it looks when you edit the texture a bit


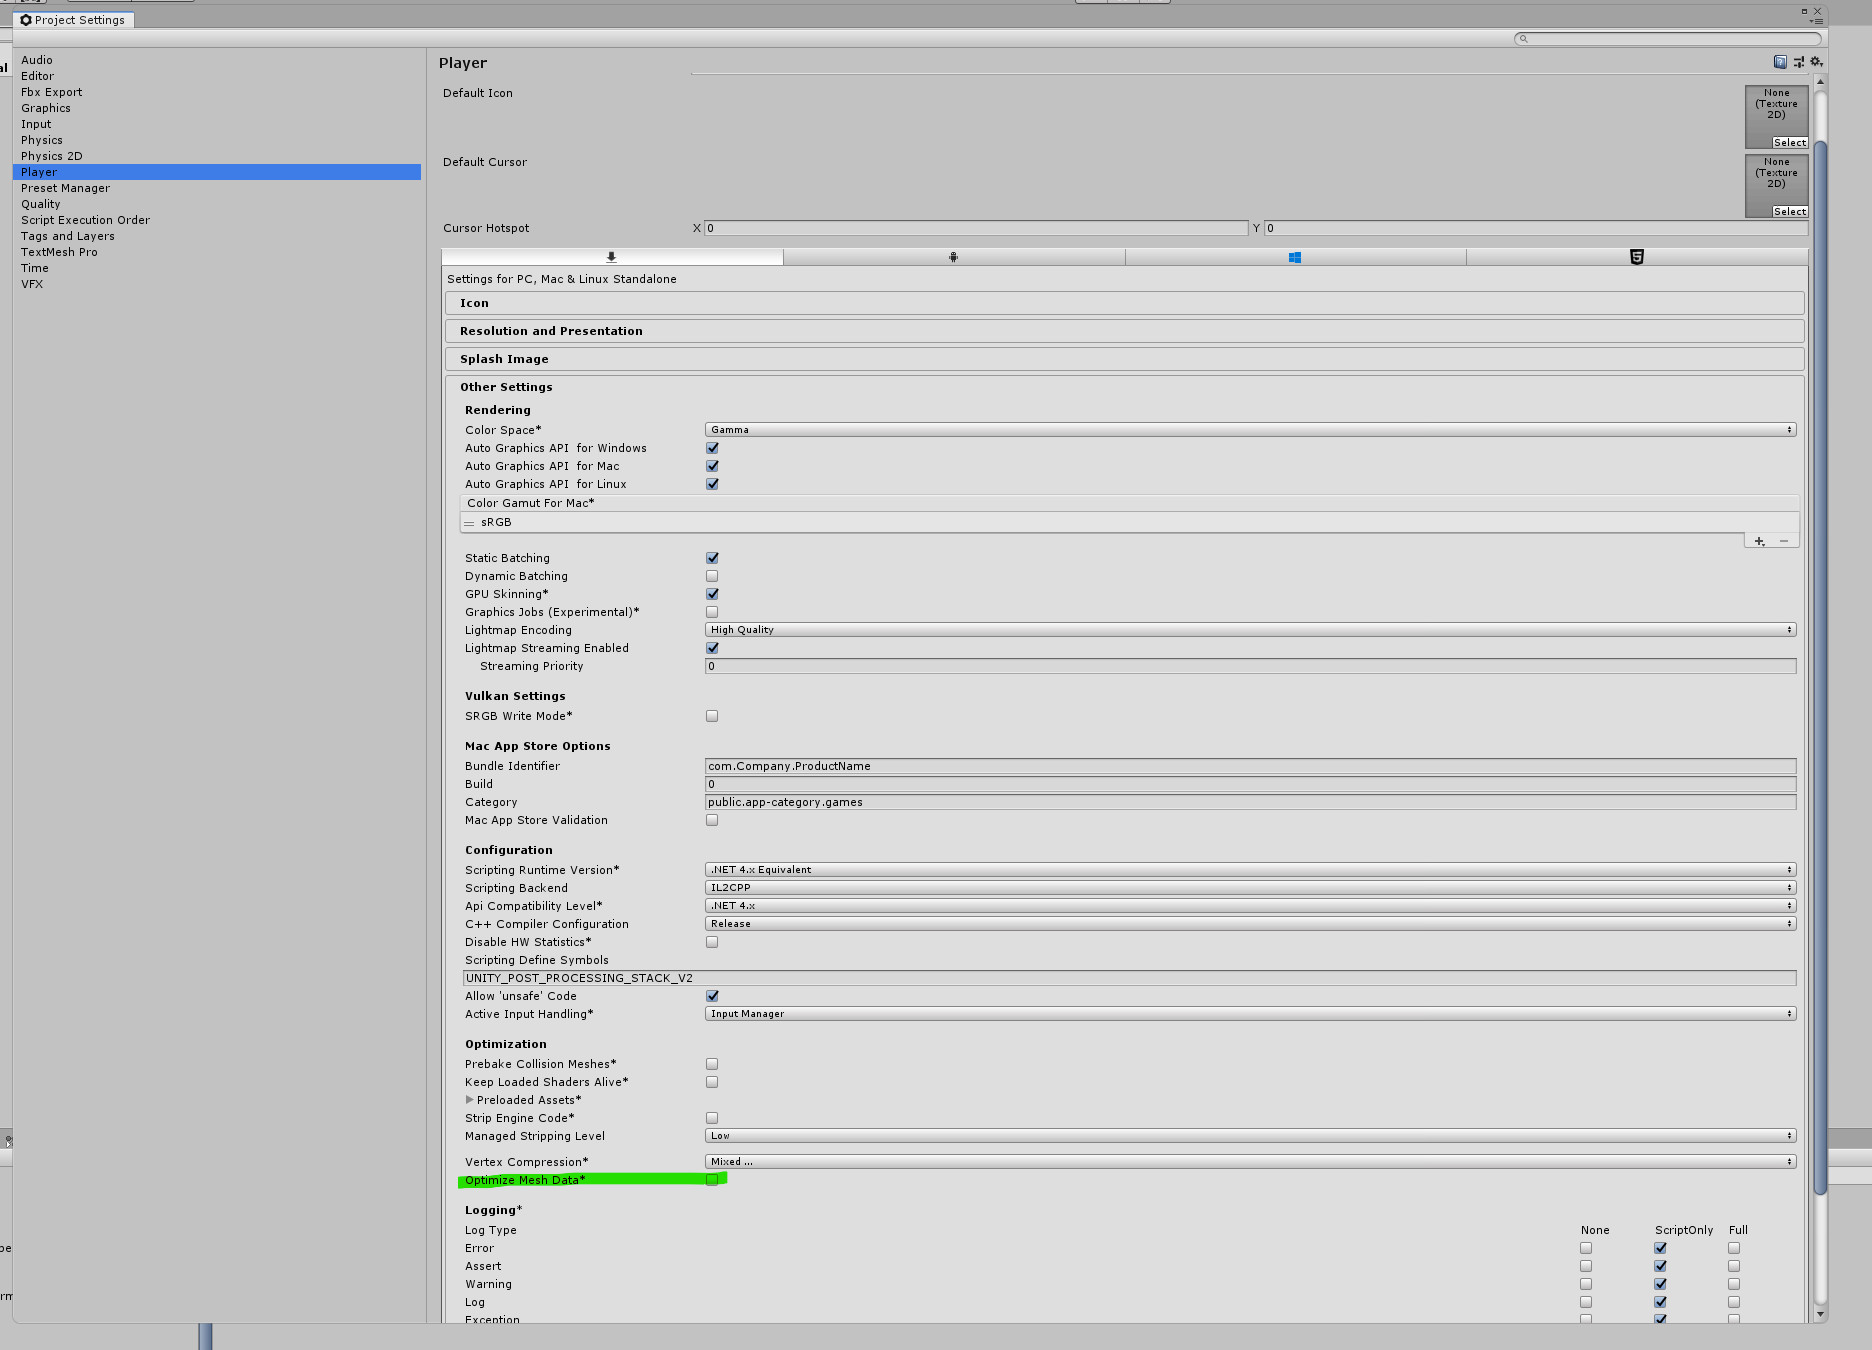
Before diving in, there's a setting you need to change in UNITY:
Go to Edit -> Project Settings -> Player -> Other Settings -> Uncheck 'Optimize Mesh Data'.


If you don't uncheck it,

strange lines, like the ones above the thigh in the screenshot, will appear.
0. Prerequisites
- Tools used in Part 1
- The asset bundle to be edited
- Mesh Baker
- Modified version of Skinned_Mesh_Generation.cs or Skinned_Mesh_Renderer.cs
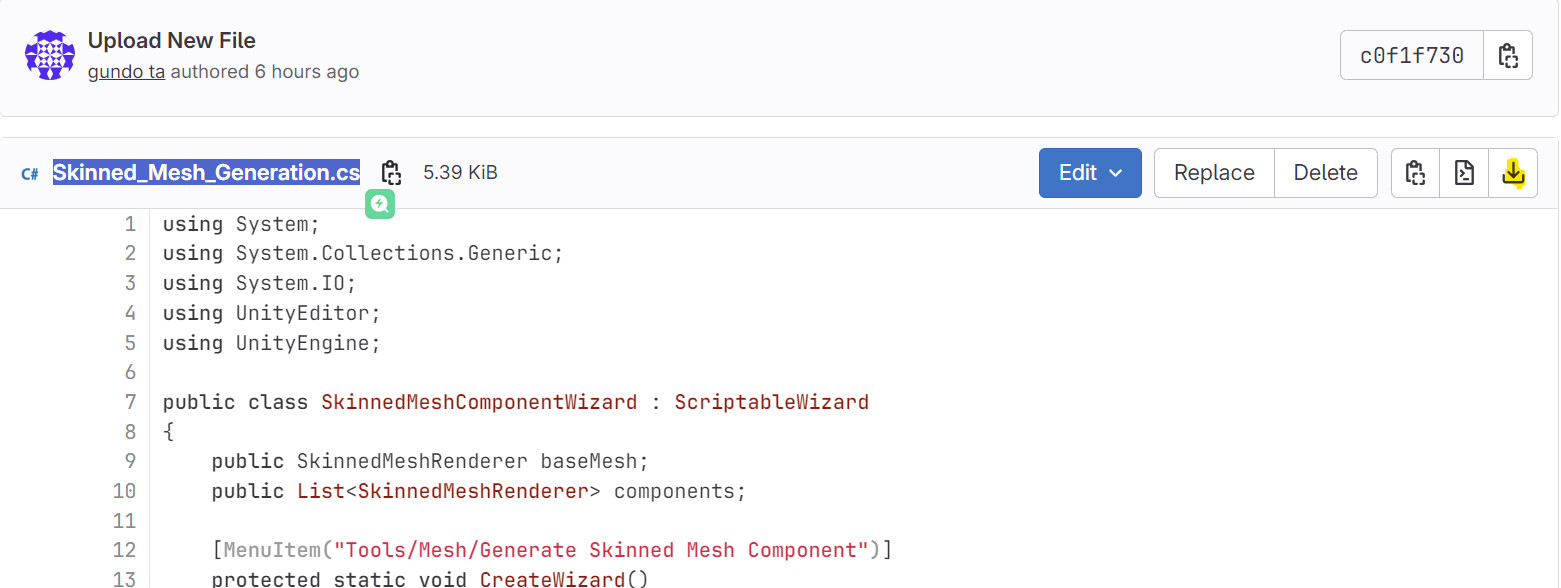
- Link to my modified version of Skinned_Mesh_Generation.cs(Original creator: tatara_hisoka)
- https://gitlab.com/tagundo/sifas-turorial-prerequisites/-/blob/main/Skinned_Mesh_Generation.cs?ref_type=heads
- Link to Skinned_Mesh_Renderer.cs (I encountered some errors, which turned Yoh into a Dullahan, but this should be the more up-to-date version of the tool. And he also has other useful tools.)
- https://gitlab.com/tatara_hisoka/nissan/-/tree/main?ref_type=heads
0.1 Skinned_Mesh_Generation.cs download

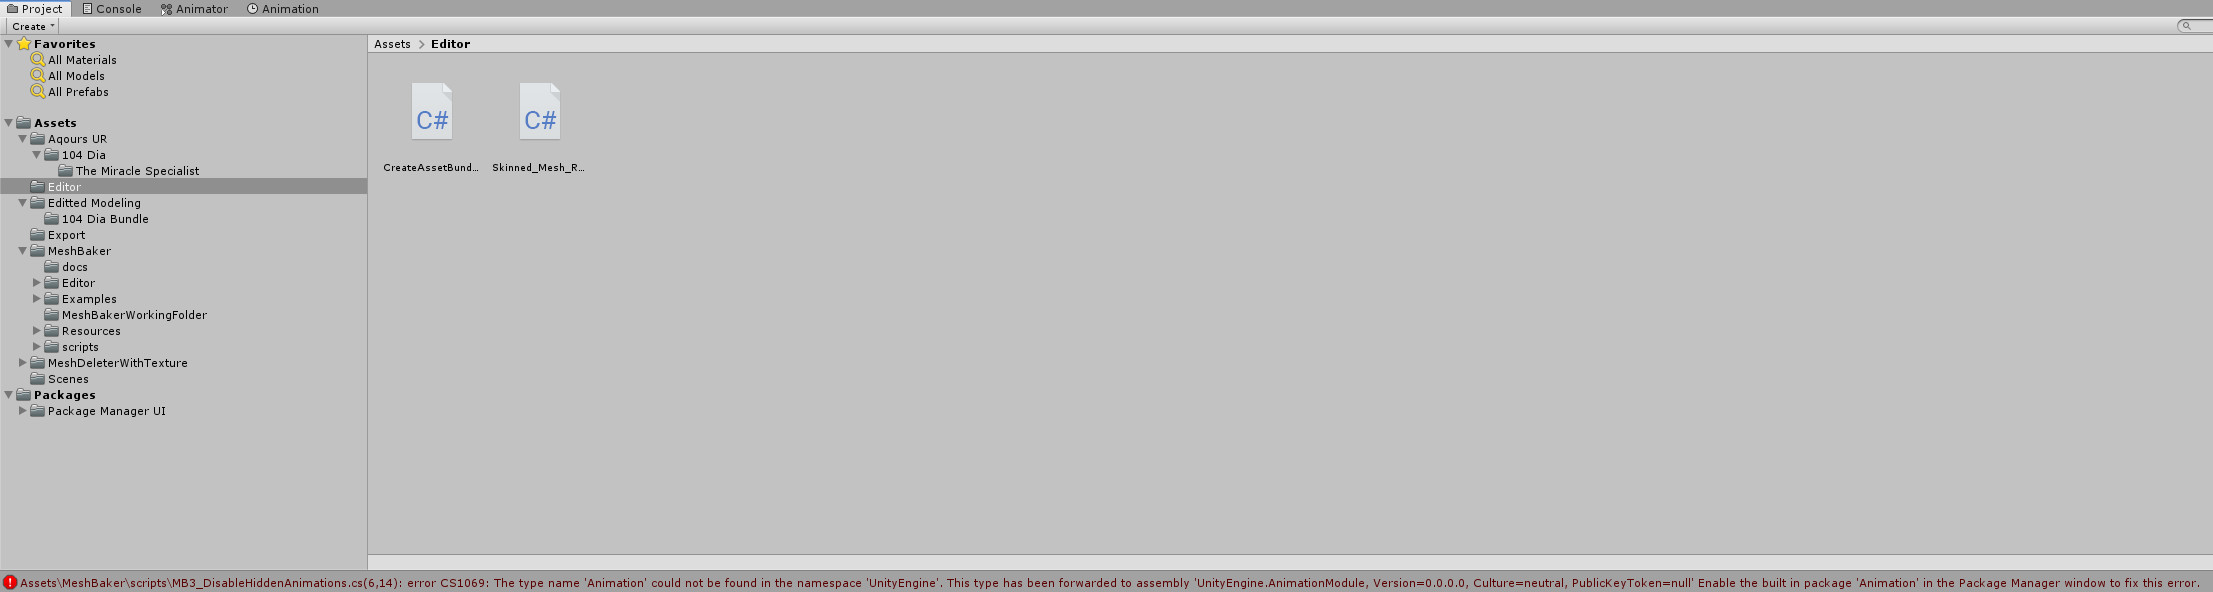
After downloading, place it in Unity's Editor folder. Additionally, create an 'Export' folder inside the Assets folder—we'll use it later.
0.2 Mesh Baker Free Install

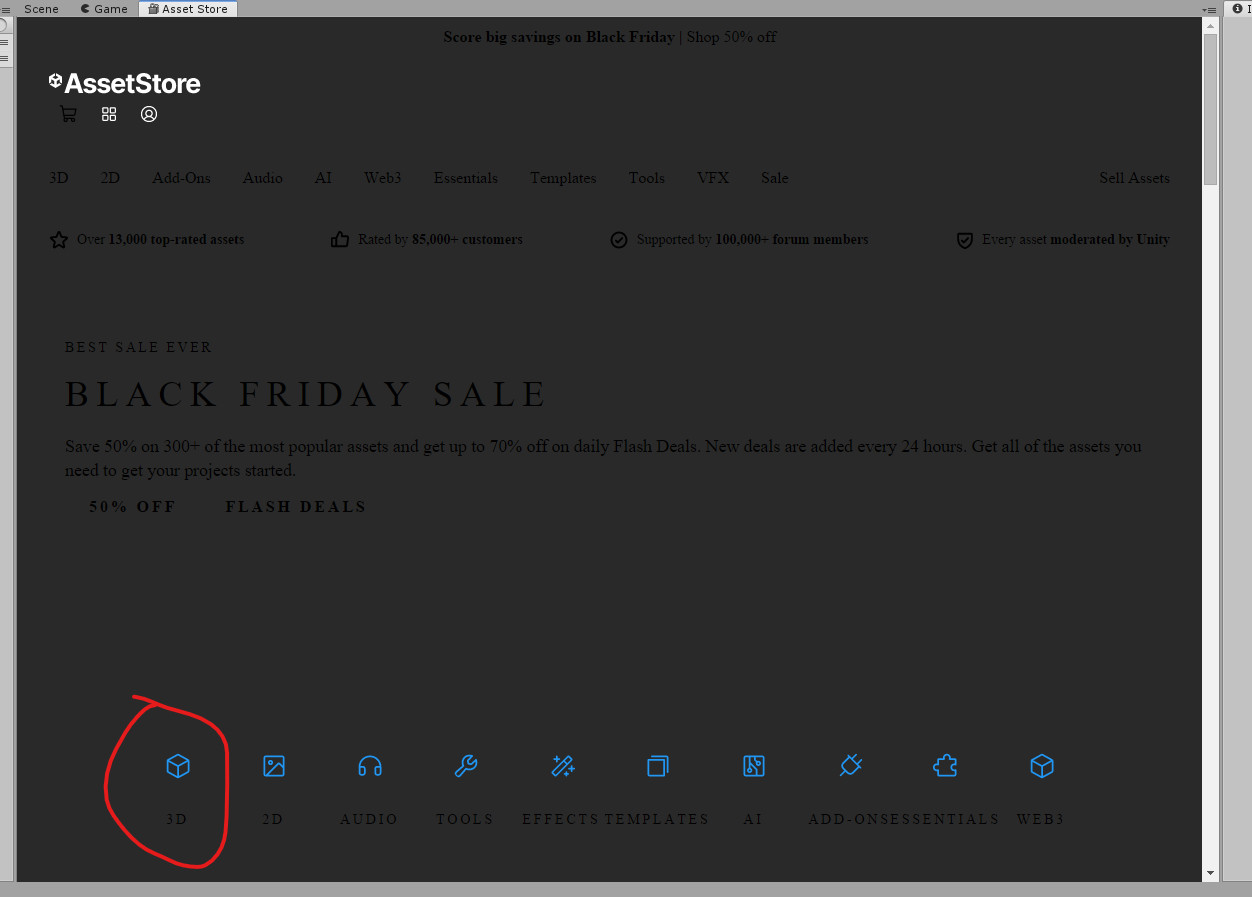
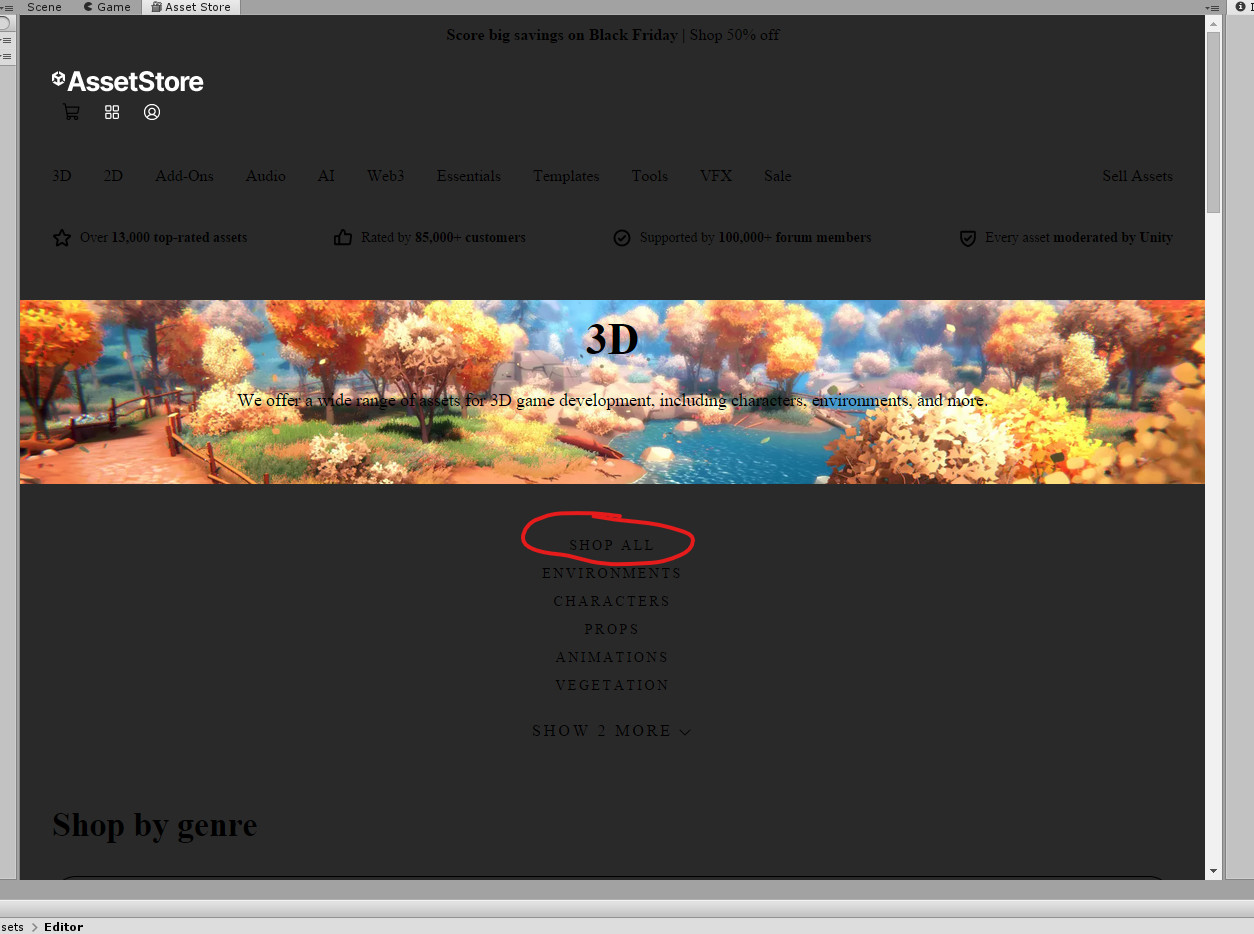
Window -> Asset Store


Click the red circle.

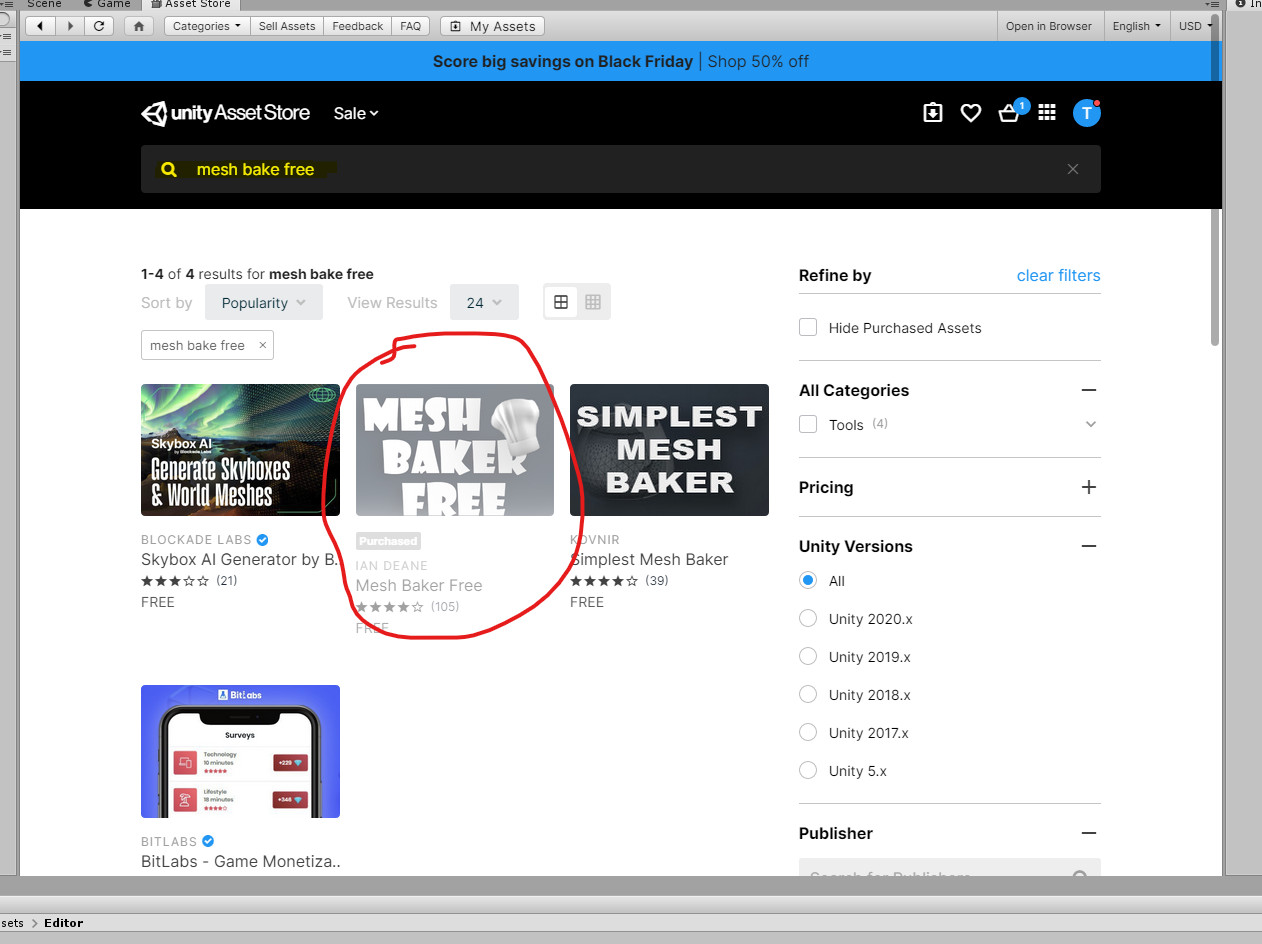
Search for 'Mesh Baker Free' in the search bar.
Click the red circle to download and import.

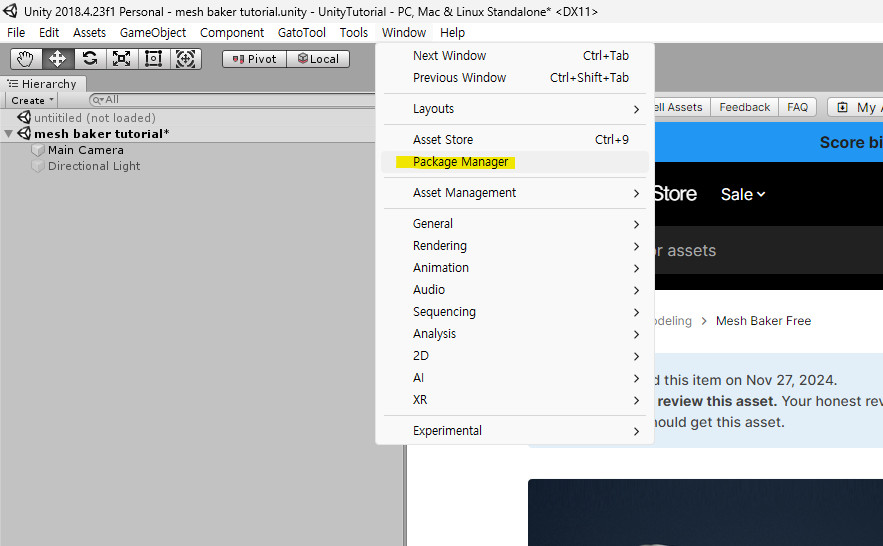
In cases, you might encounter this error. If that happens, then
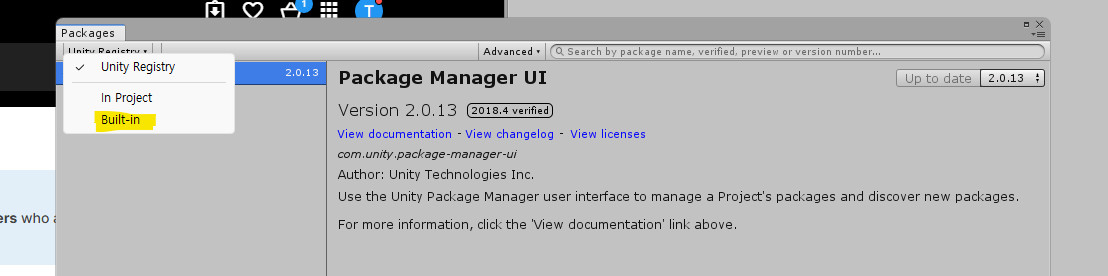
 Window -> Package Manager
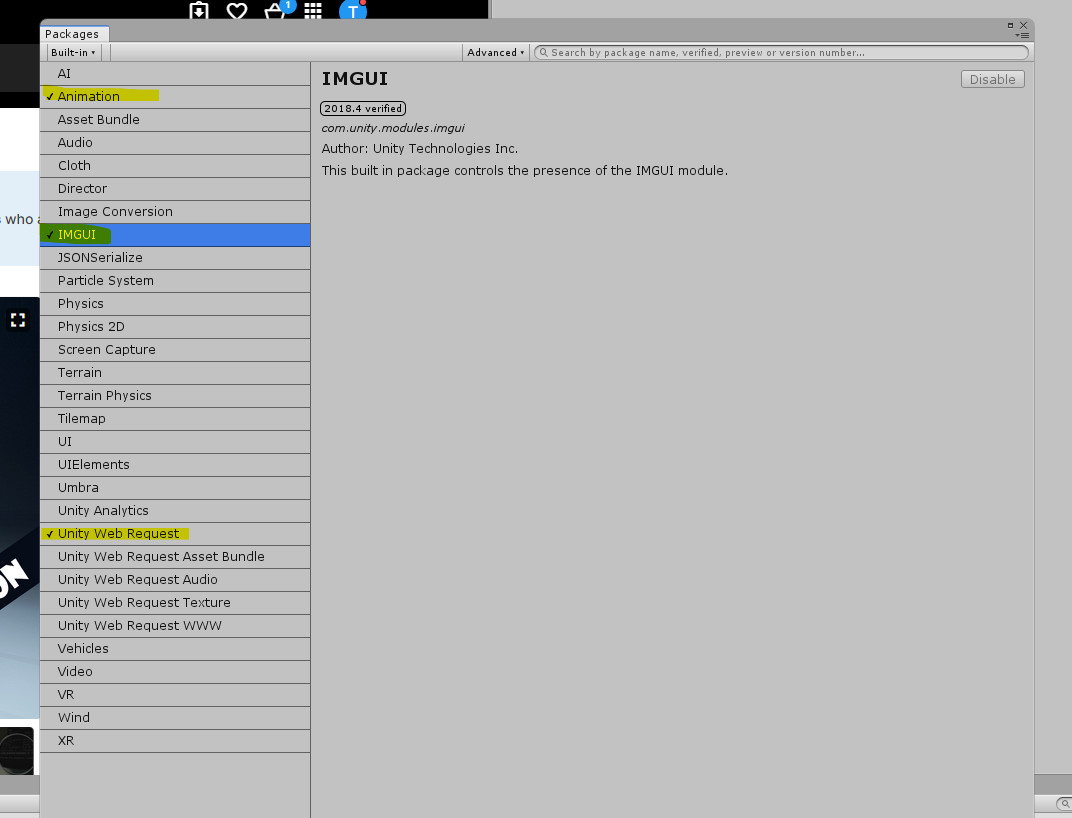
Unity Registry -> Built-in

Click on the highlighted ones and press the 'Able' button in the top right corner.
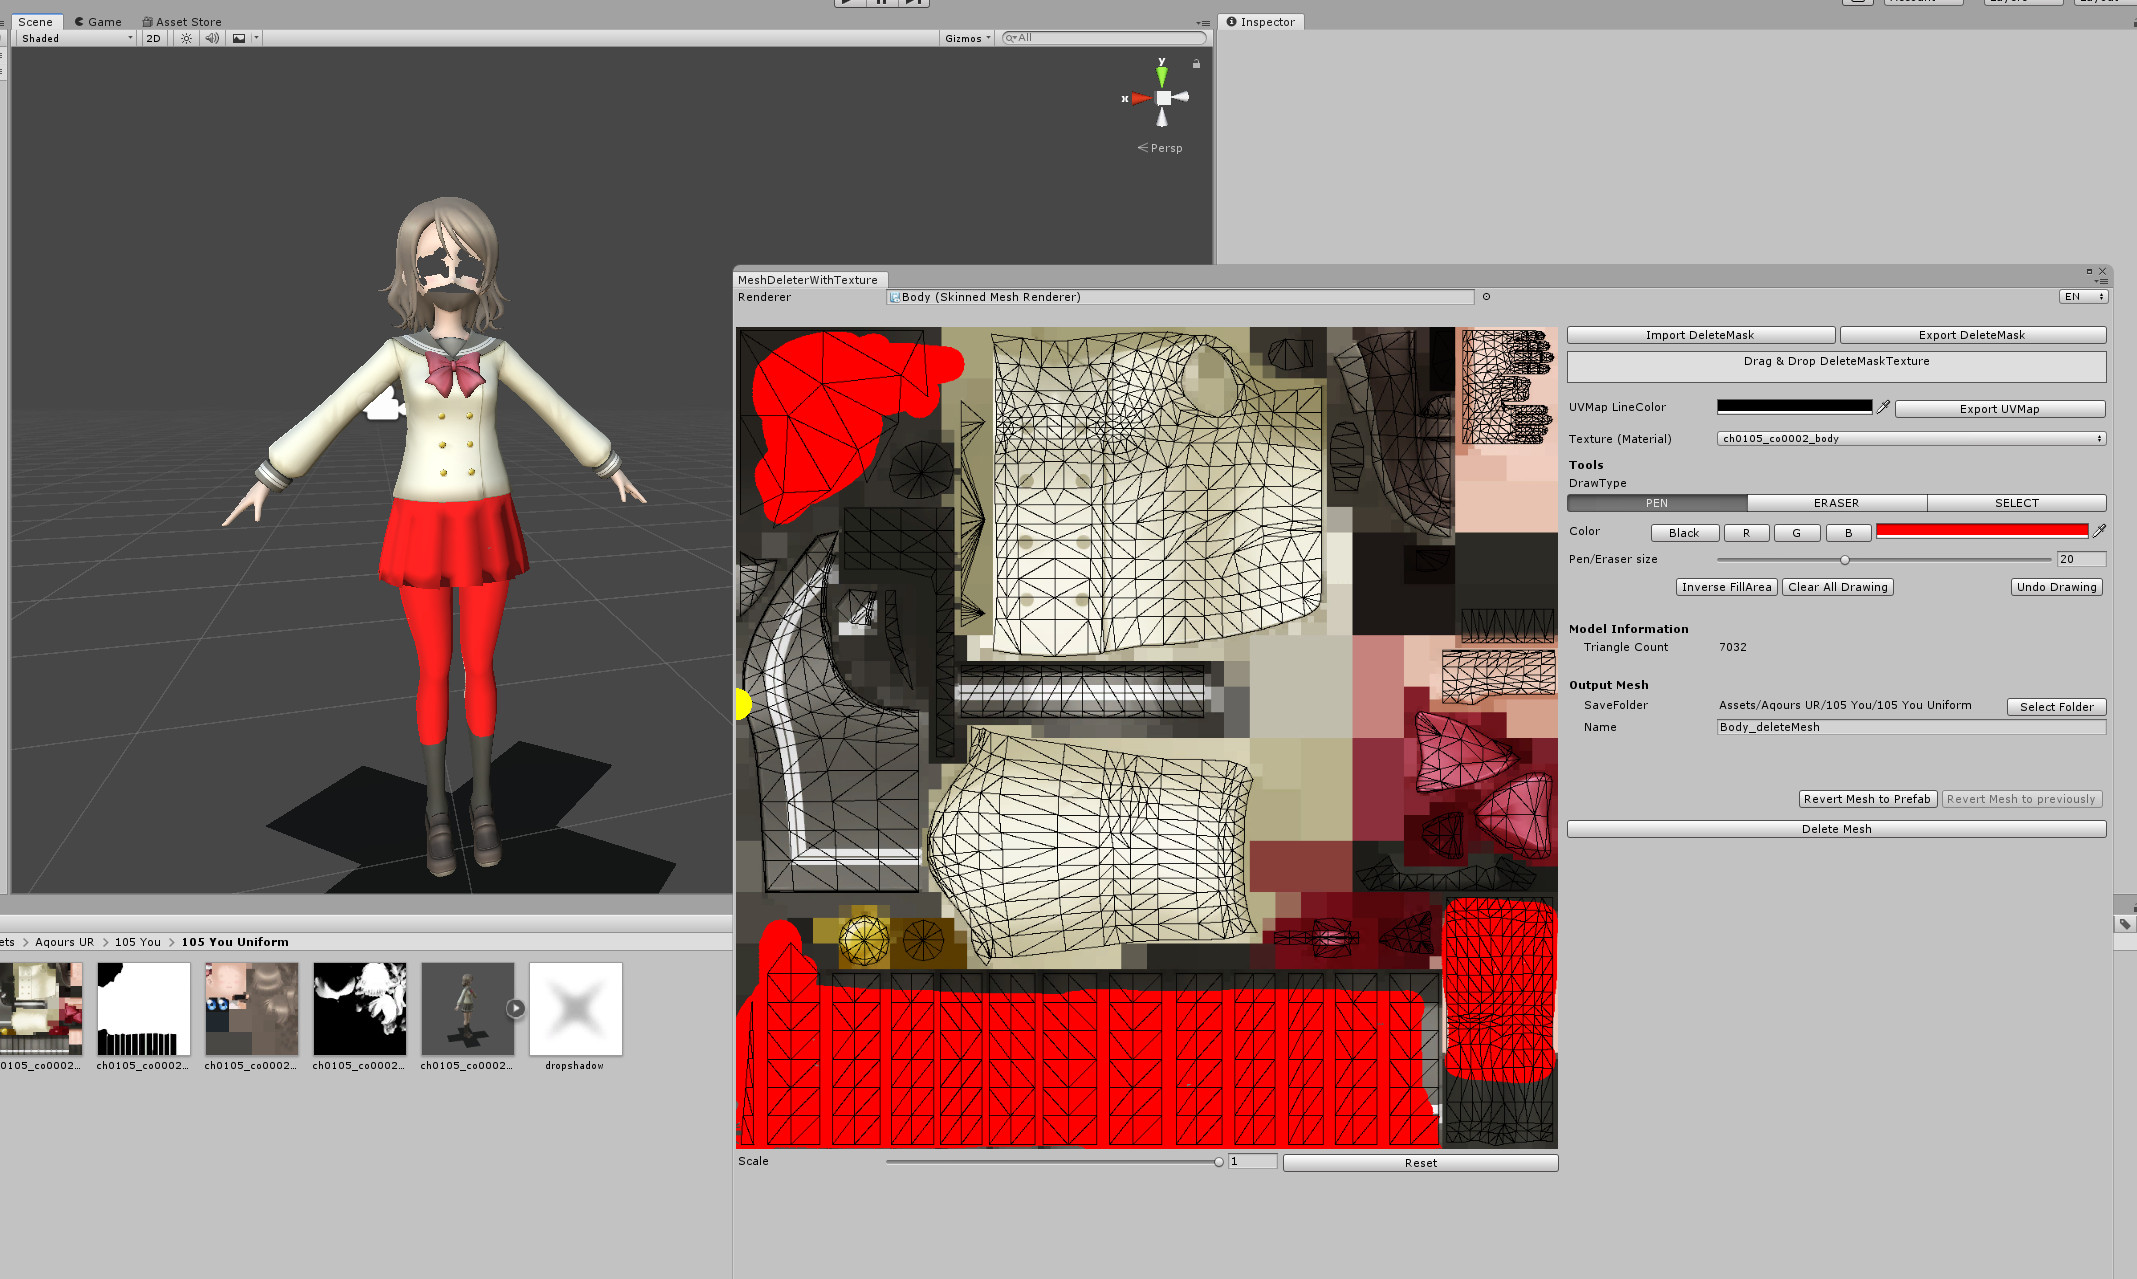
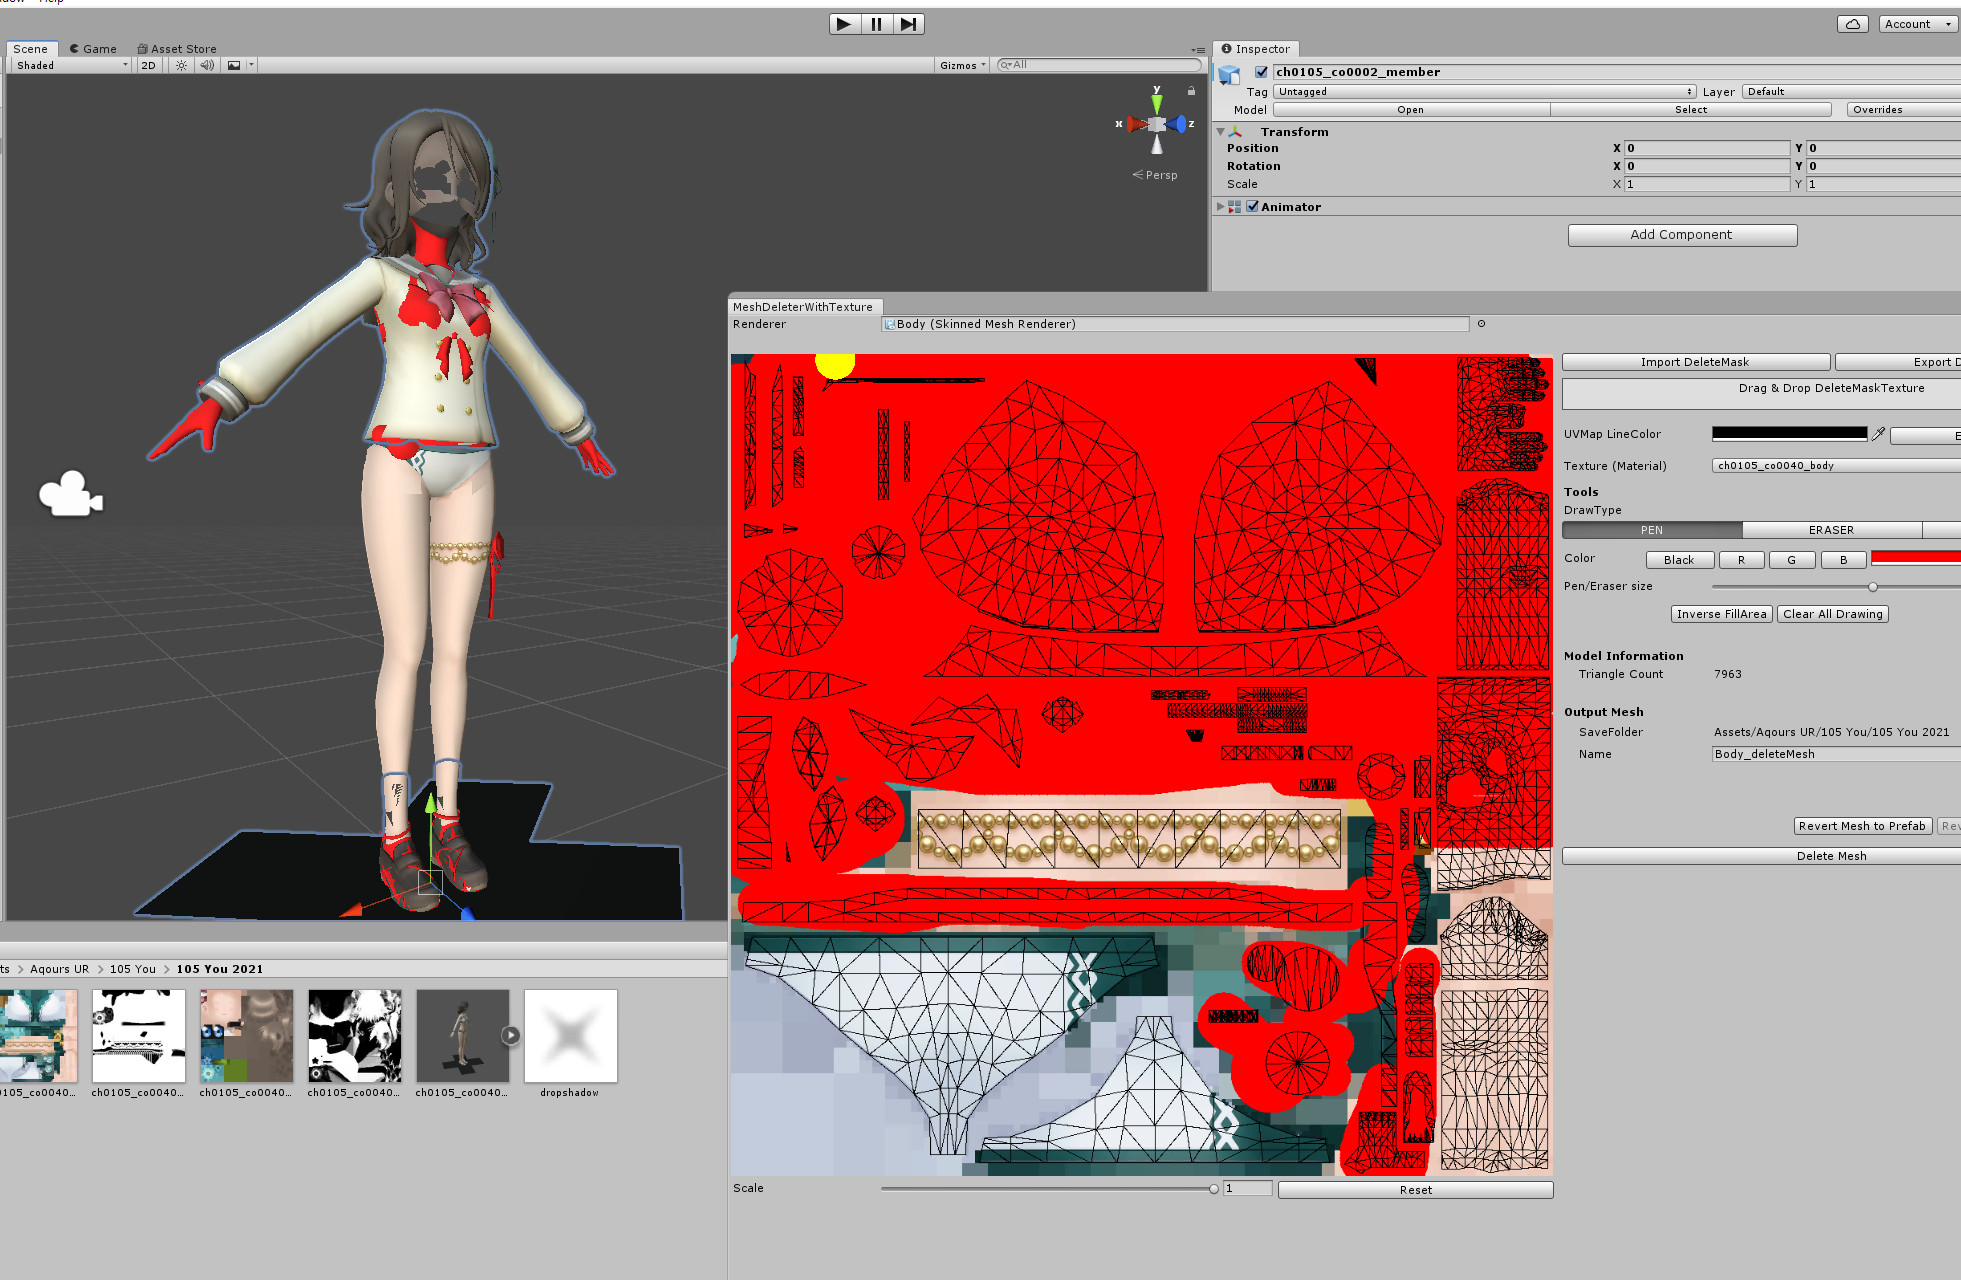
1. Import the meshes to be combined into Unity and delete any unnecessary parts, except for the required ones (see Part 1).


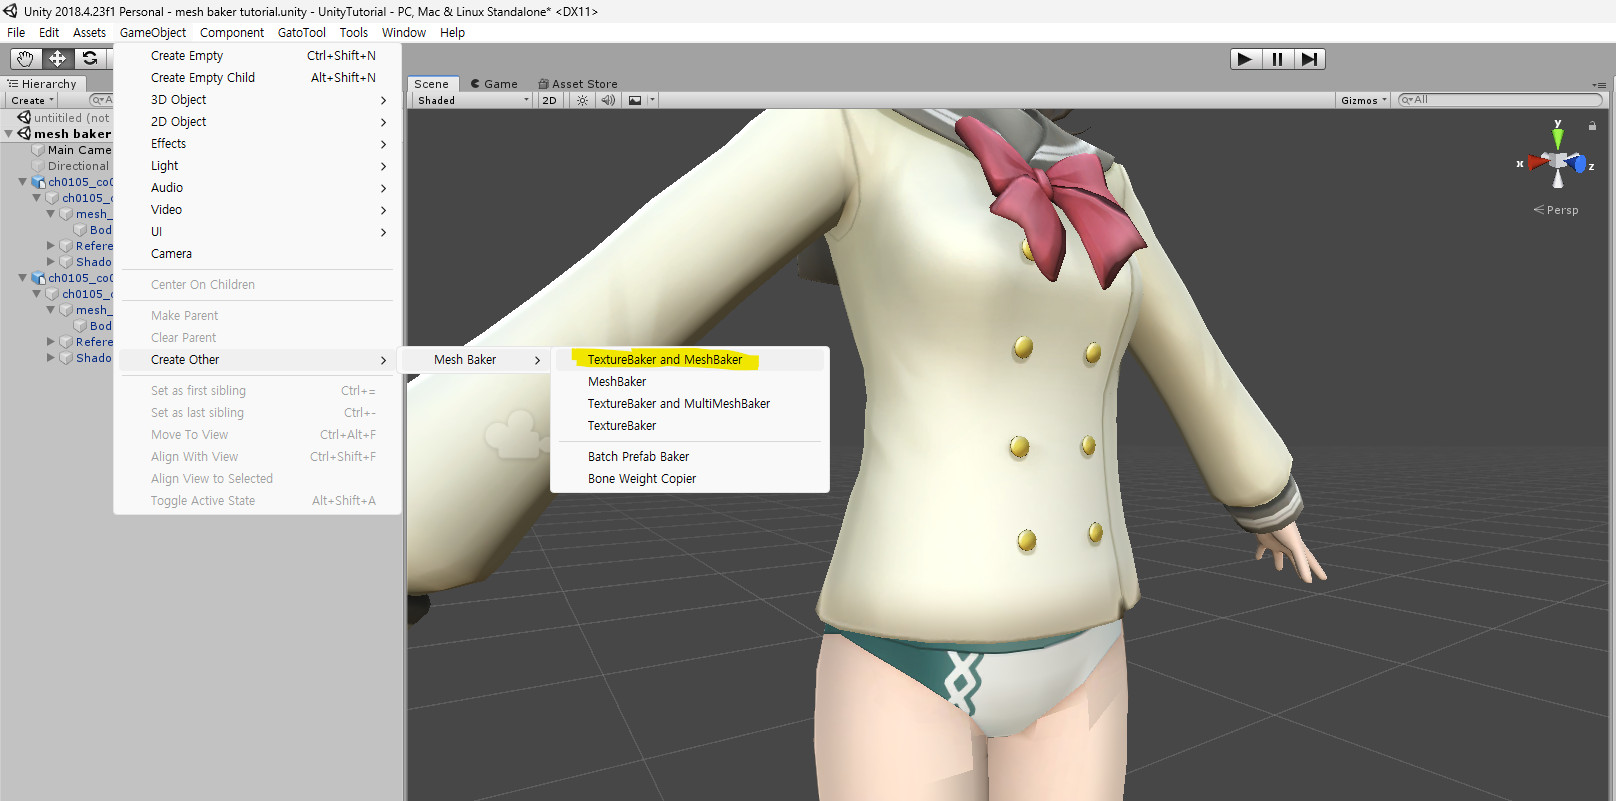
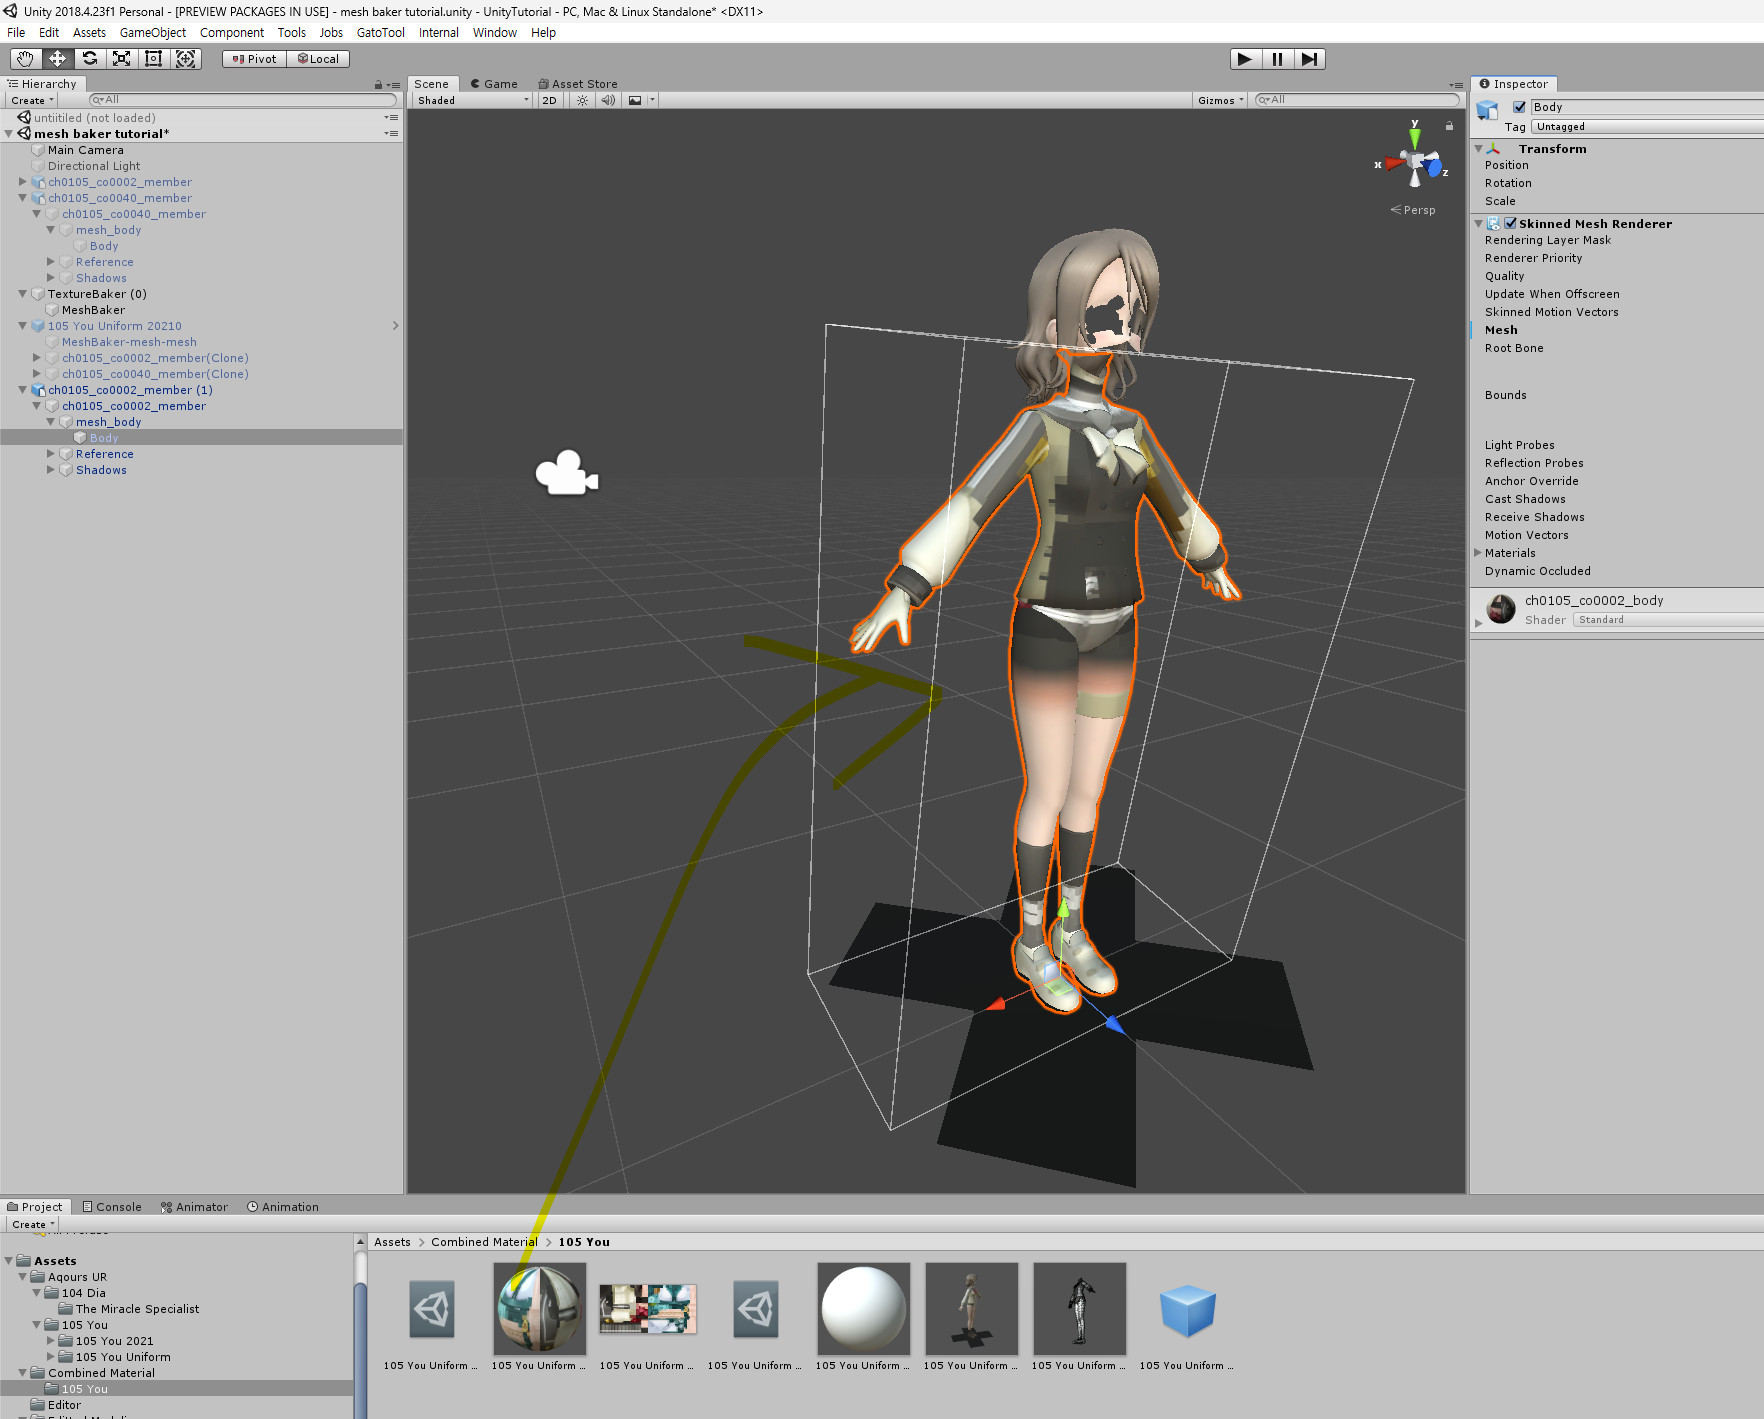
2. Combine the meshes using Mesh Baker.

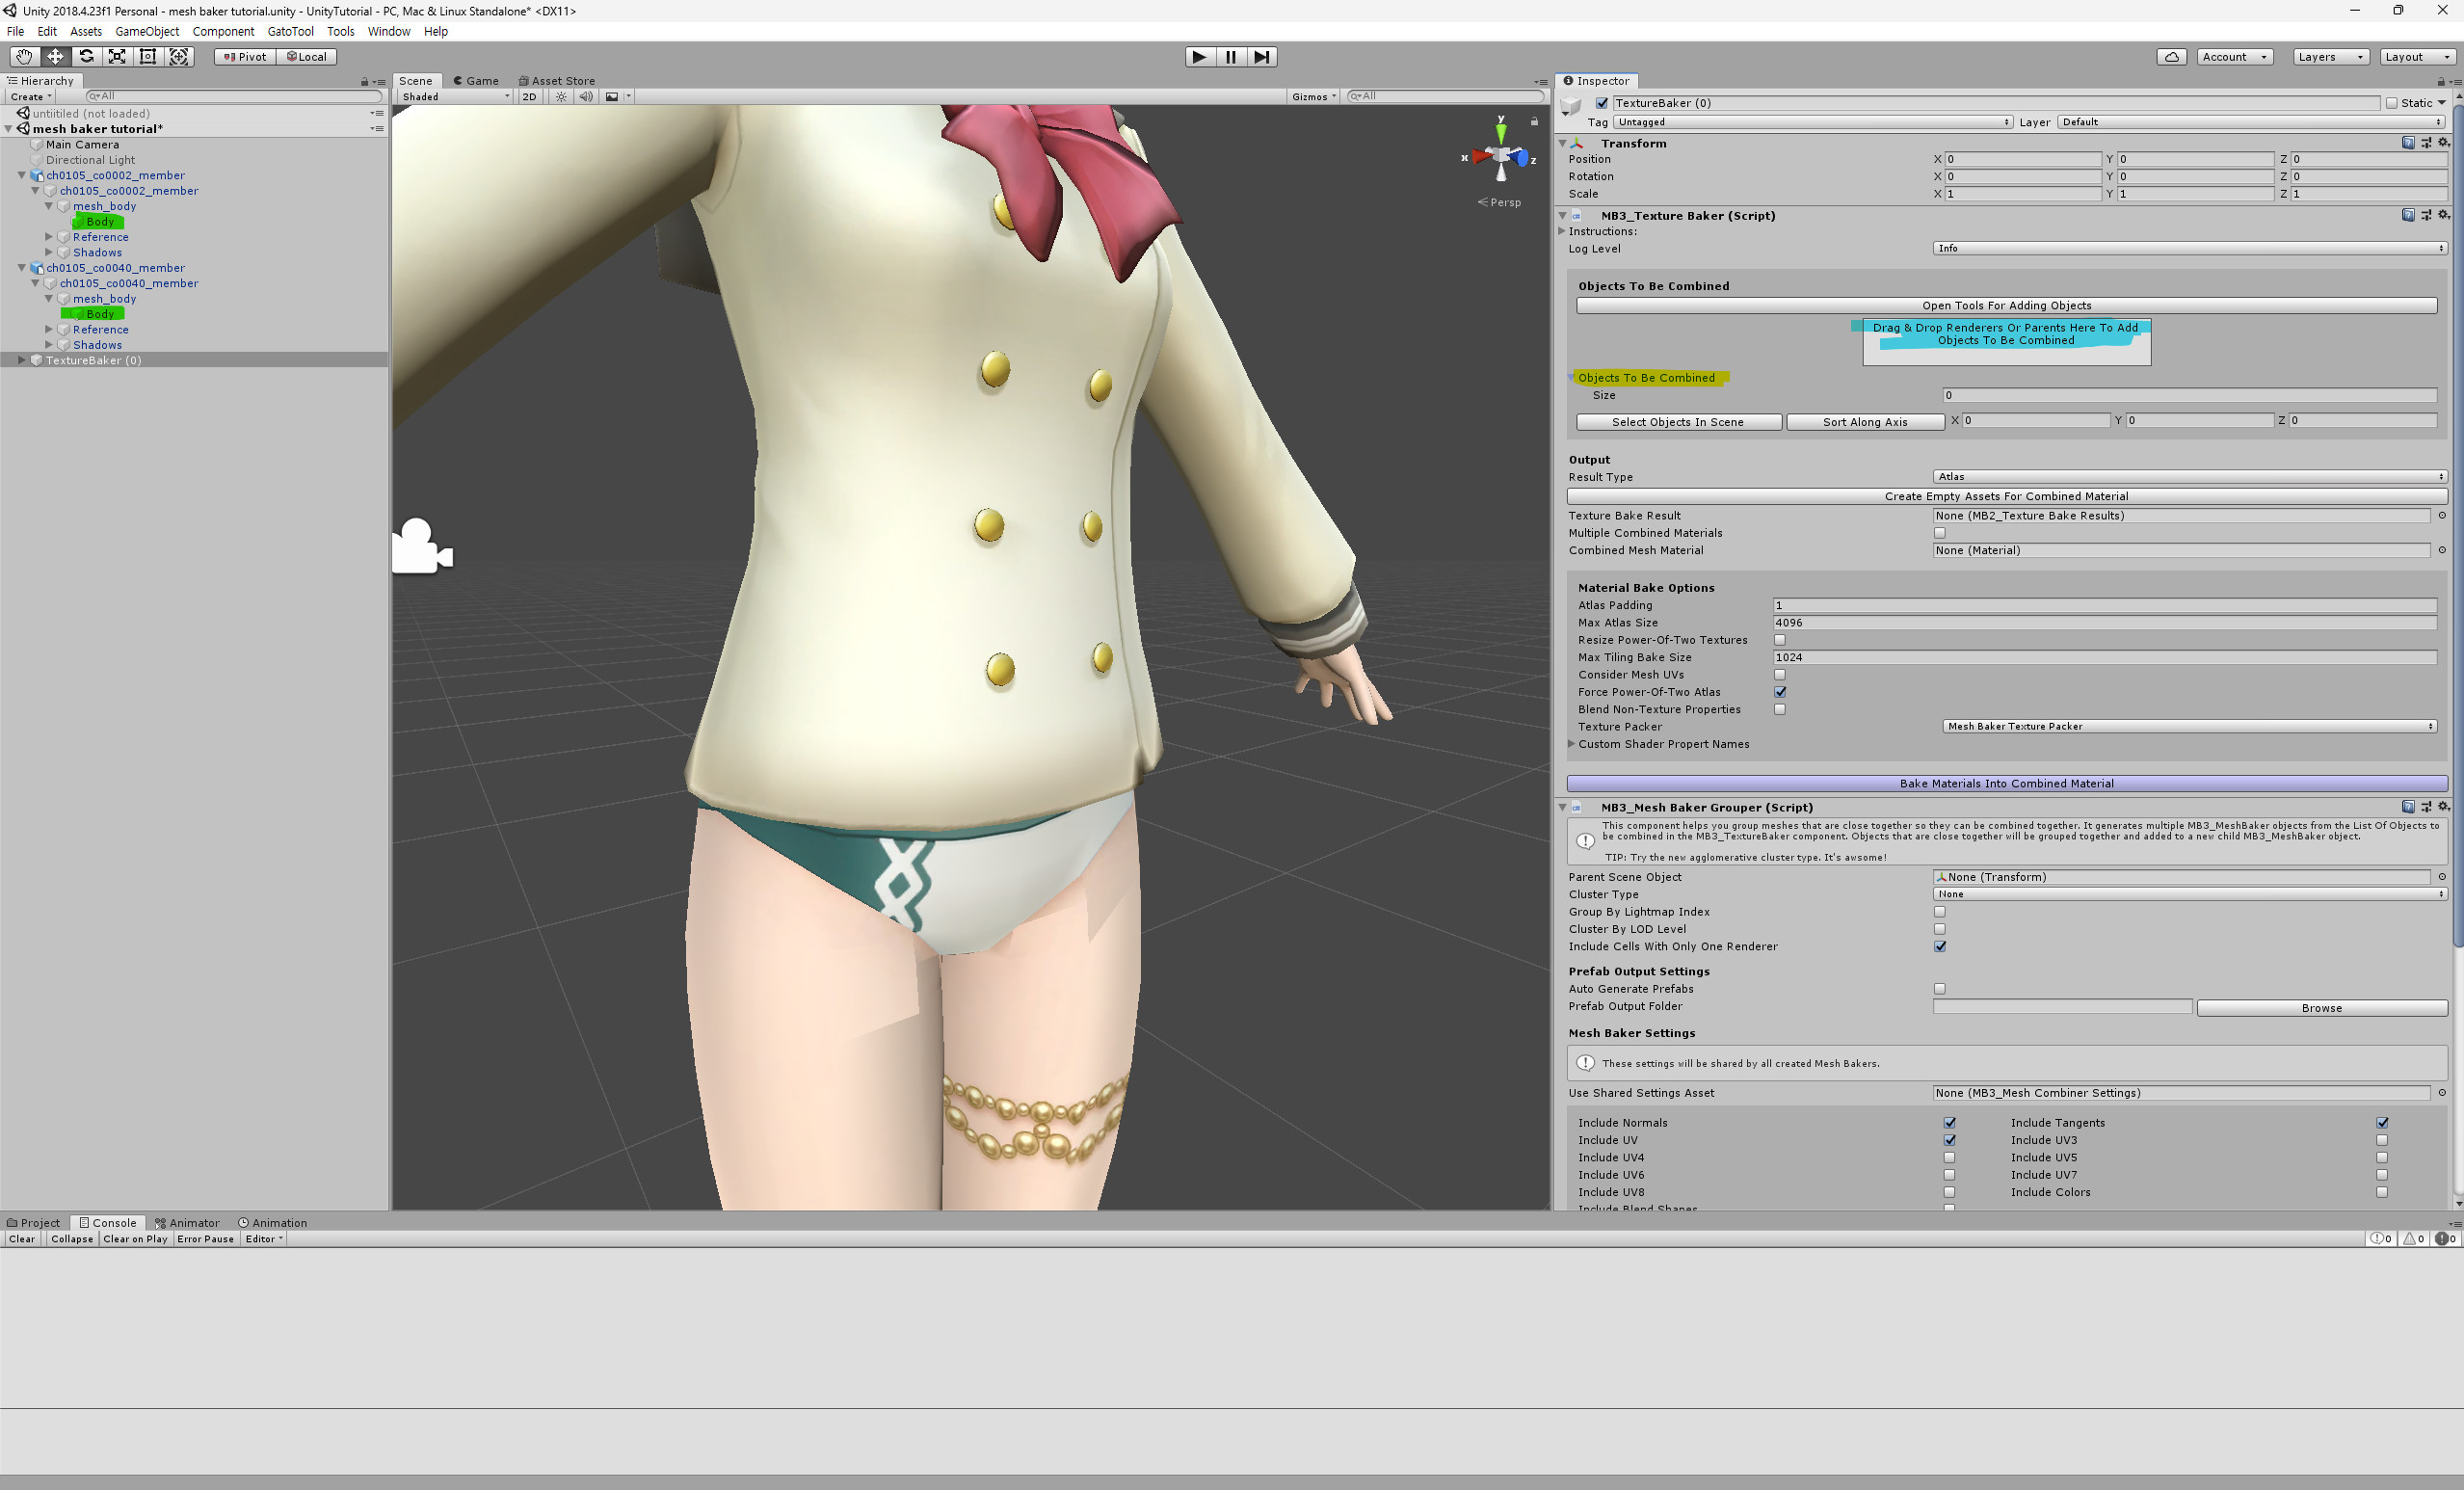
GameObject -> Create Other -> Mesh Baker -> TextureBaker and MeshBaker
 Drag the green-highlighted parts (body) to the blue-highlighted parts.
Click the 'Create Empty Assets For Combined Material' button.
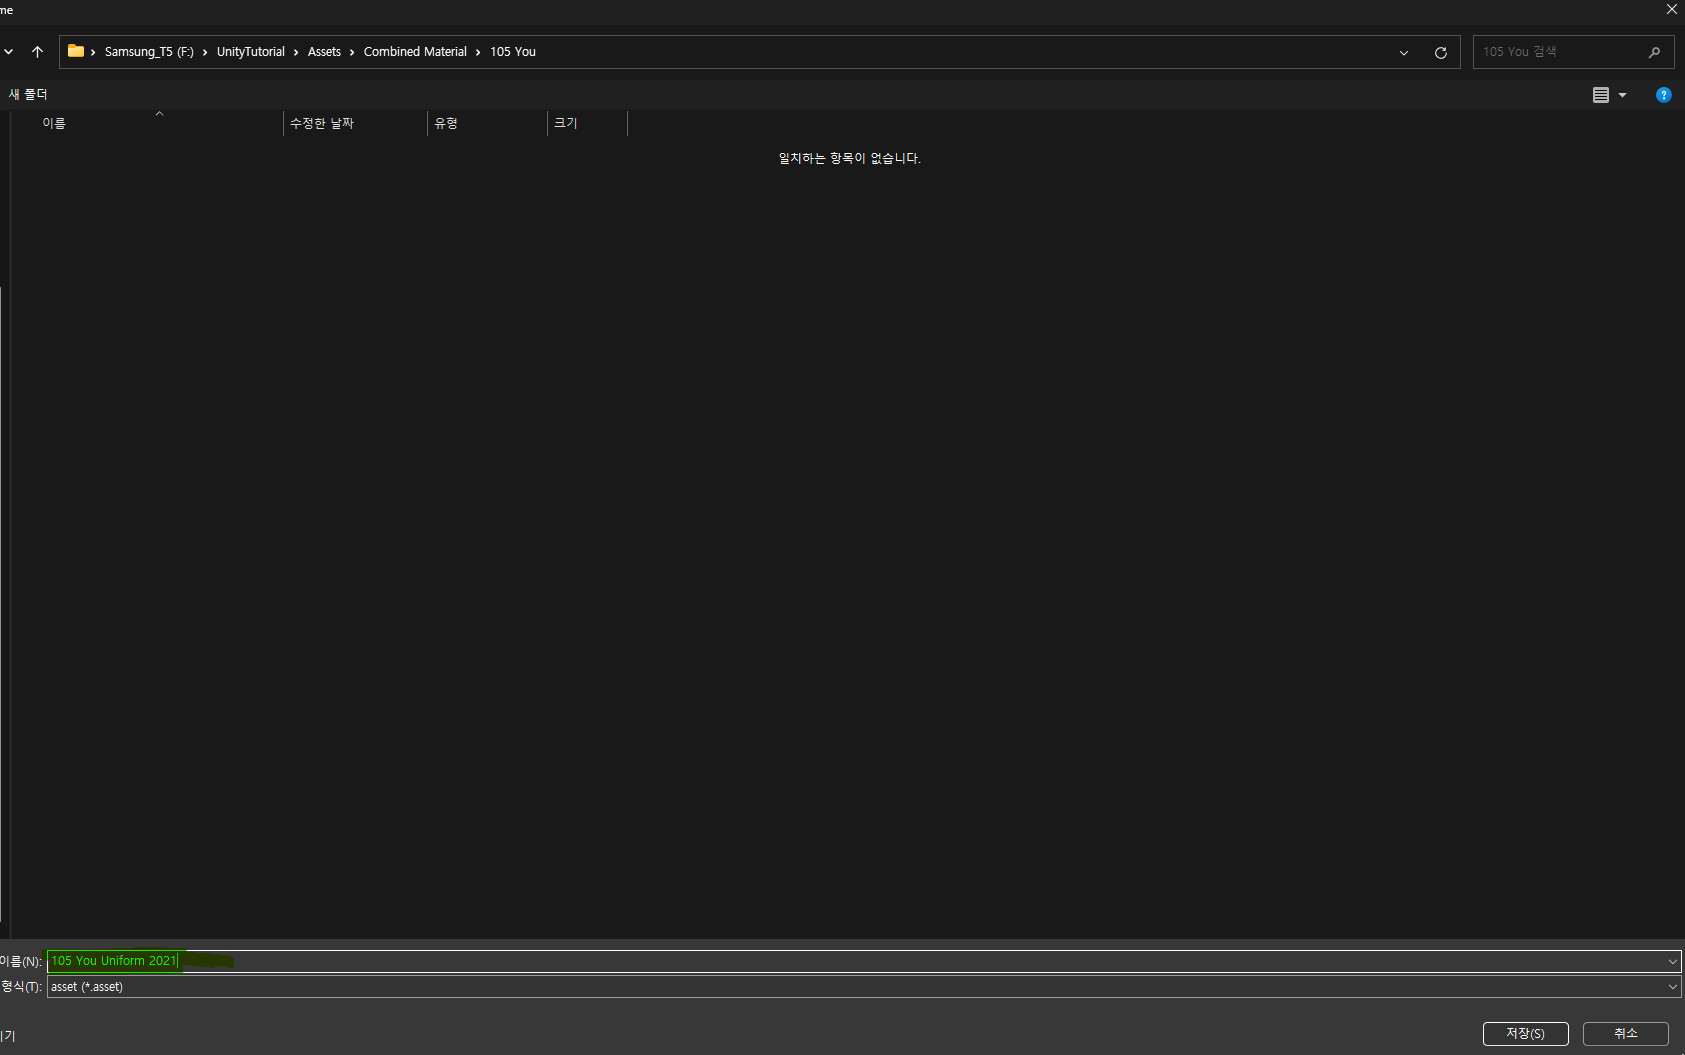
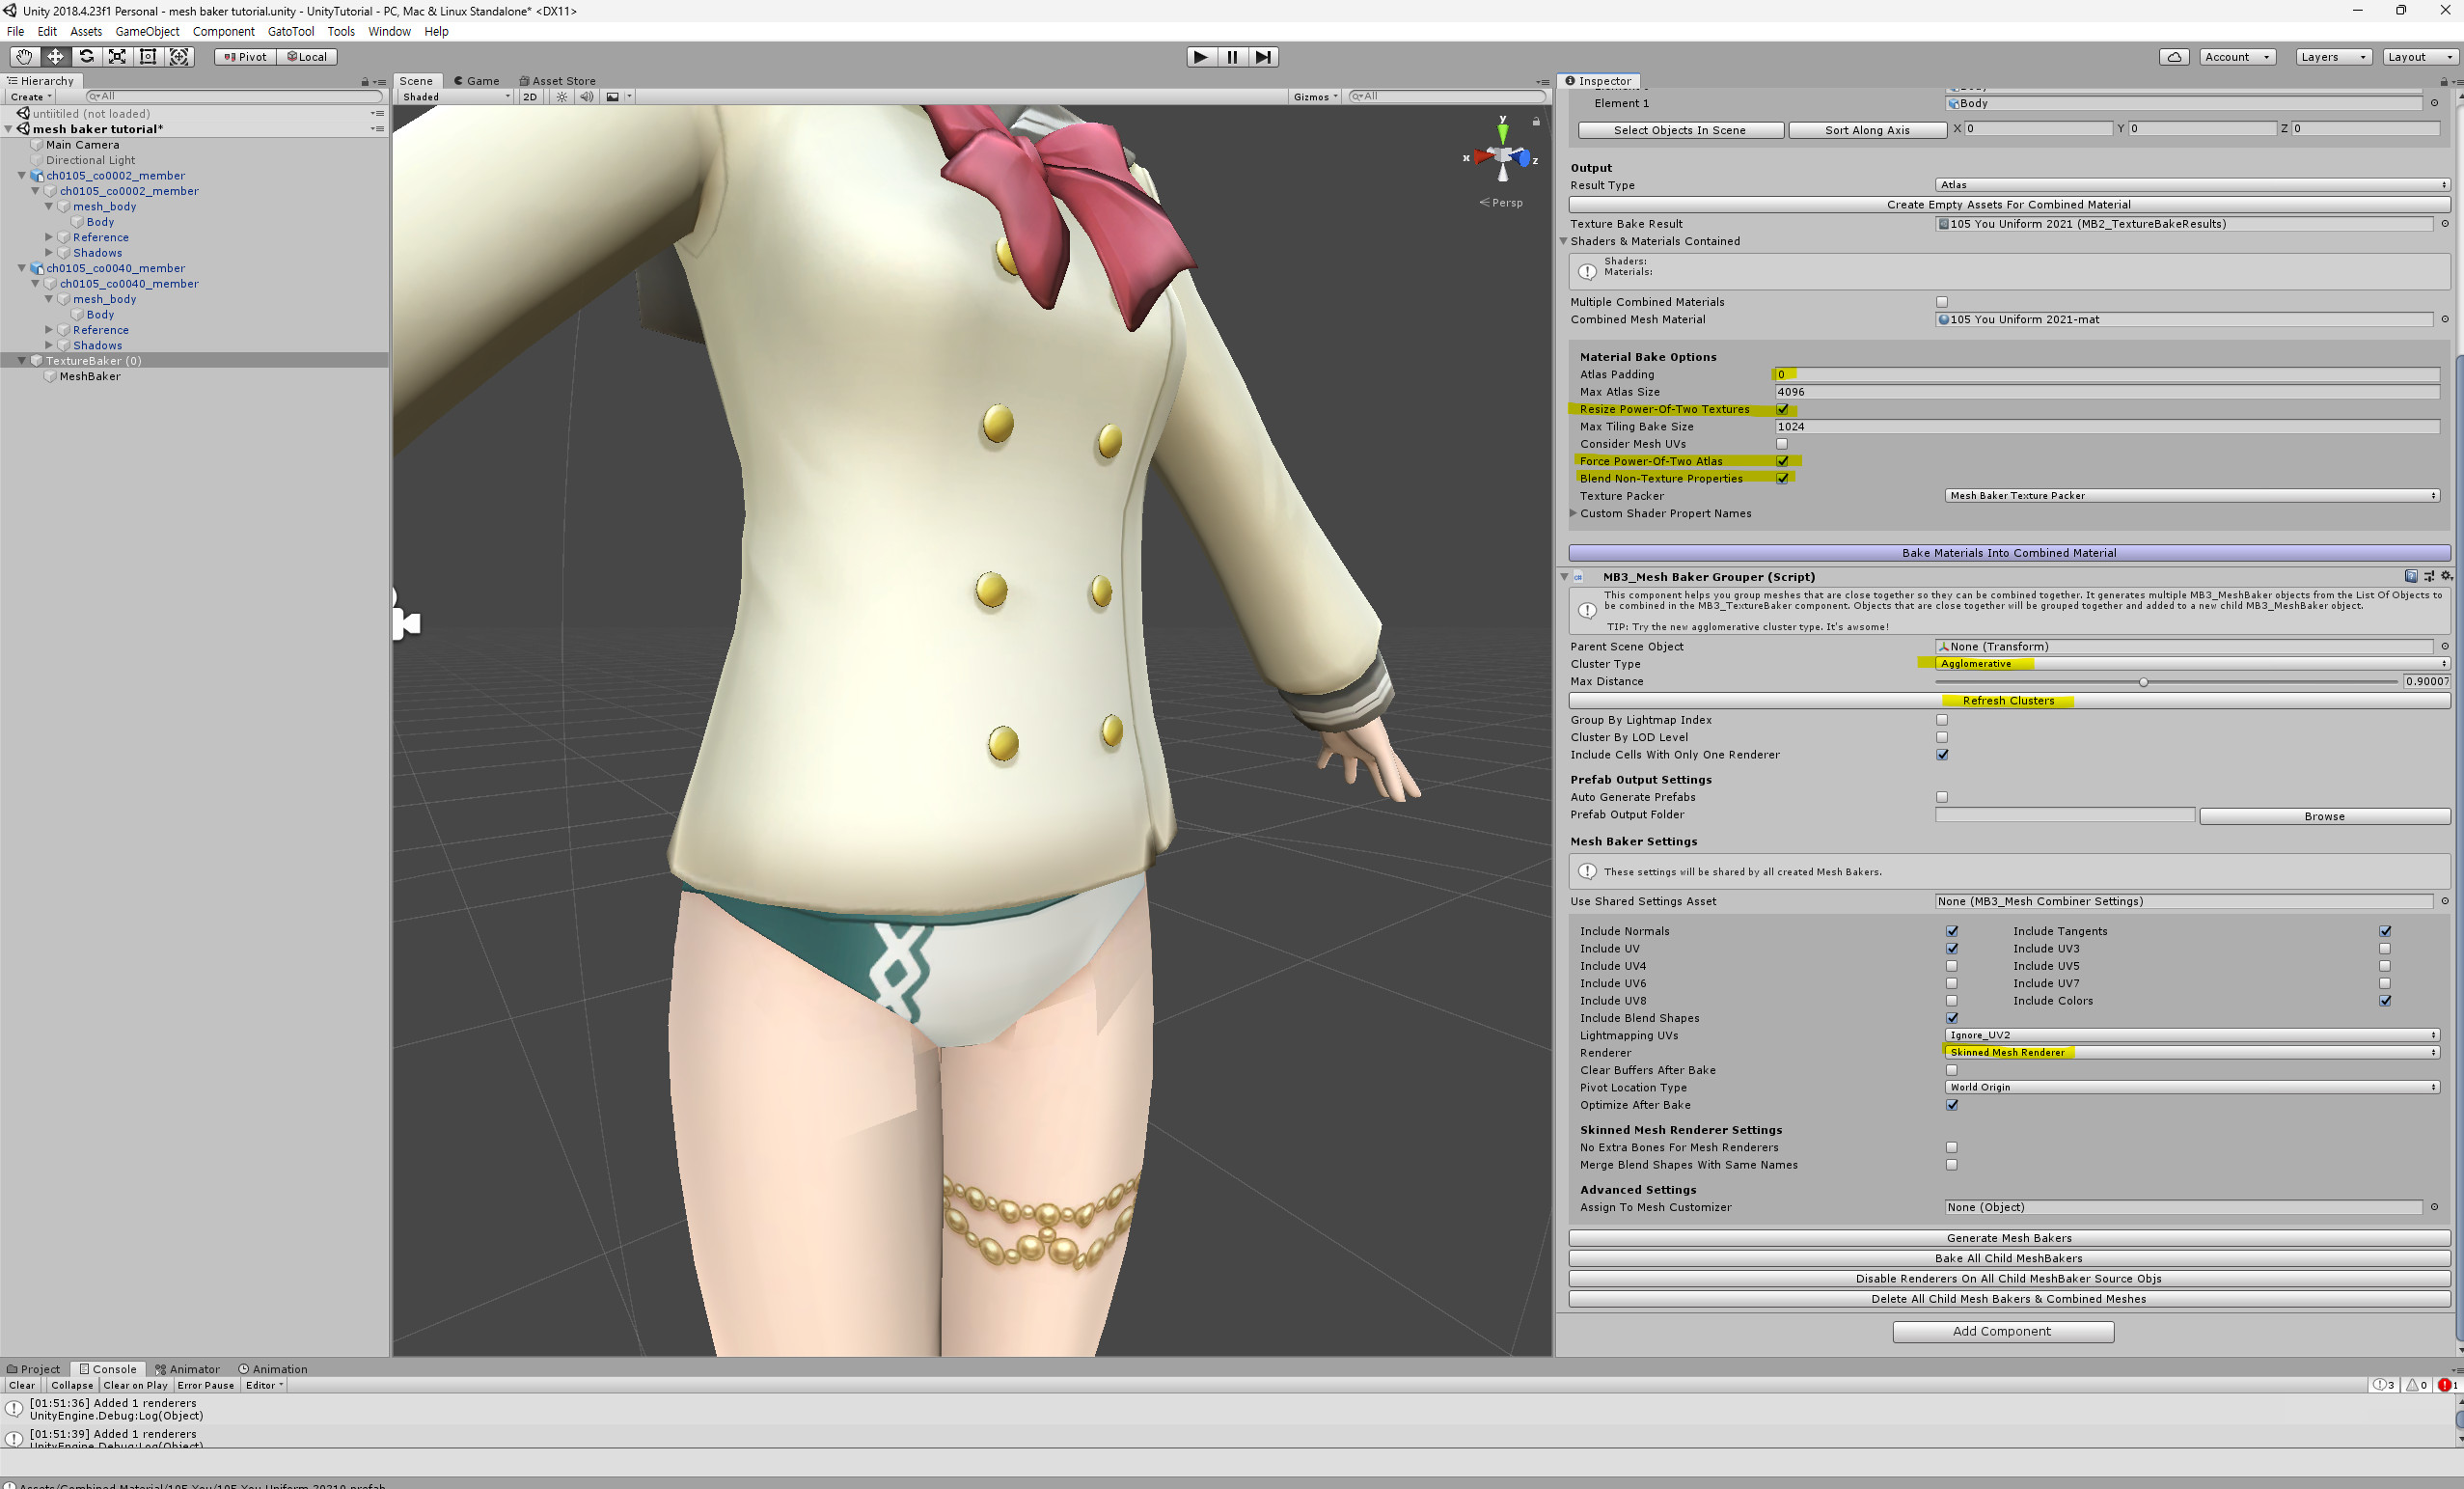
 Create an appropriate folder, give it a suitable name, and save it.
 Adjust the settings for the highlighted parts.
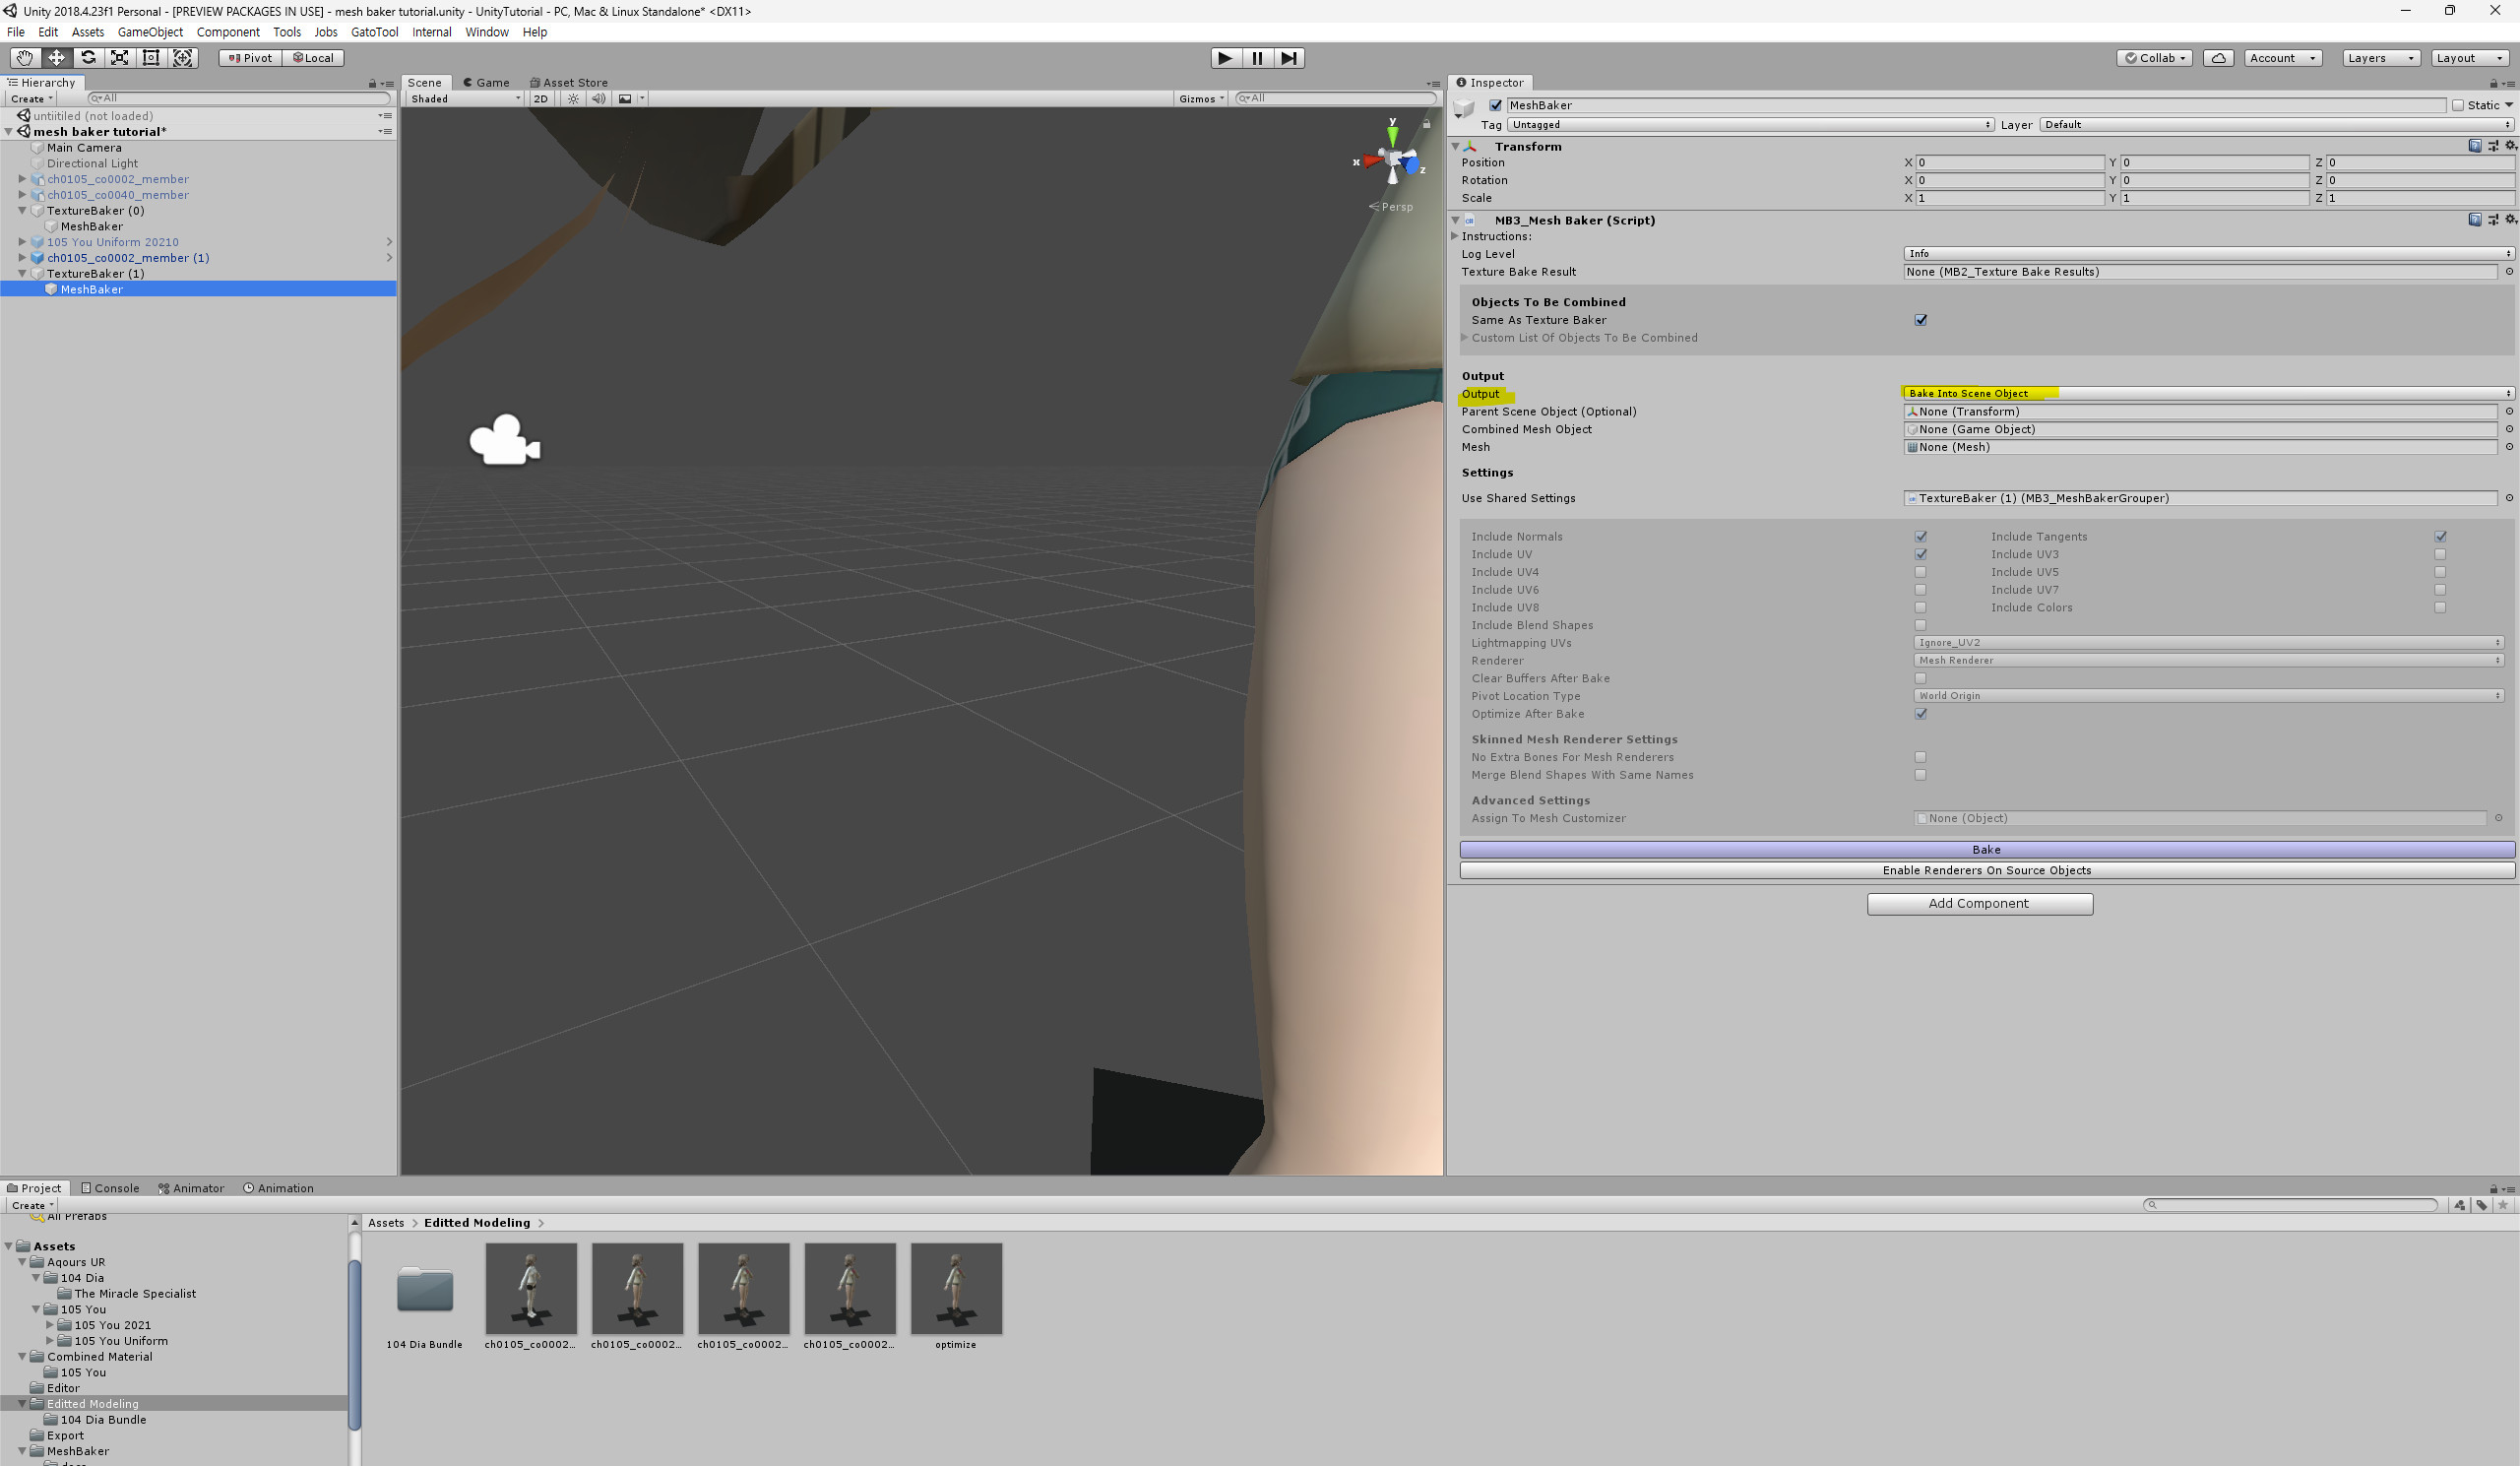
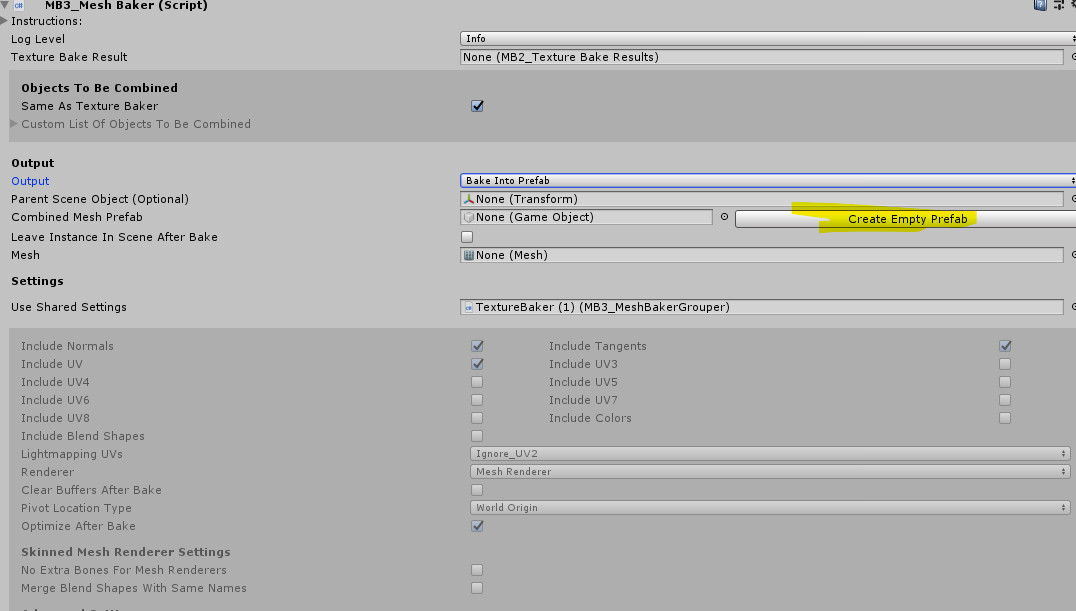
In the Hierarchy window, click on MeshBaker. In the Inspector window, under the Output section, select 'Bake Into Scene Object' -> 'Bake Into Prefab'.


Click the 'Create Empty Prefab' button.

Save it in the folder you created earlier with a fitting name.

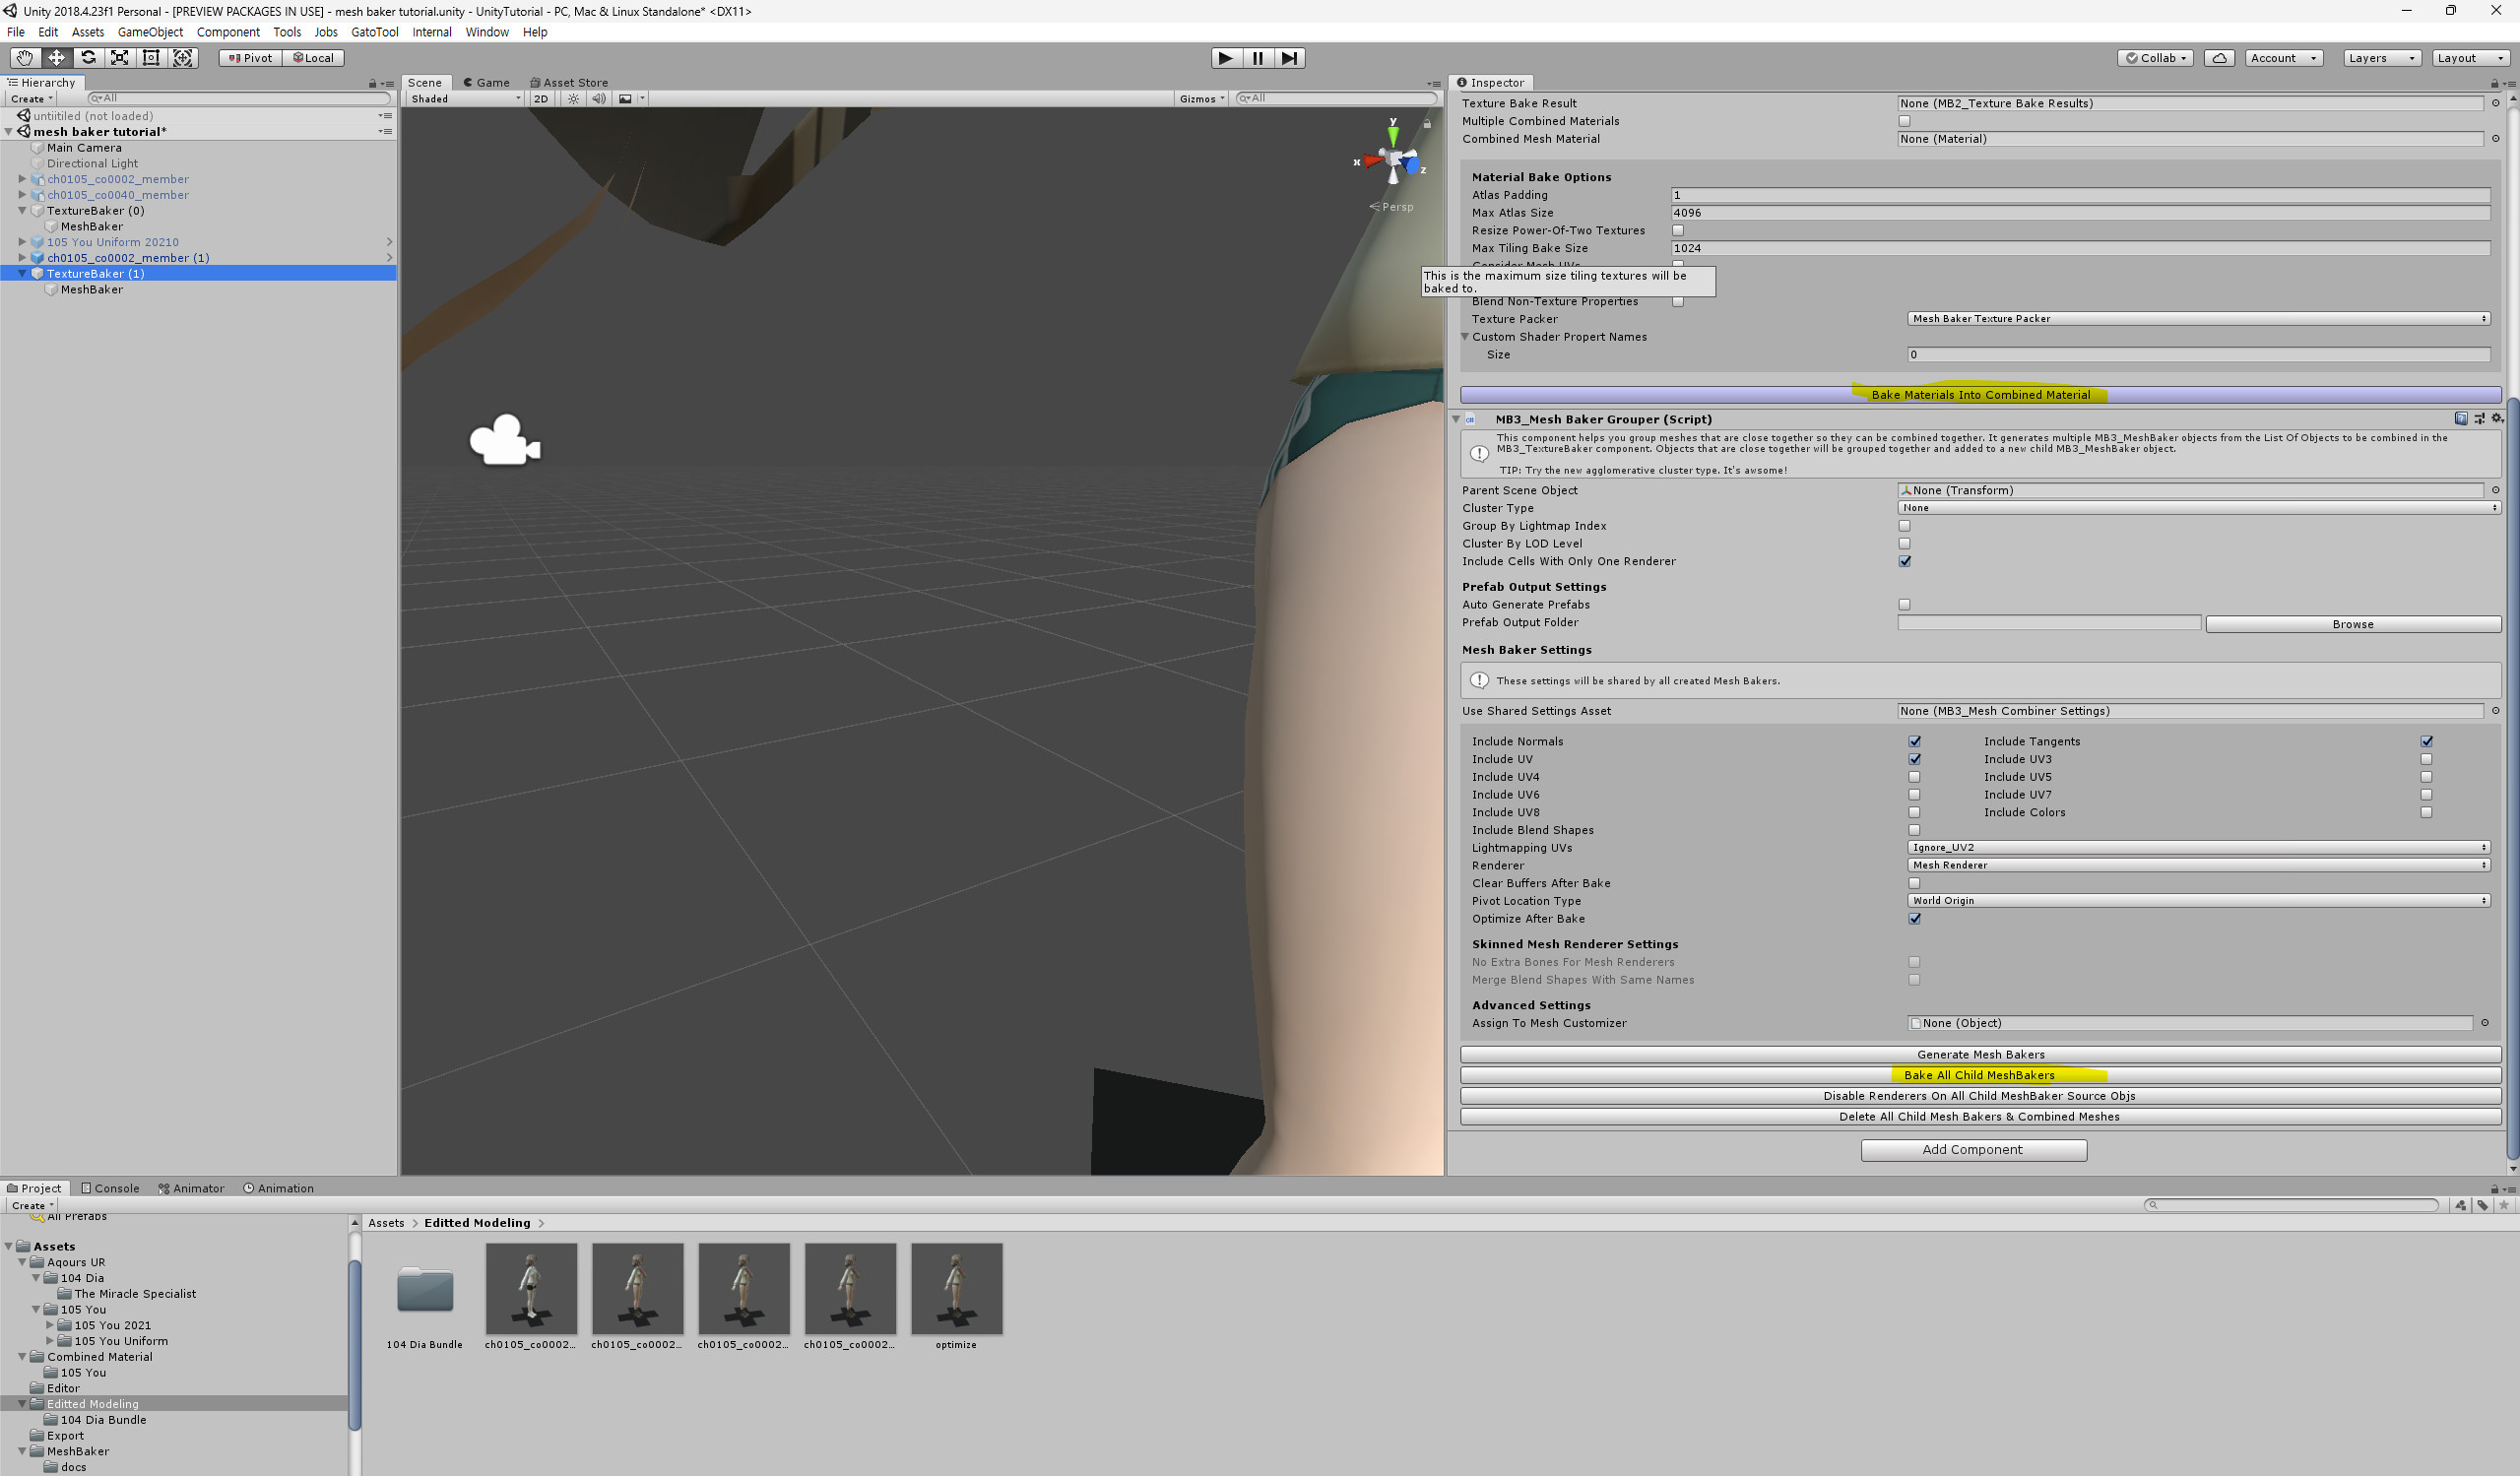
Go back to Texture Baker and click 'Bake Materials Into Combined Material' -> 'Bake All Child MeshBaker' in order.
(Note: In the screenshot, the prefab(model) to be combined in the Hierarchy is deactivated, but it should actually be activated.)
3. Use Skinned_Mesh_Generation.cs to apply the combined mesh to one of the original model.
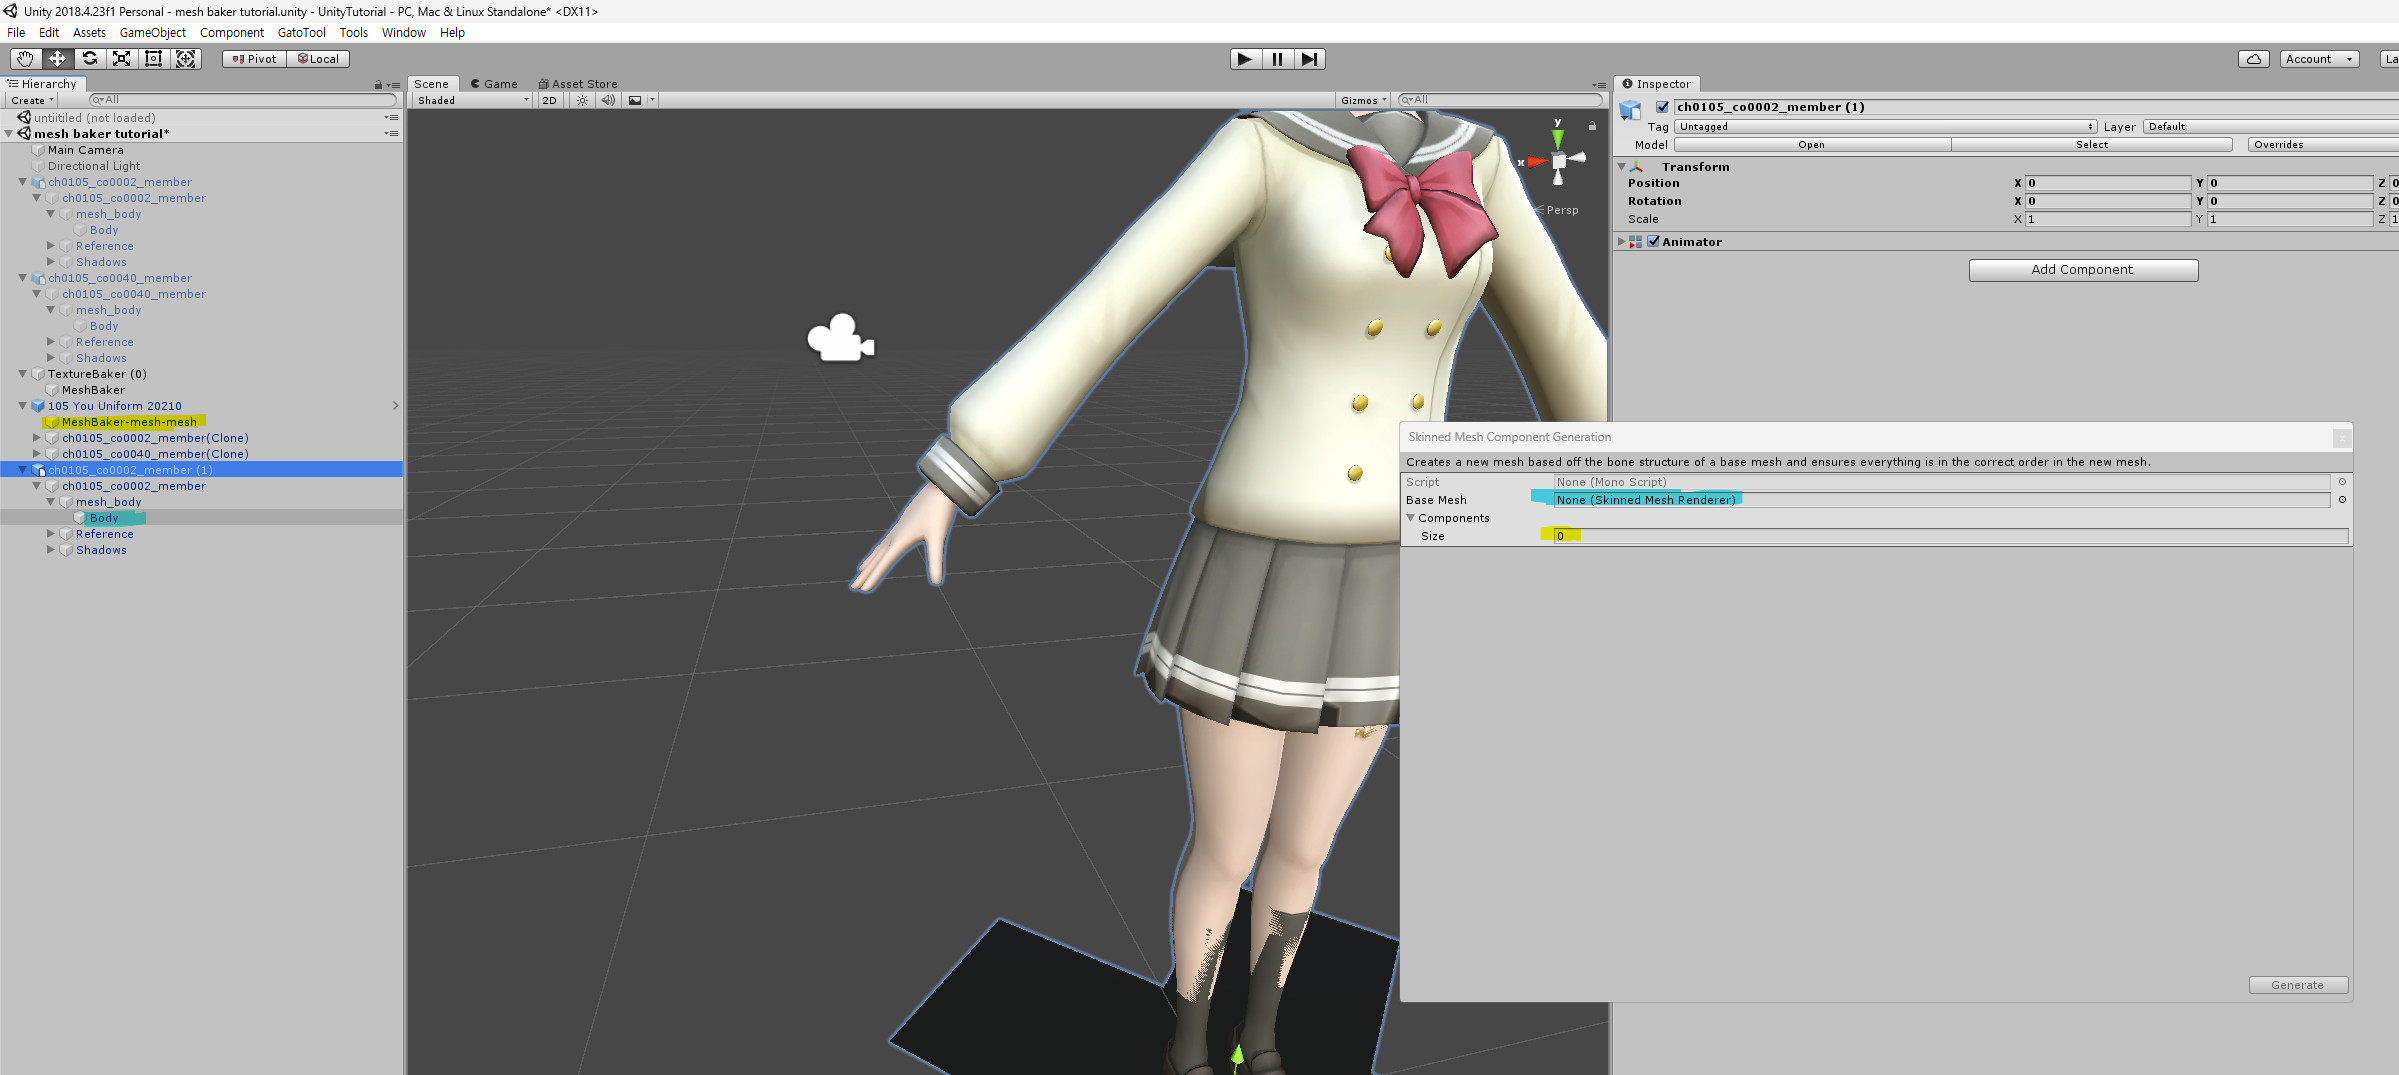
First, drag You's uniform fbx (model) into the Hierarchy. Then
Open the 'Generate Skinned Mesh Component' window.

Tools -> Mesh -> Generate Skinned Mesh Component

Drag and drop onto the parts highlighted with the same color.

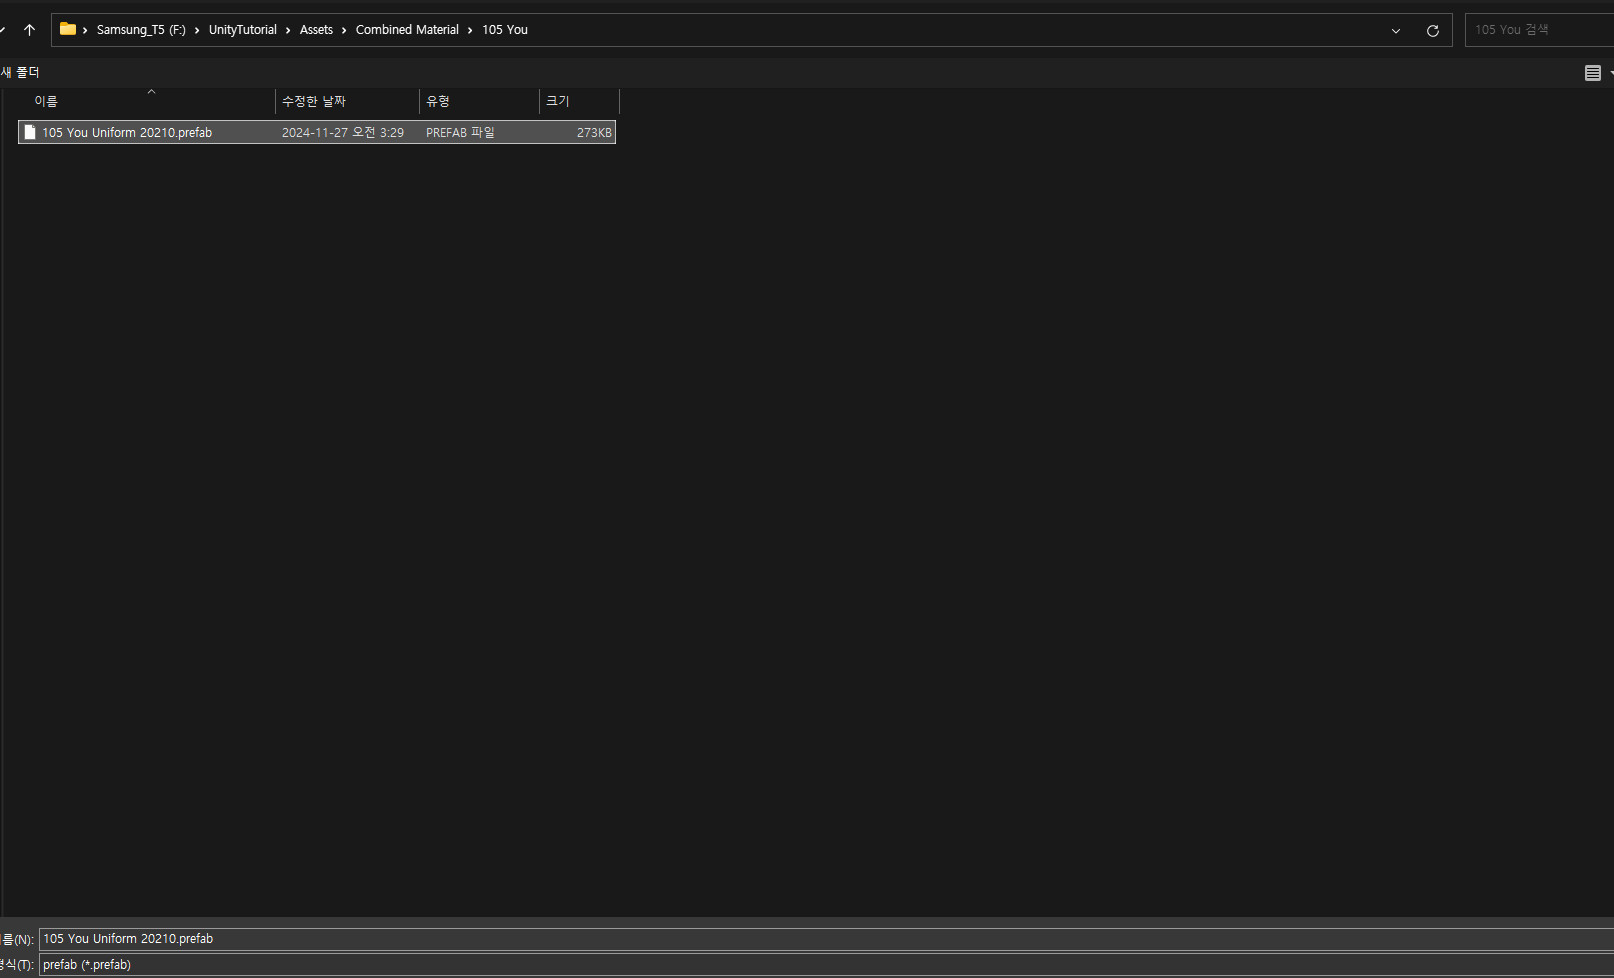
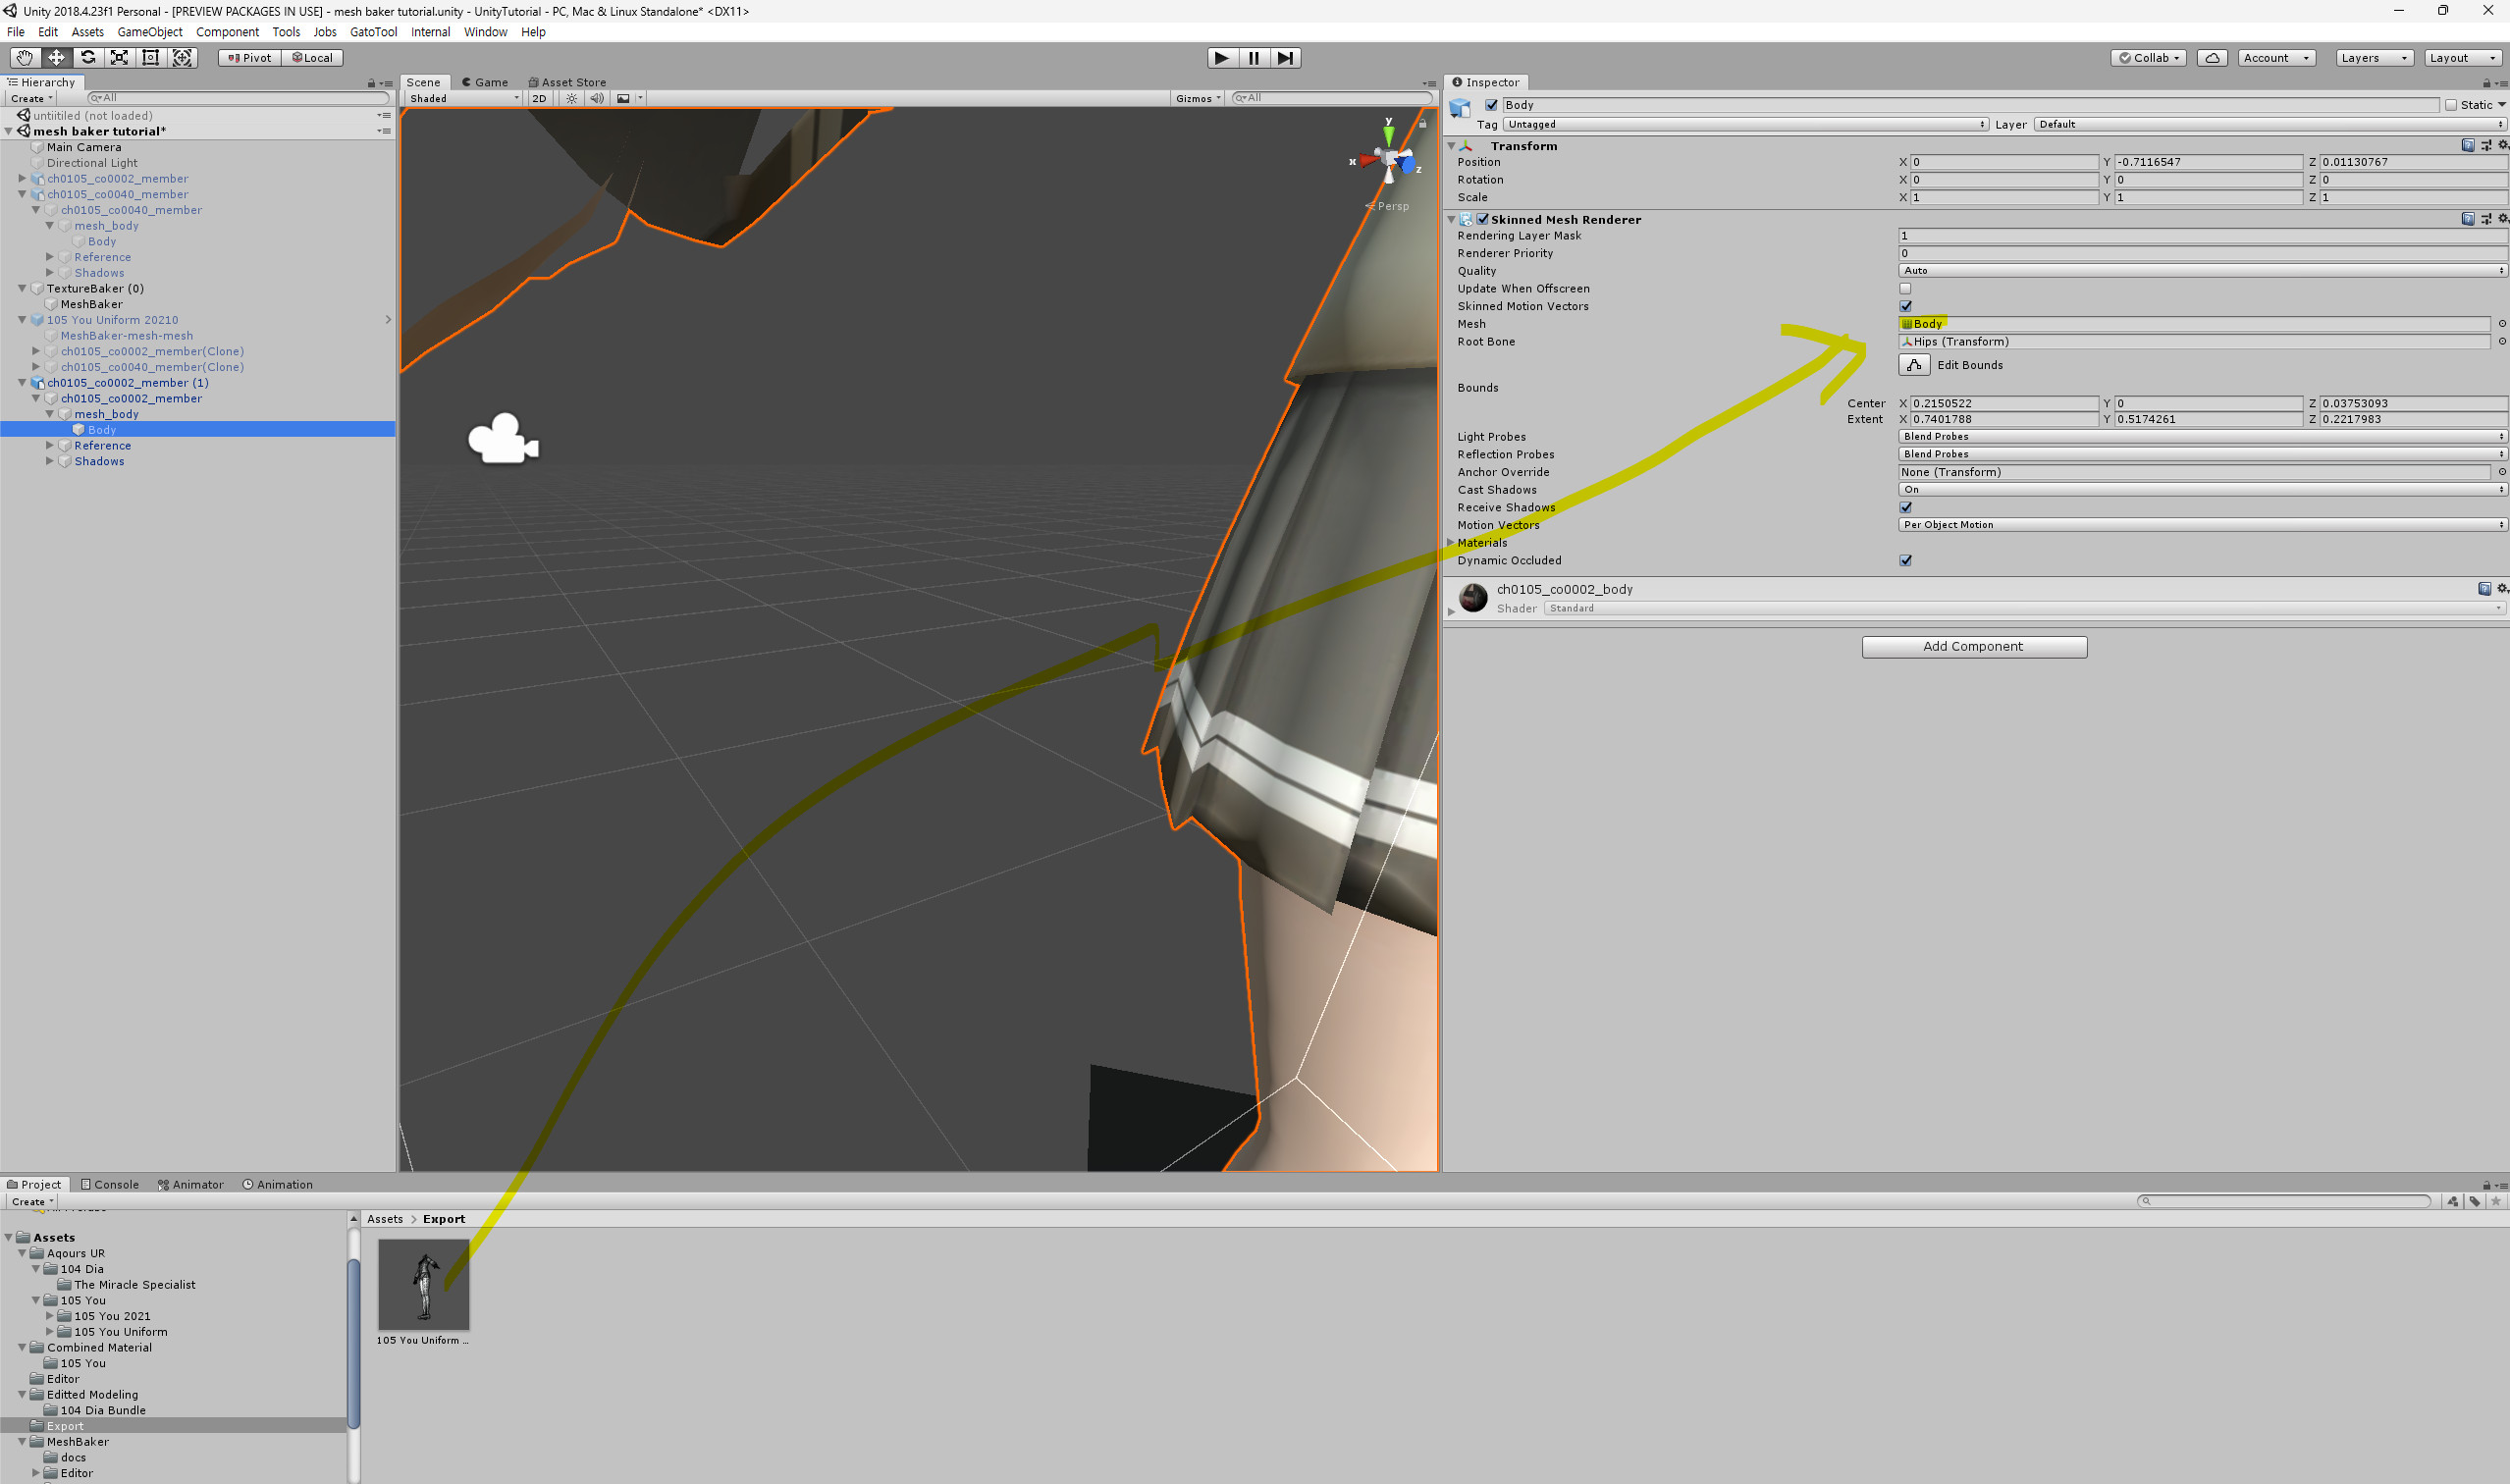
Drag and drop the generated mesh into the Export folder.

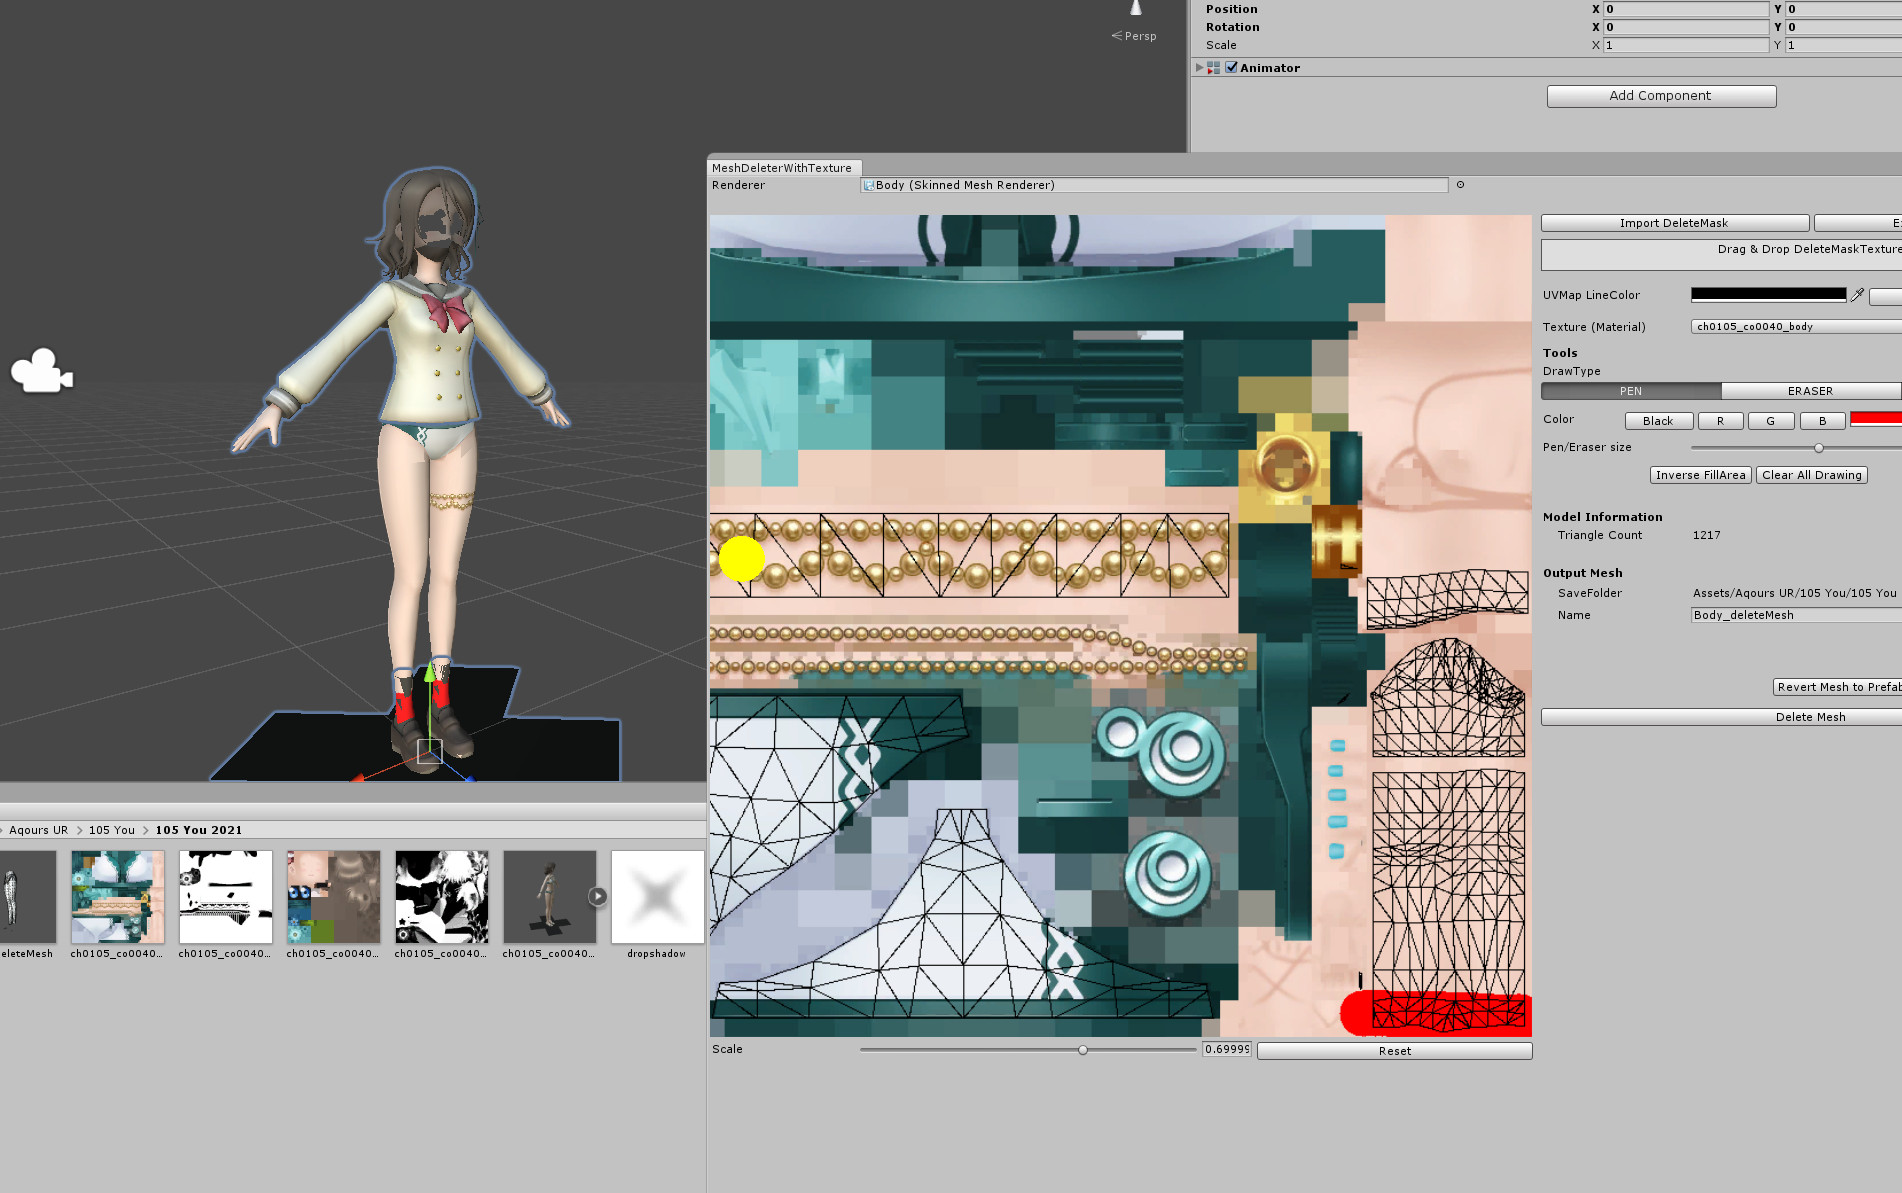
The mesh will be applied, but the texture won't be, so it will look strange. Drag and drop the texture you created earlier to fix it.
3.1 Combining the Rim Texture File
There are three essential things that need to be changed when combining SIFAS (School Idol Festival All Stars) models:
Mesh
Combined texture file
Combined Rim file
For reference, the Rim file is related to lighting during live performances, so it might not be noticeable at first glance. However, if it's not corrected, it becomes quite obvious.
To combine Rim files, you can either:
Apply each Rim texture to the original models and combine them using Texture Baker, just like with the texture files, or

Use an image editing program like Paint.net (make sure it supports transparency).
Or, if you're feeling lazy, you can just use a plain white image.

4. Export as an AssetBundle in Unity, then use UABEA to import the mesh, texture, and Rim files into You's uniform AssetBundle.
For the texture file, simply use the texture you created in the Project folder, and do the same for the Rim file.
In case anyone doesn't know, the AssetBundle created in the Unity project is made for exporting the mesh. You won't be using this AssetBundle itself.

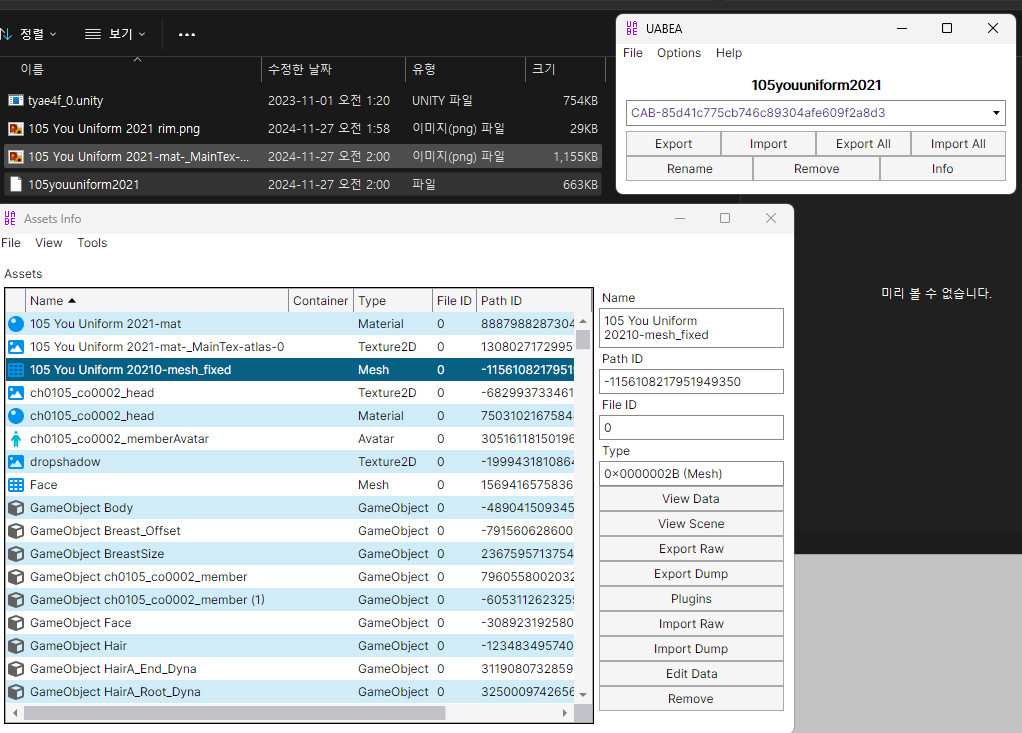
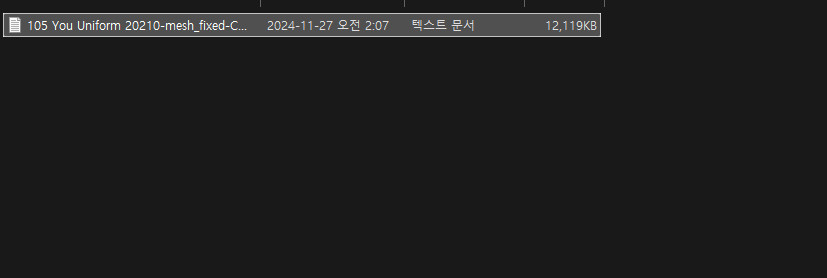
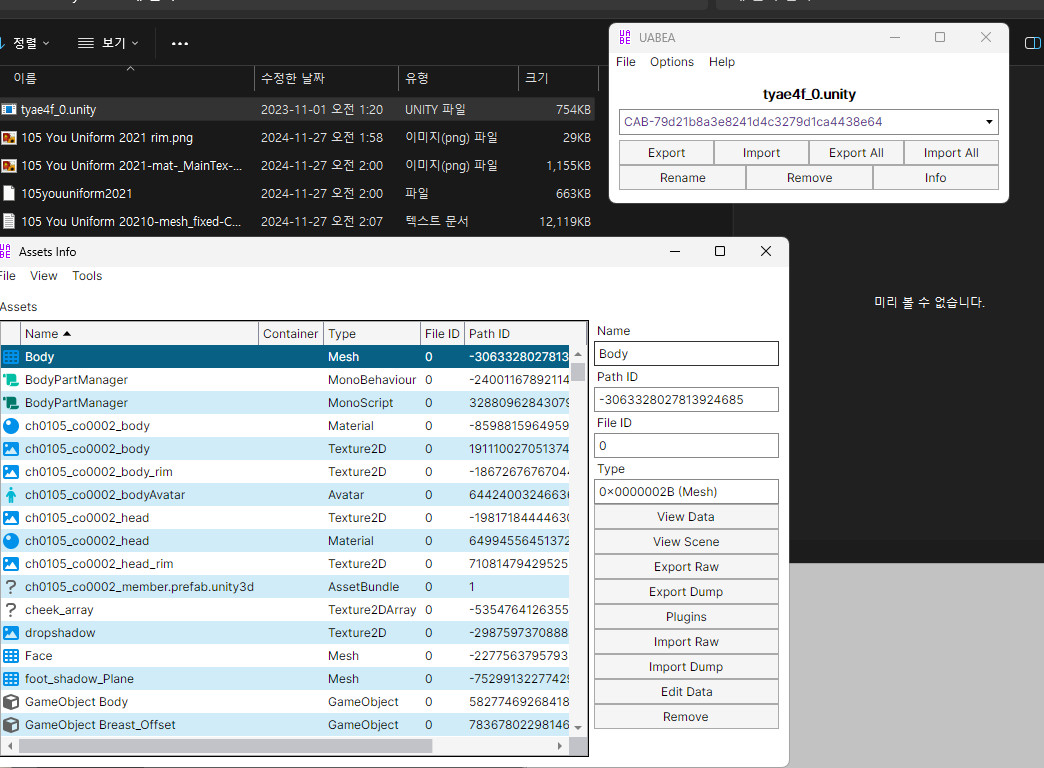
Click on the mesh, then click 'Export Dump' to export it as a .txt file.

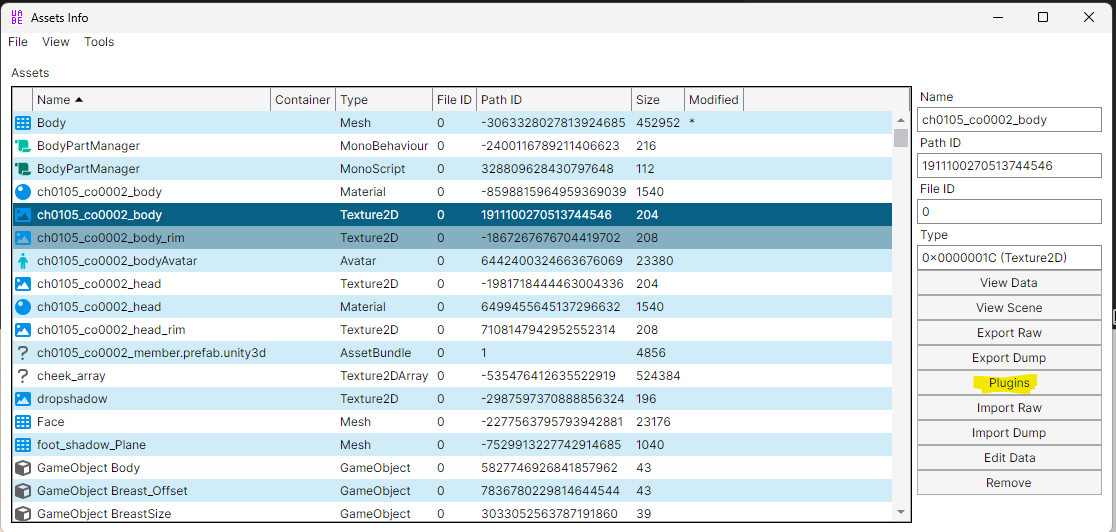
Open the AssetBundle you want to modify with UABEA.

Click on Body, then select 'Import Dump' and choose the .txt file you just exported.

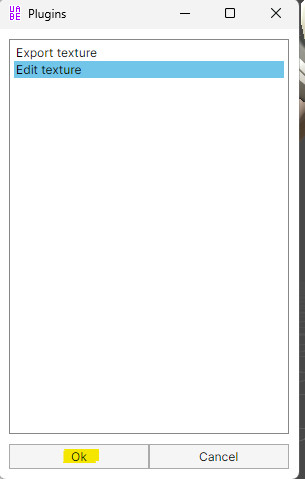
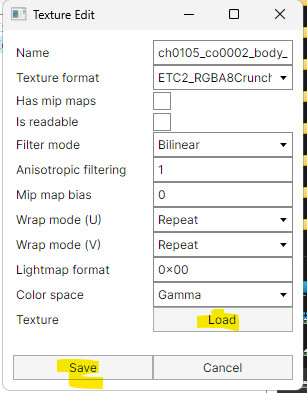
Select the Texture2D format texture file you want to edit, then click 'Plugins'

Edit texture -> Ok

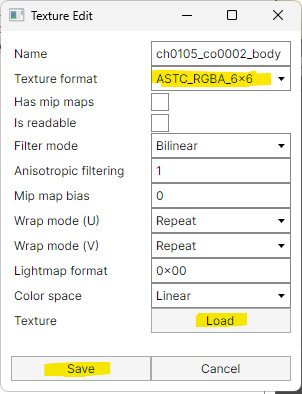
Change the texture format from ASTC_RGBA_6x6 to 5x5 or 4x4 (for some reason, leaving it unchanged causes an error).
-> Load -> Select the combined texture file -> Save.

Do the same for the Rim texture (no need to change the texture format).
5. The subsequent steps are the same as in Part 1 or the guide 'How to Adjust Breast Size in SIFAS Modeling'.
END for Part2


