

https://gamebanana.com/tuts/18009
For reference, I’m the type who’s fine as long as it works, so my methods are often not the most optimal.
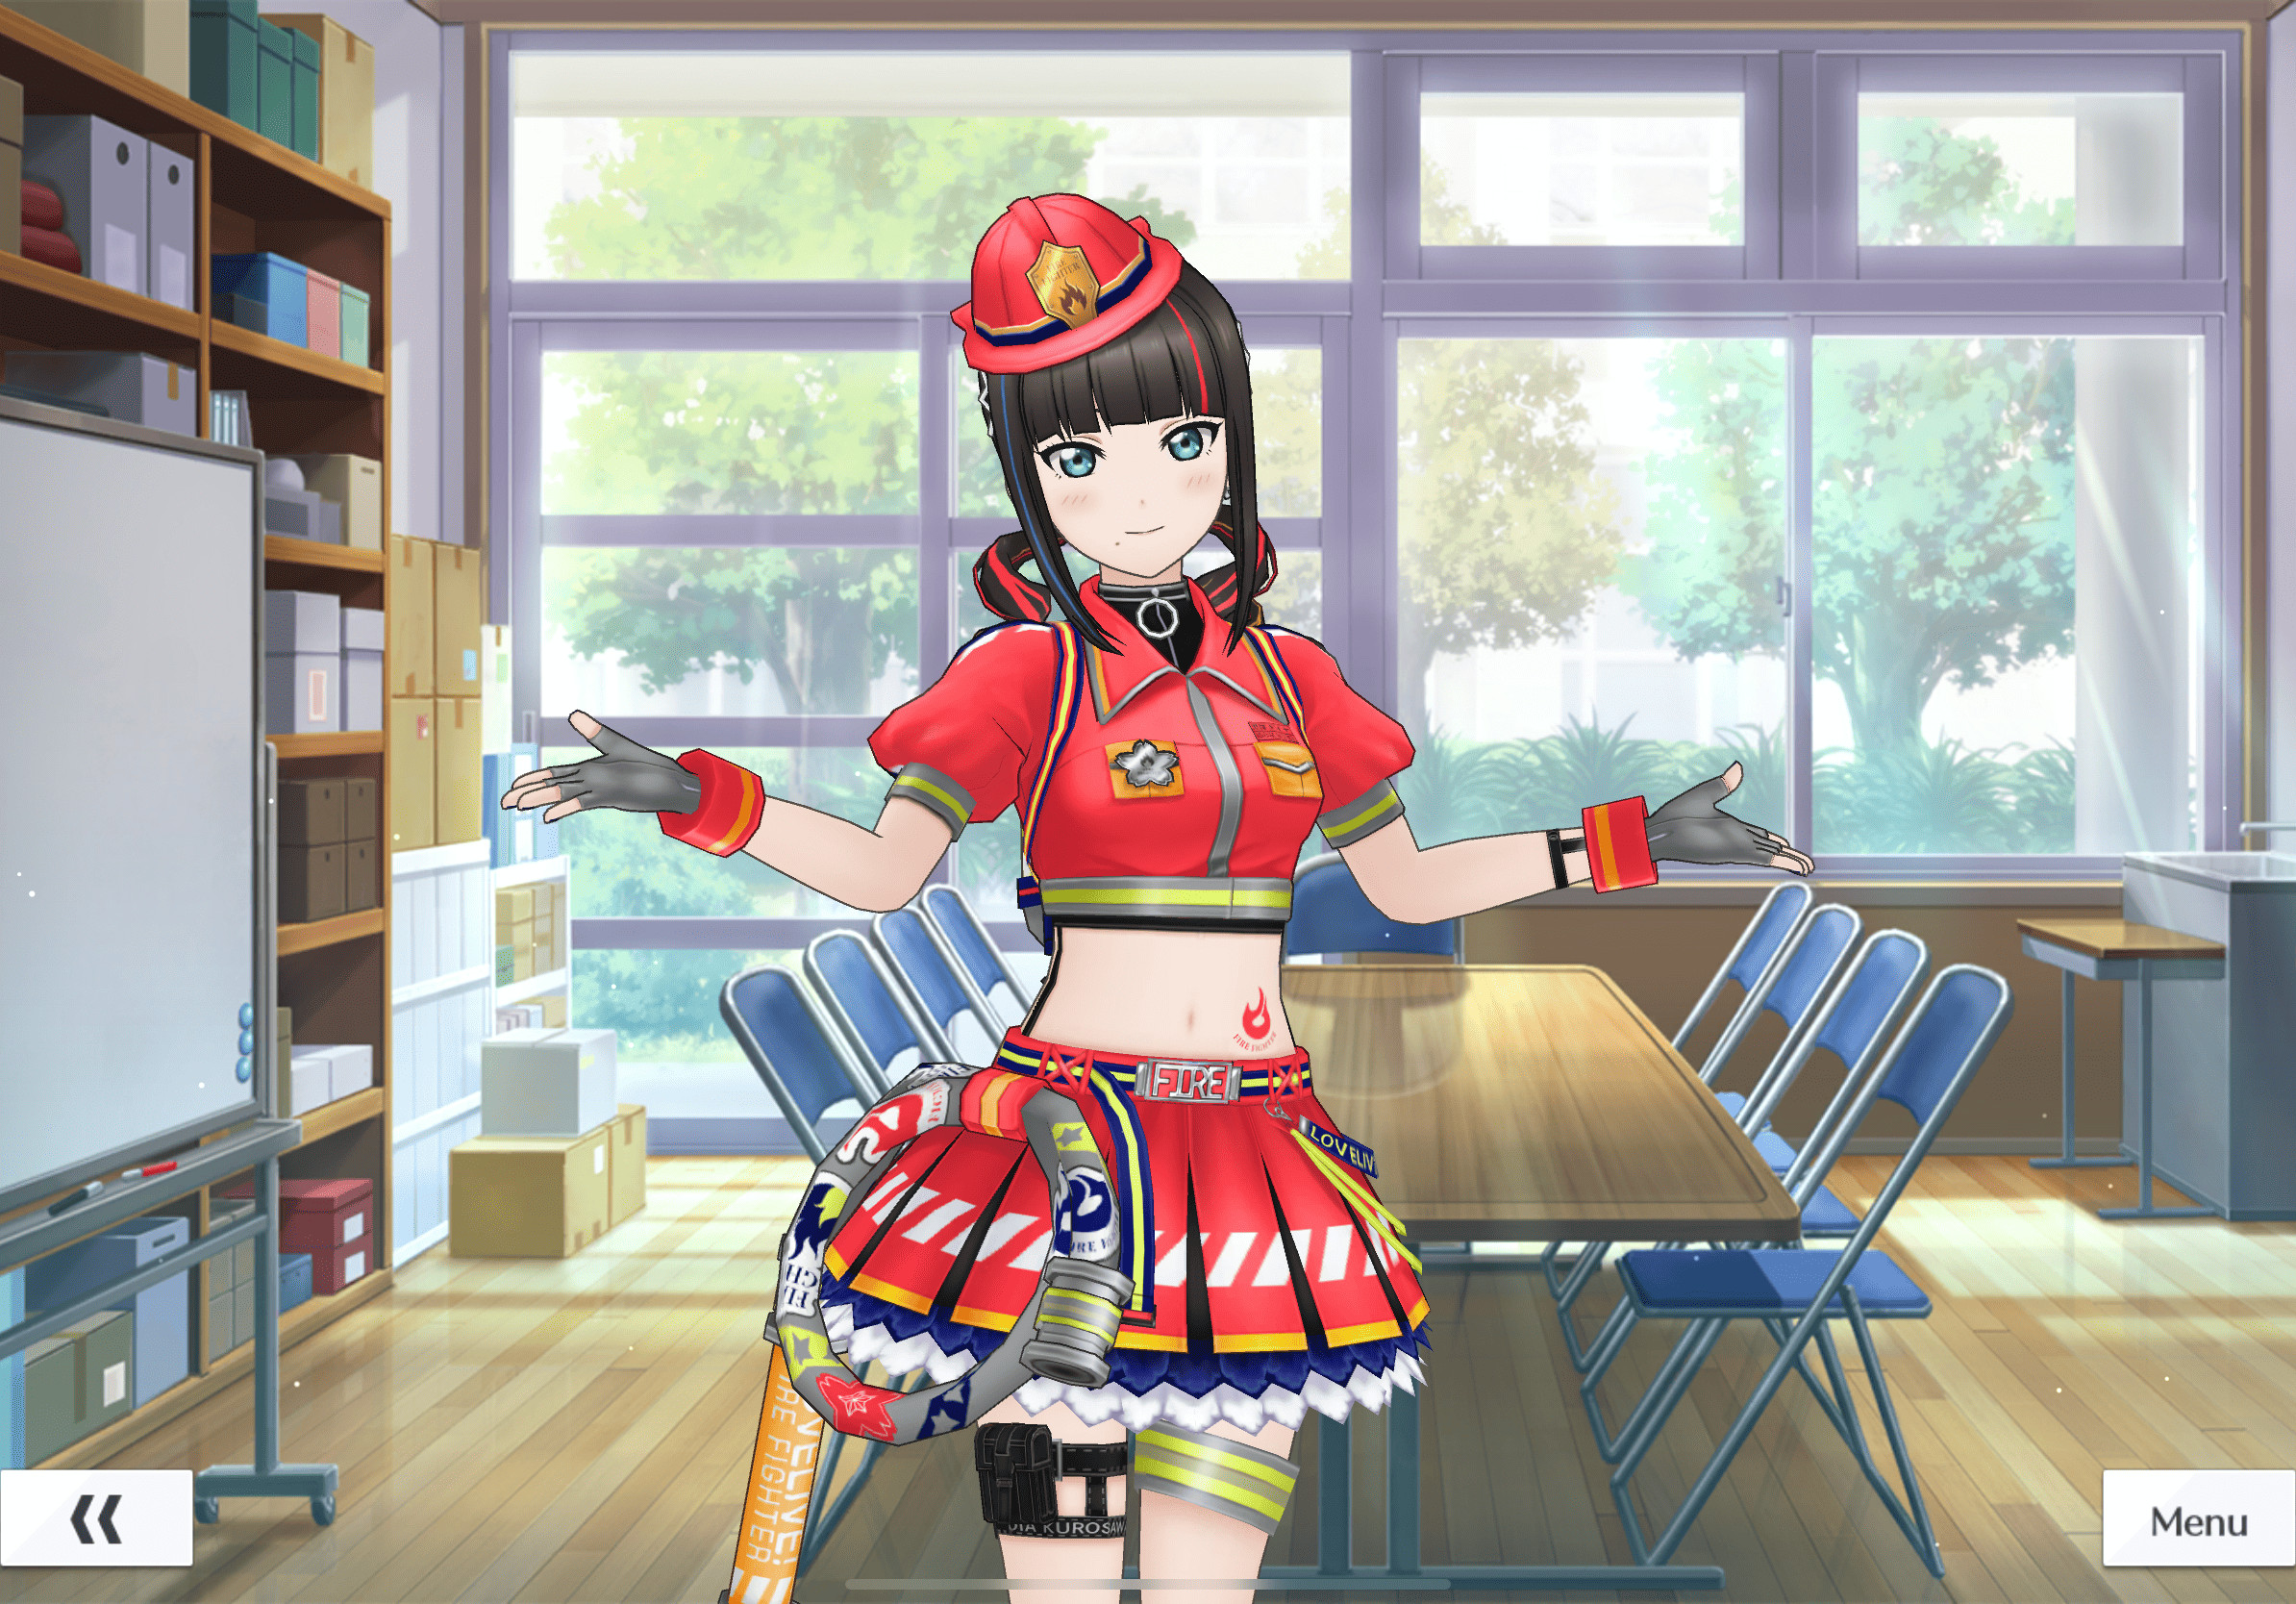
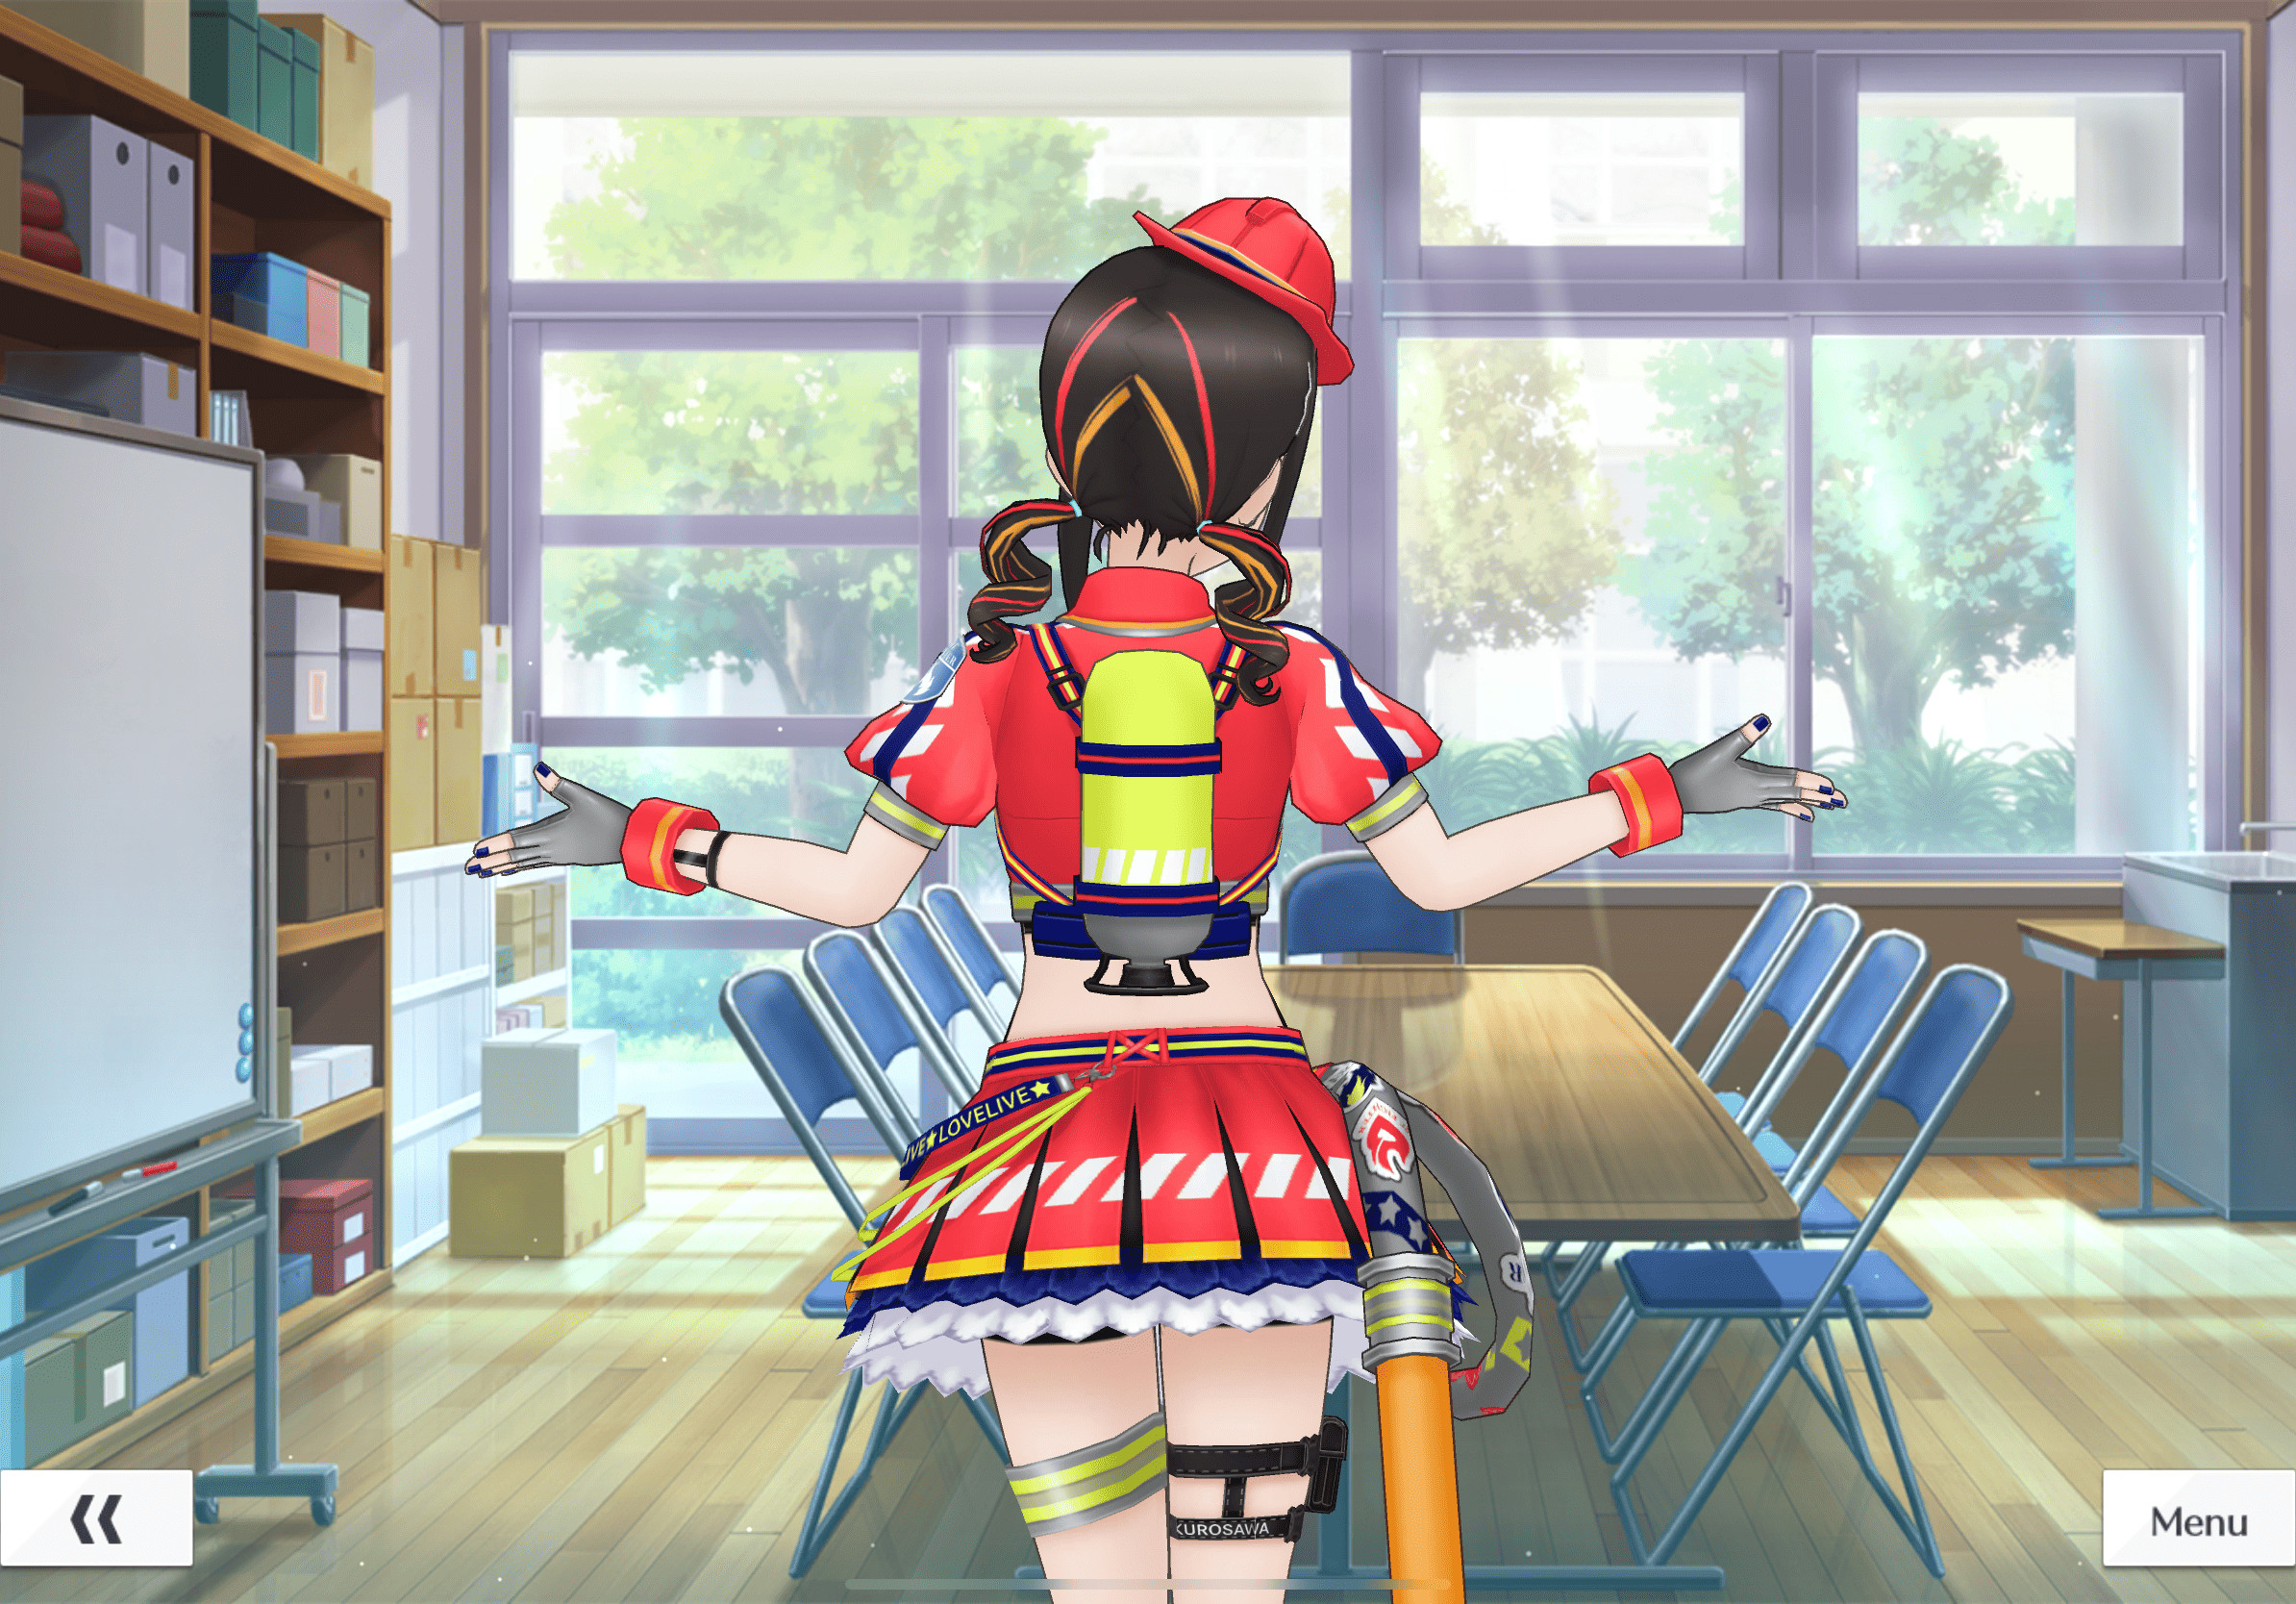
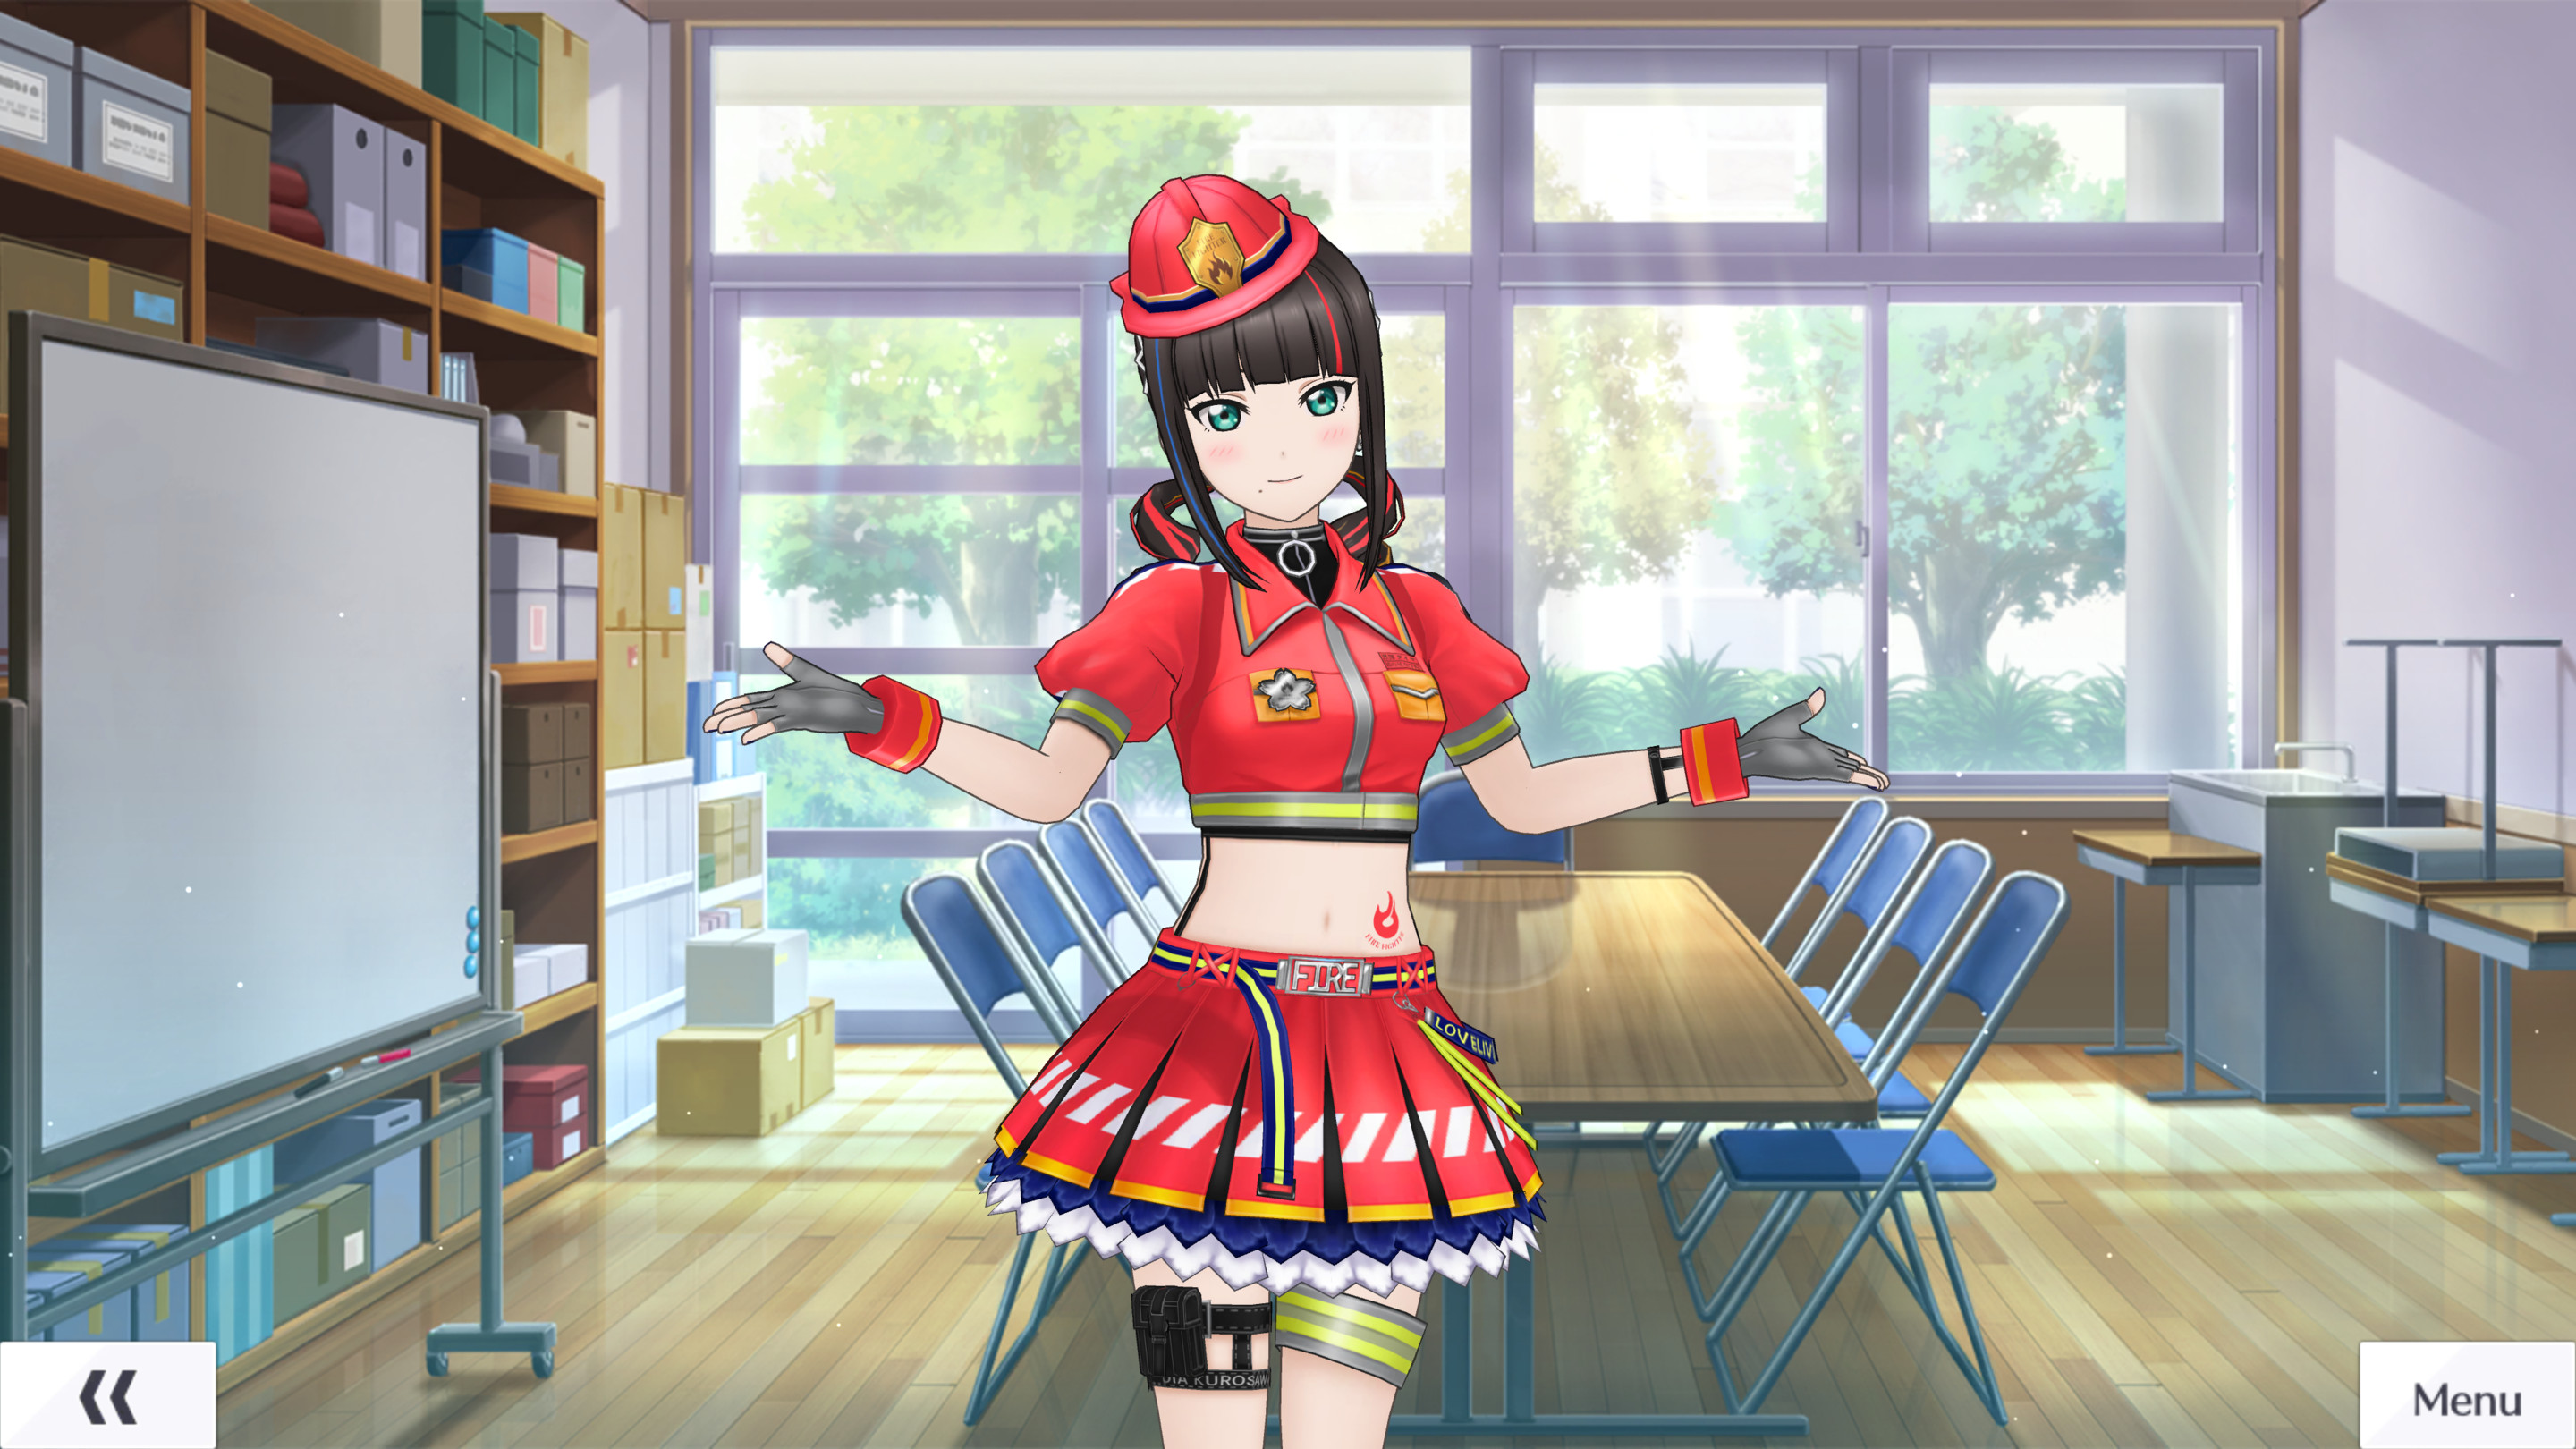
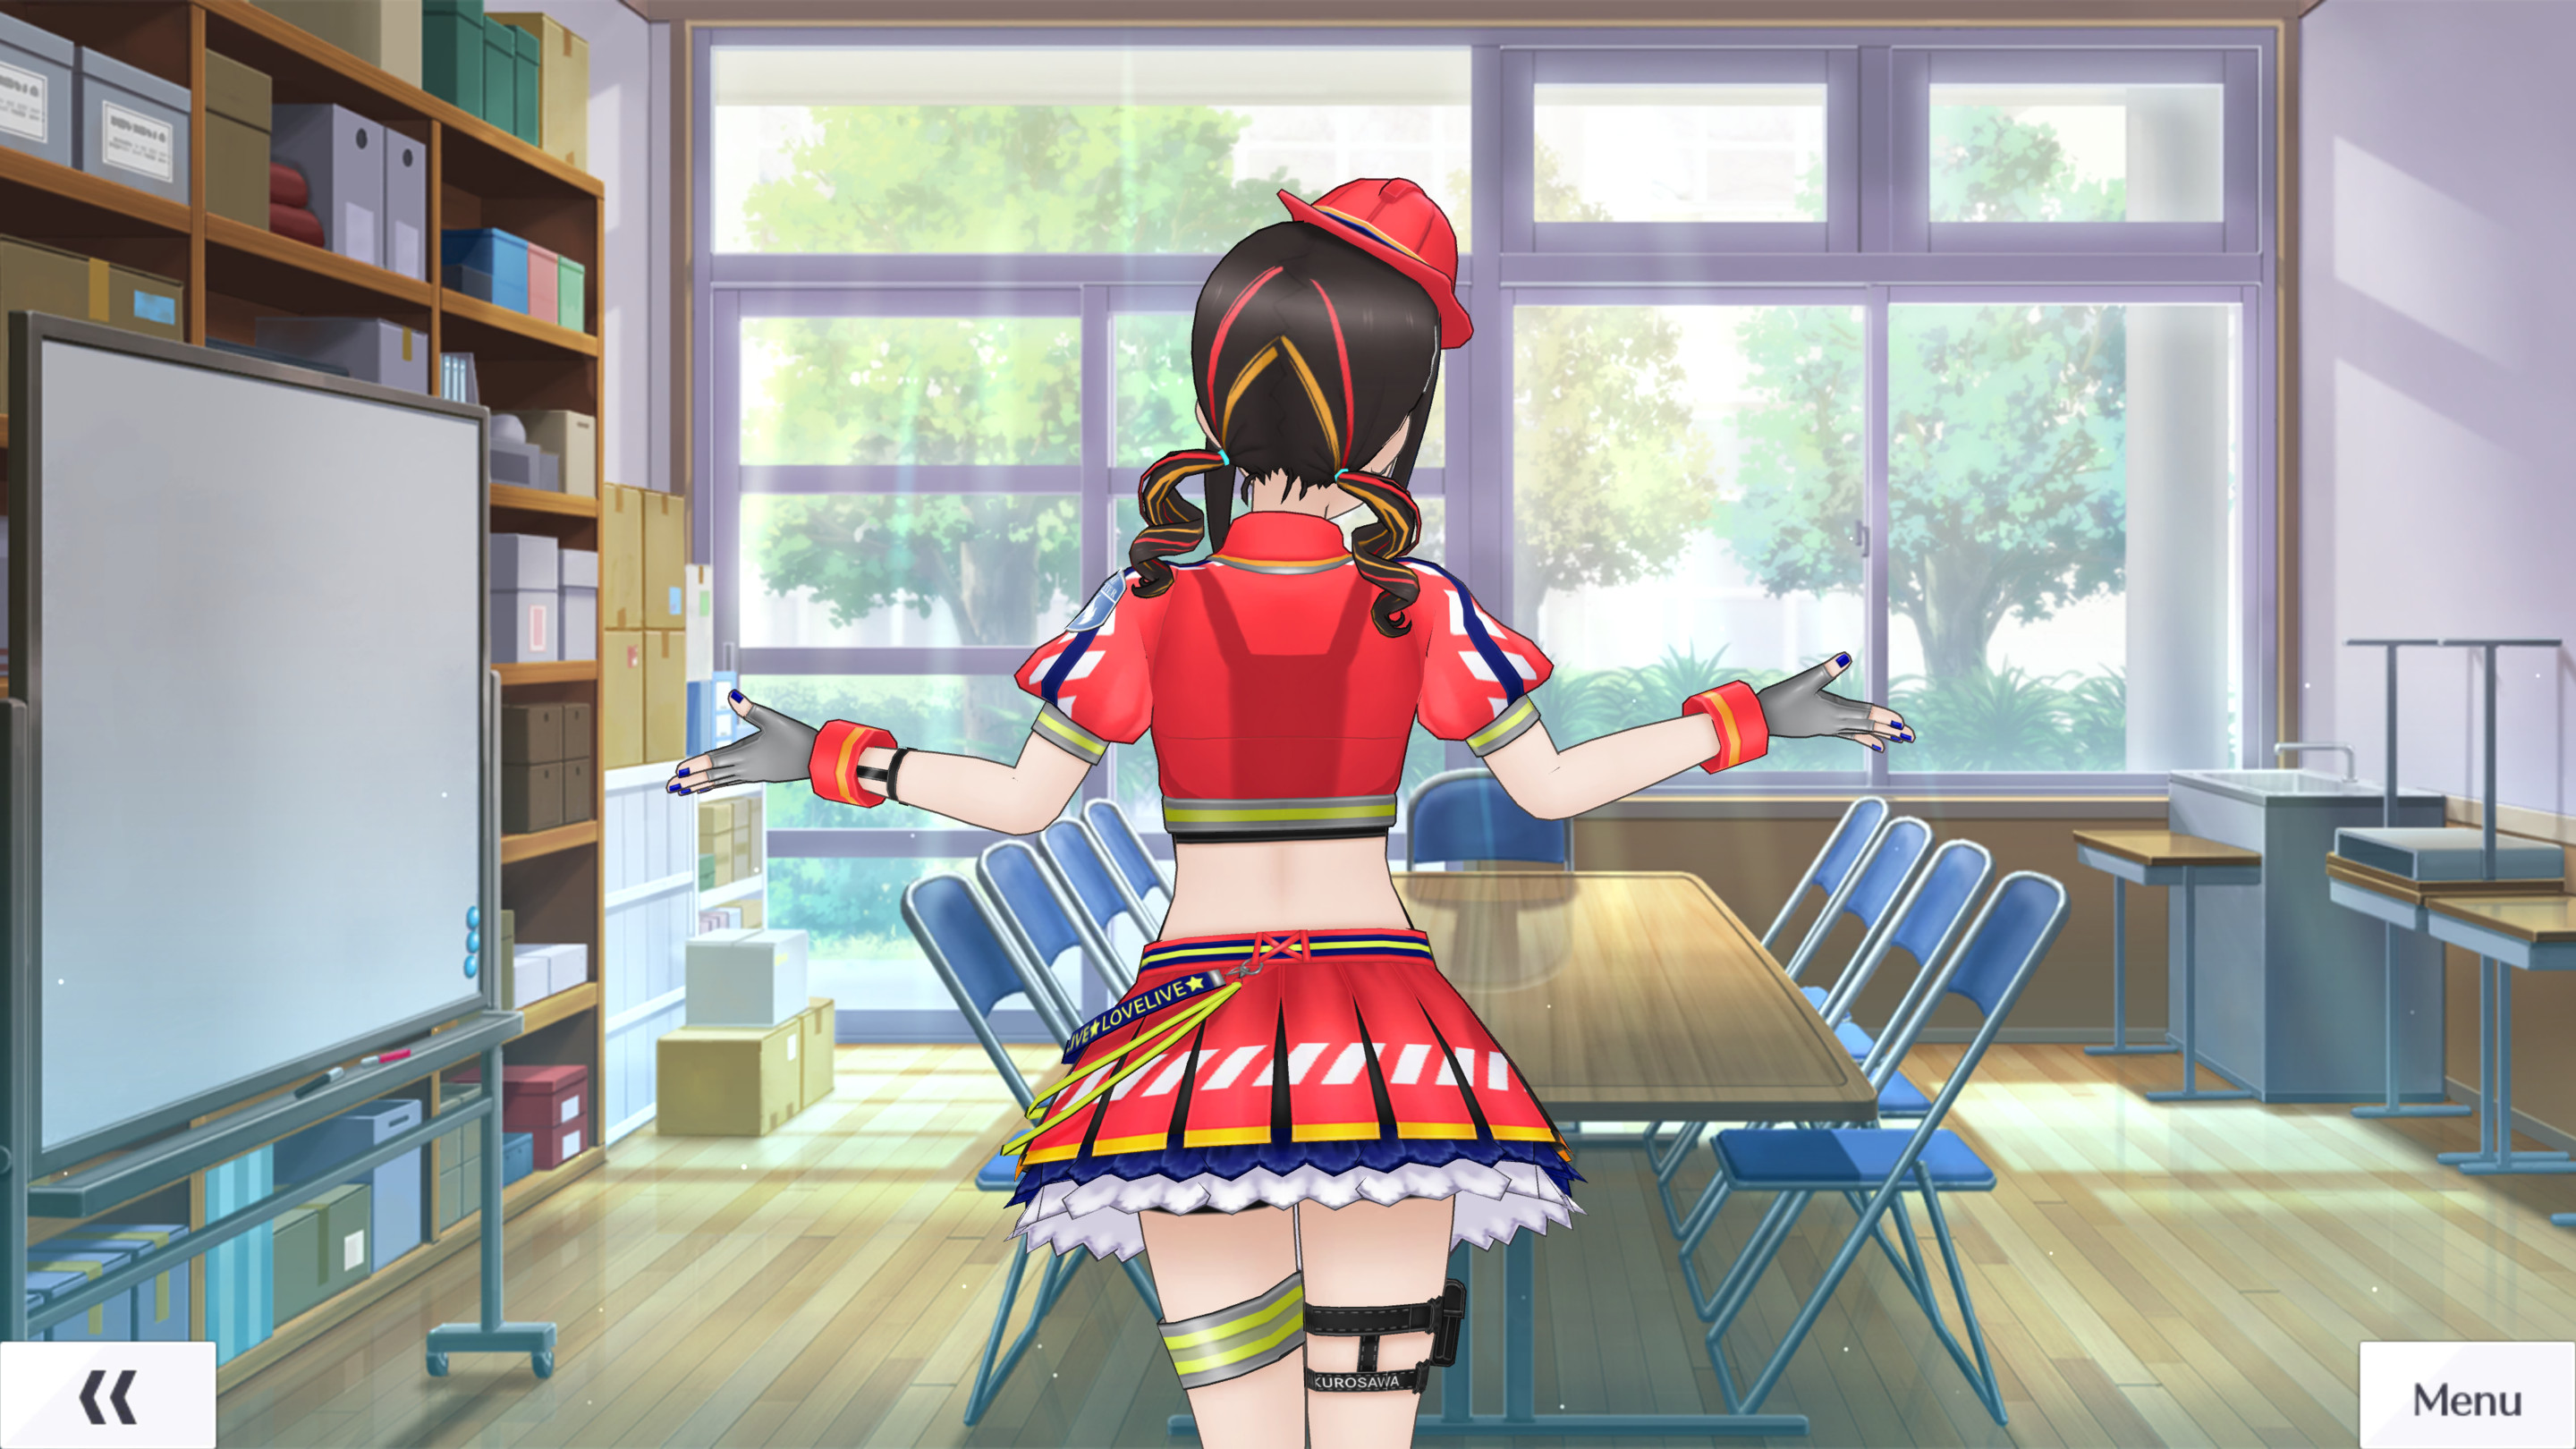
To show you the goal and outcome of this tutorial upfront:


This method involves deleting parts of the mesh. However, as seen in the shadows of the result above, the modeling in SIFAS wasn't designed with this kind of deletion in mind, so deleting alone makes it difficult to create a satisfying mod. Still, it can be used for accessory removal and is more versatile than expected, so I plan to use it in future tutorials as well.
0. Prerequisites
UABEA
The AssetBundle to edit
AssetStudio
Unity 2018.4.23f1
MeshDeleterWithTexture : https://booth.pm/ja/items/1501527
Click on '無料ダウンロード' below ¥0 to download it, and make sure to extract the files.
0_1. Extracting FBX and Texture Files with AssetStudio
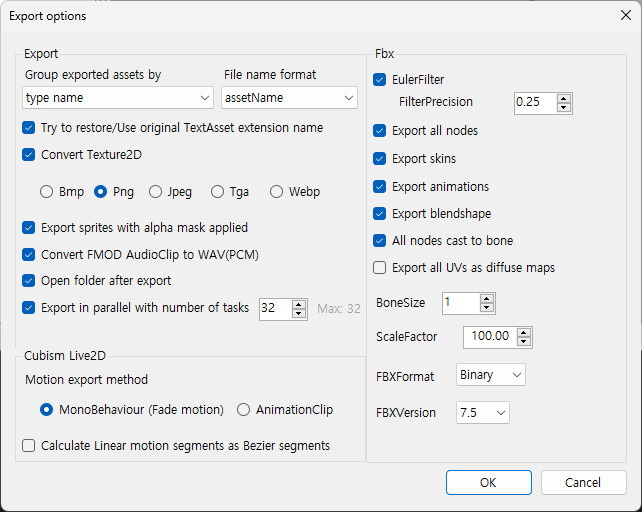
There are plenty of guides online on how to do this, so I’ll skip the explanation and just share my export settings.

These might not be the optimal settings, but they should work without issues.

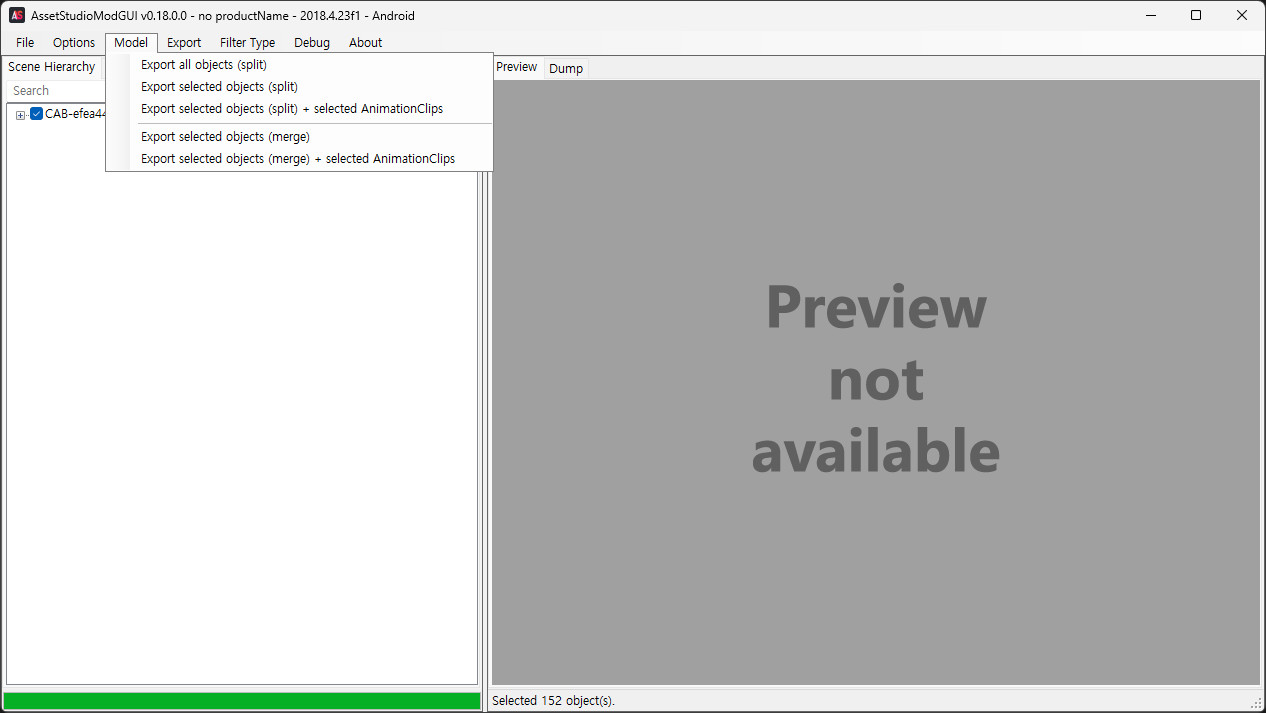
Here, I exported using 'Export selected objects (split).

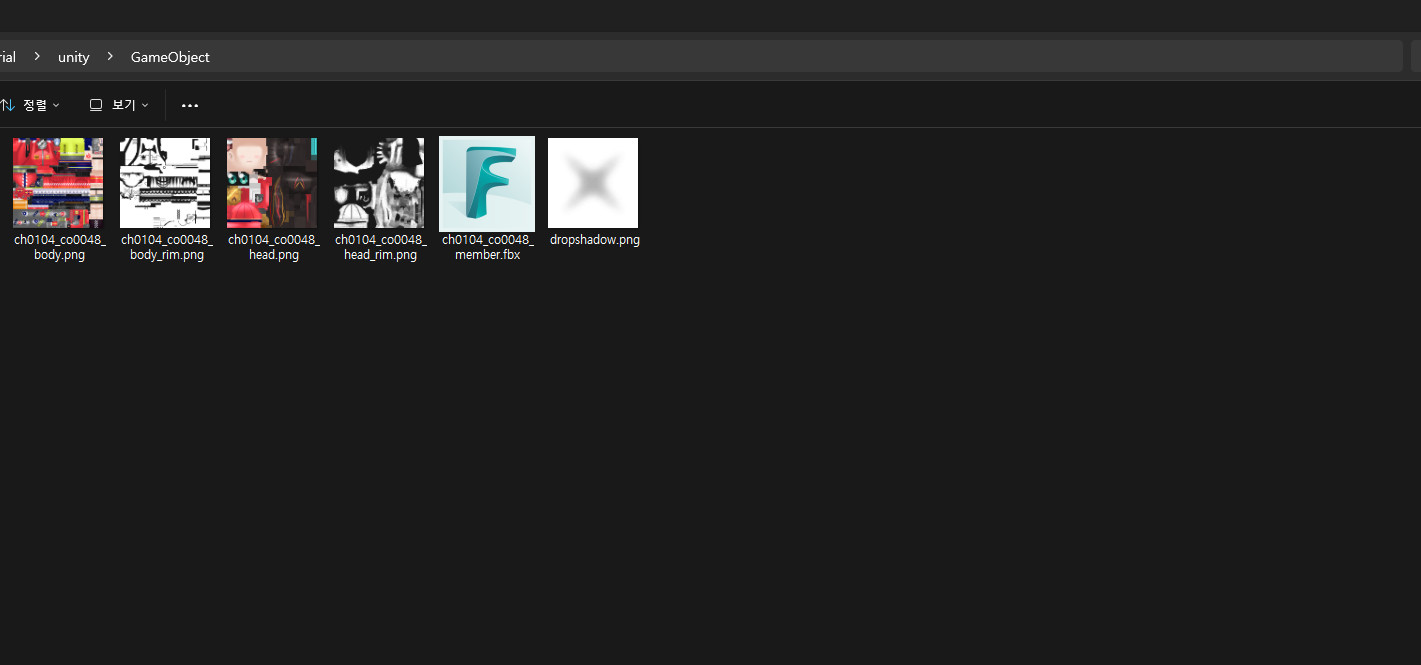
Then it will be extracted like this.
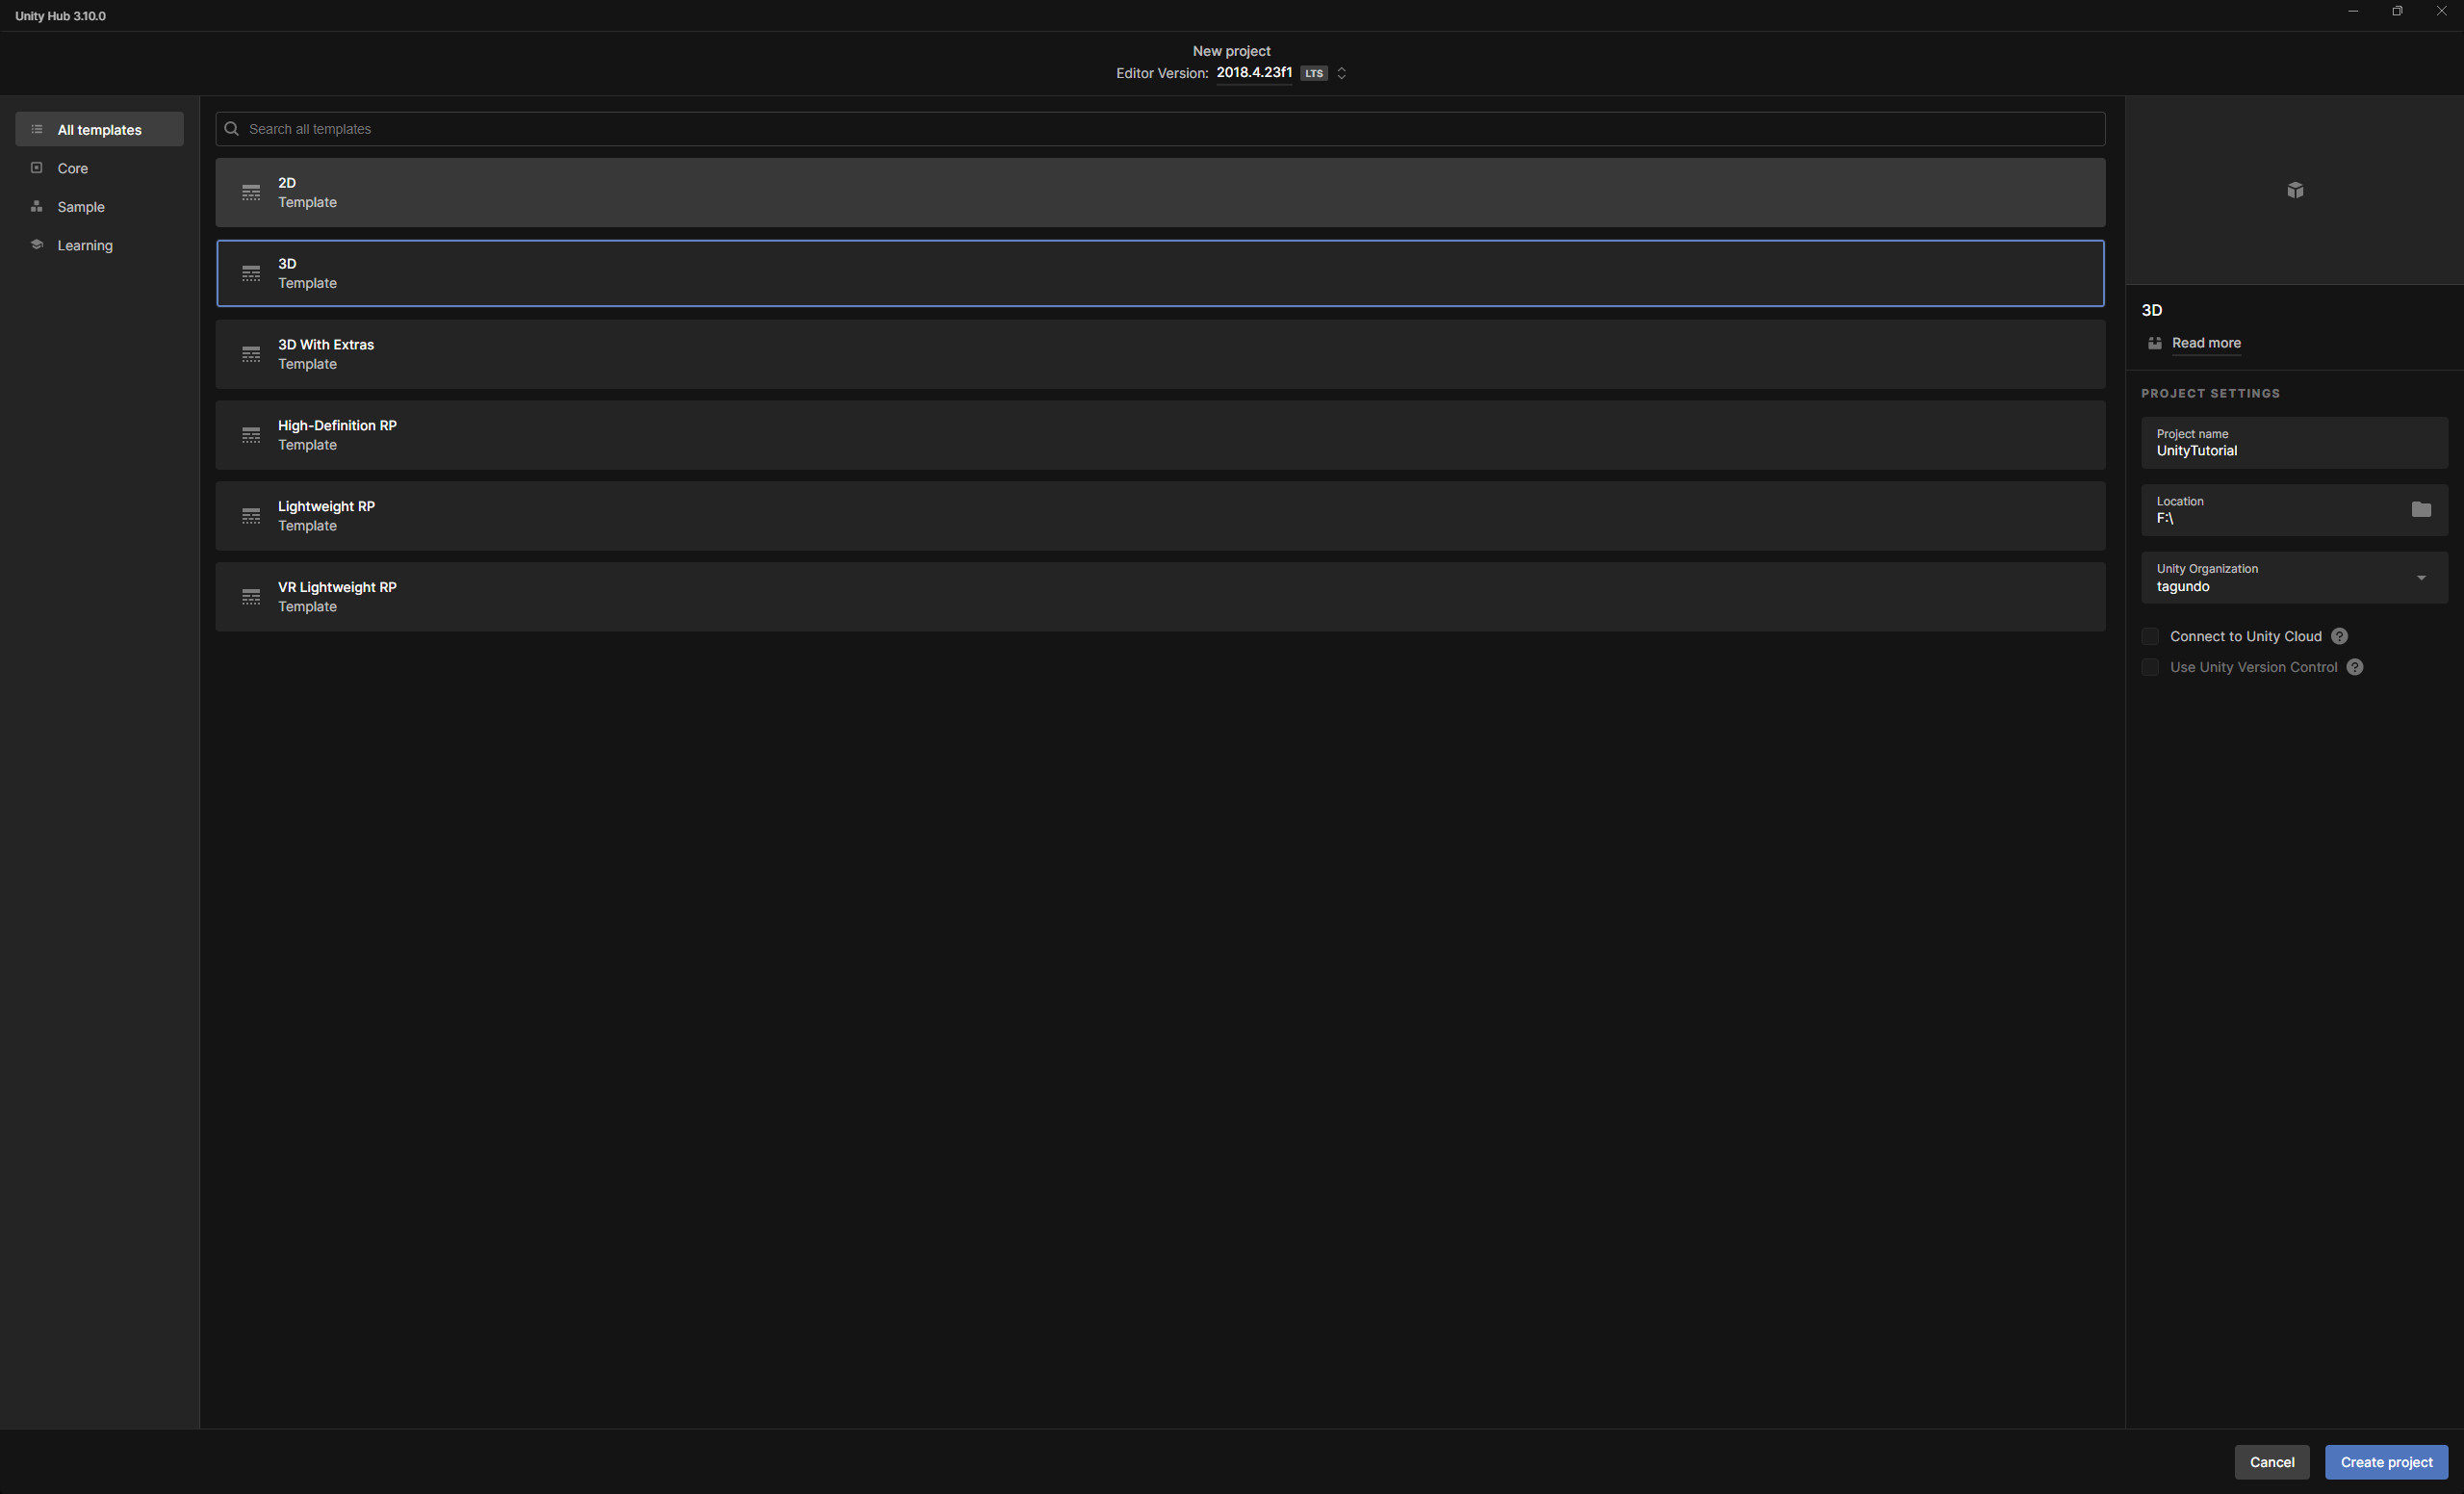
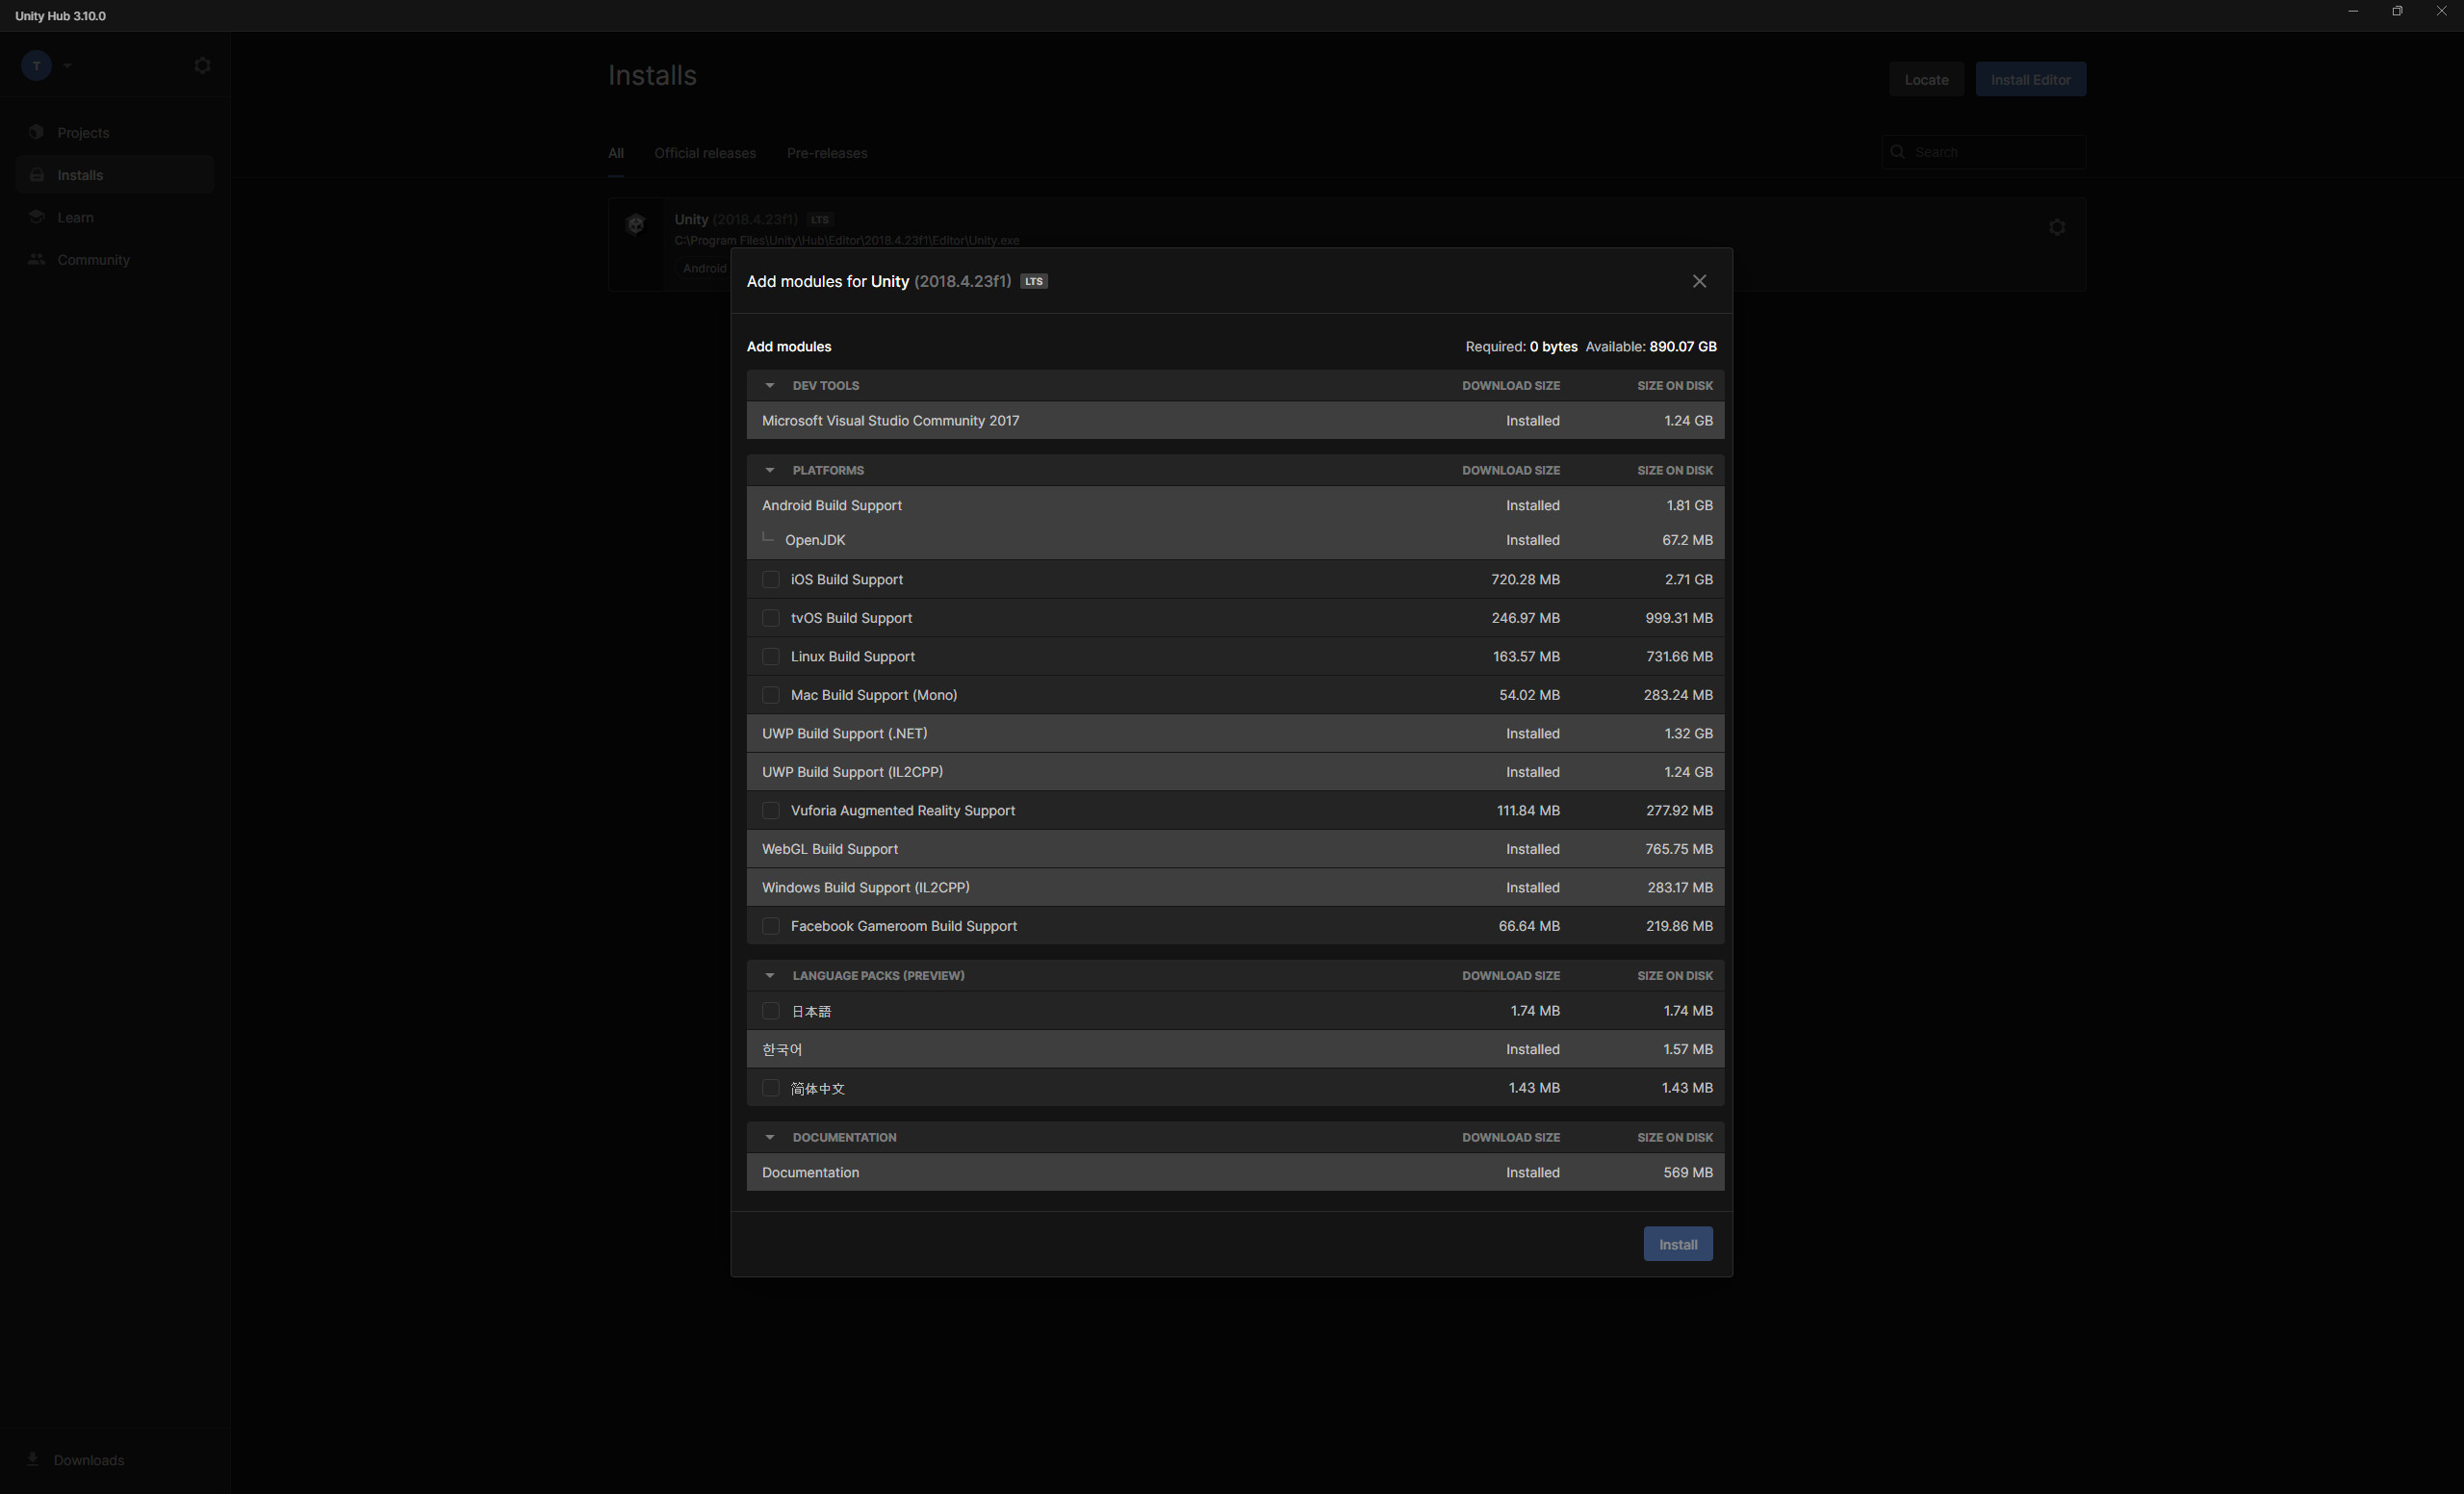
1. Installing Unity
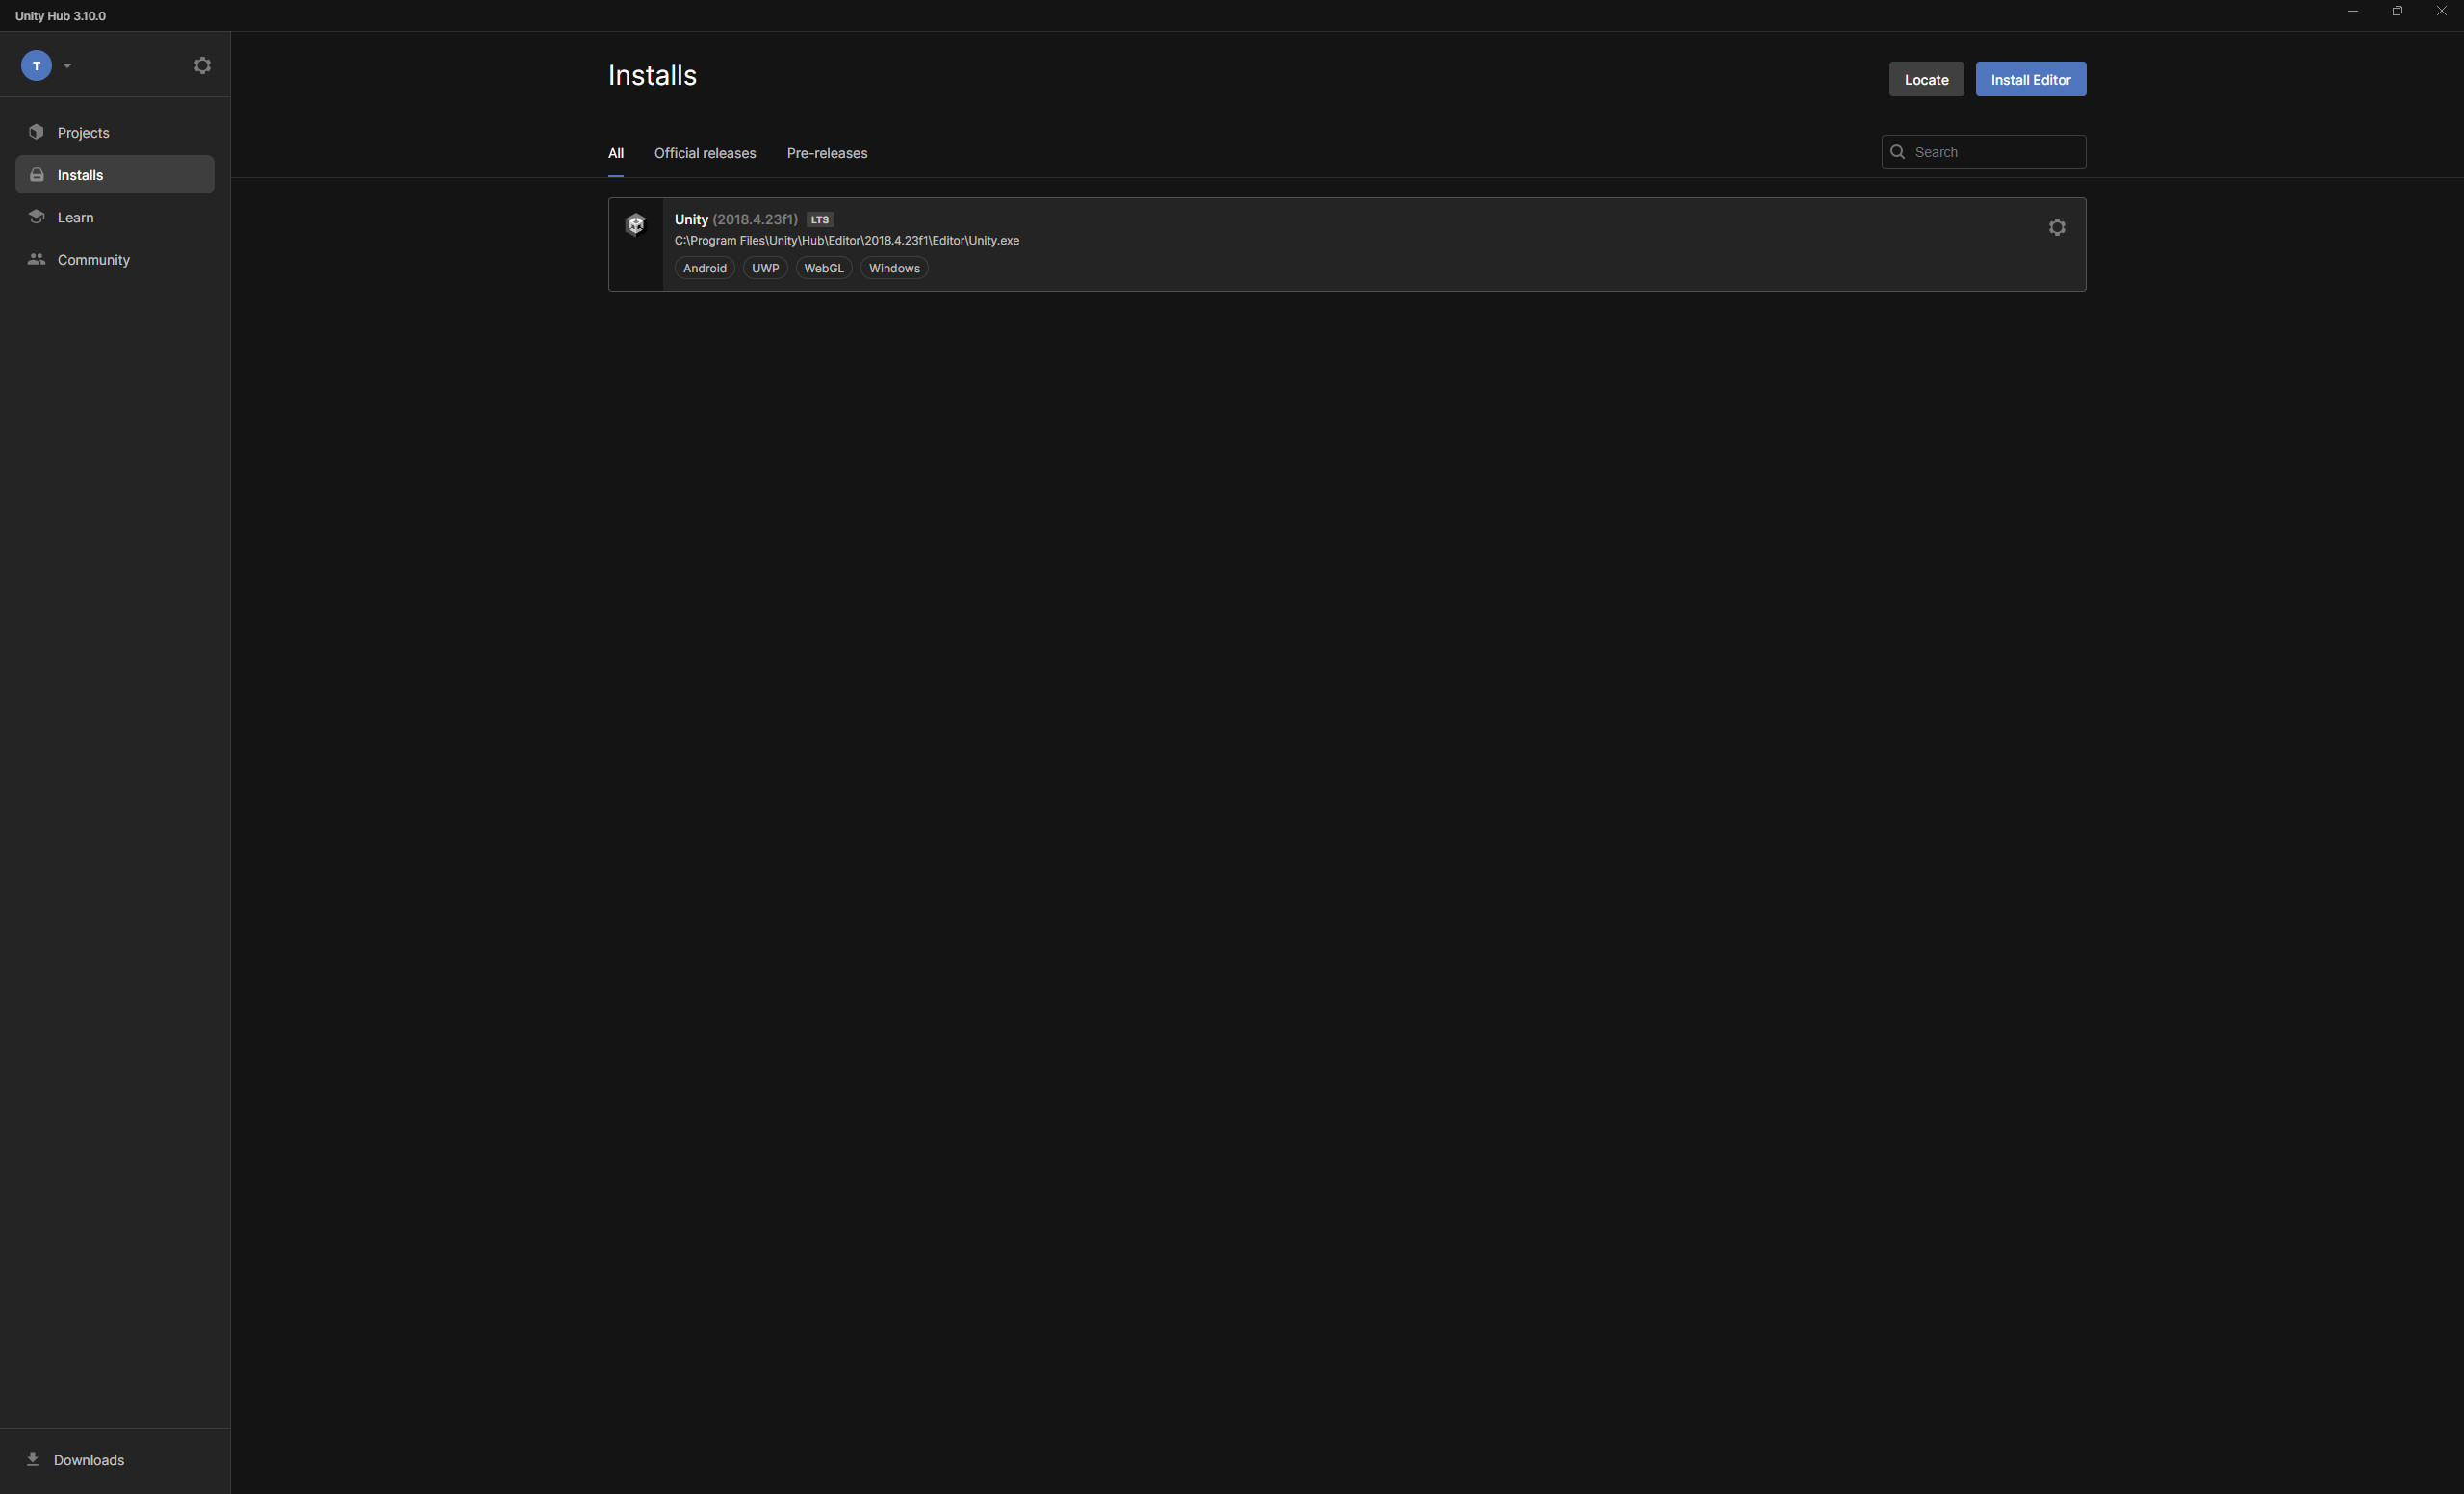
There are plenty of guides online on how to install Unity, so I won’t explain it in detail.
Instead, I’ll just show you which modules I installed, though they might not all be necessary.


2. MeshDeleterWithTexture installing

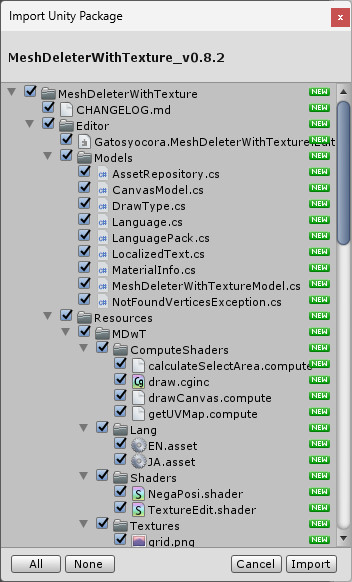
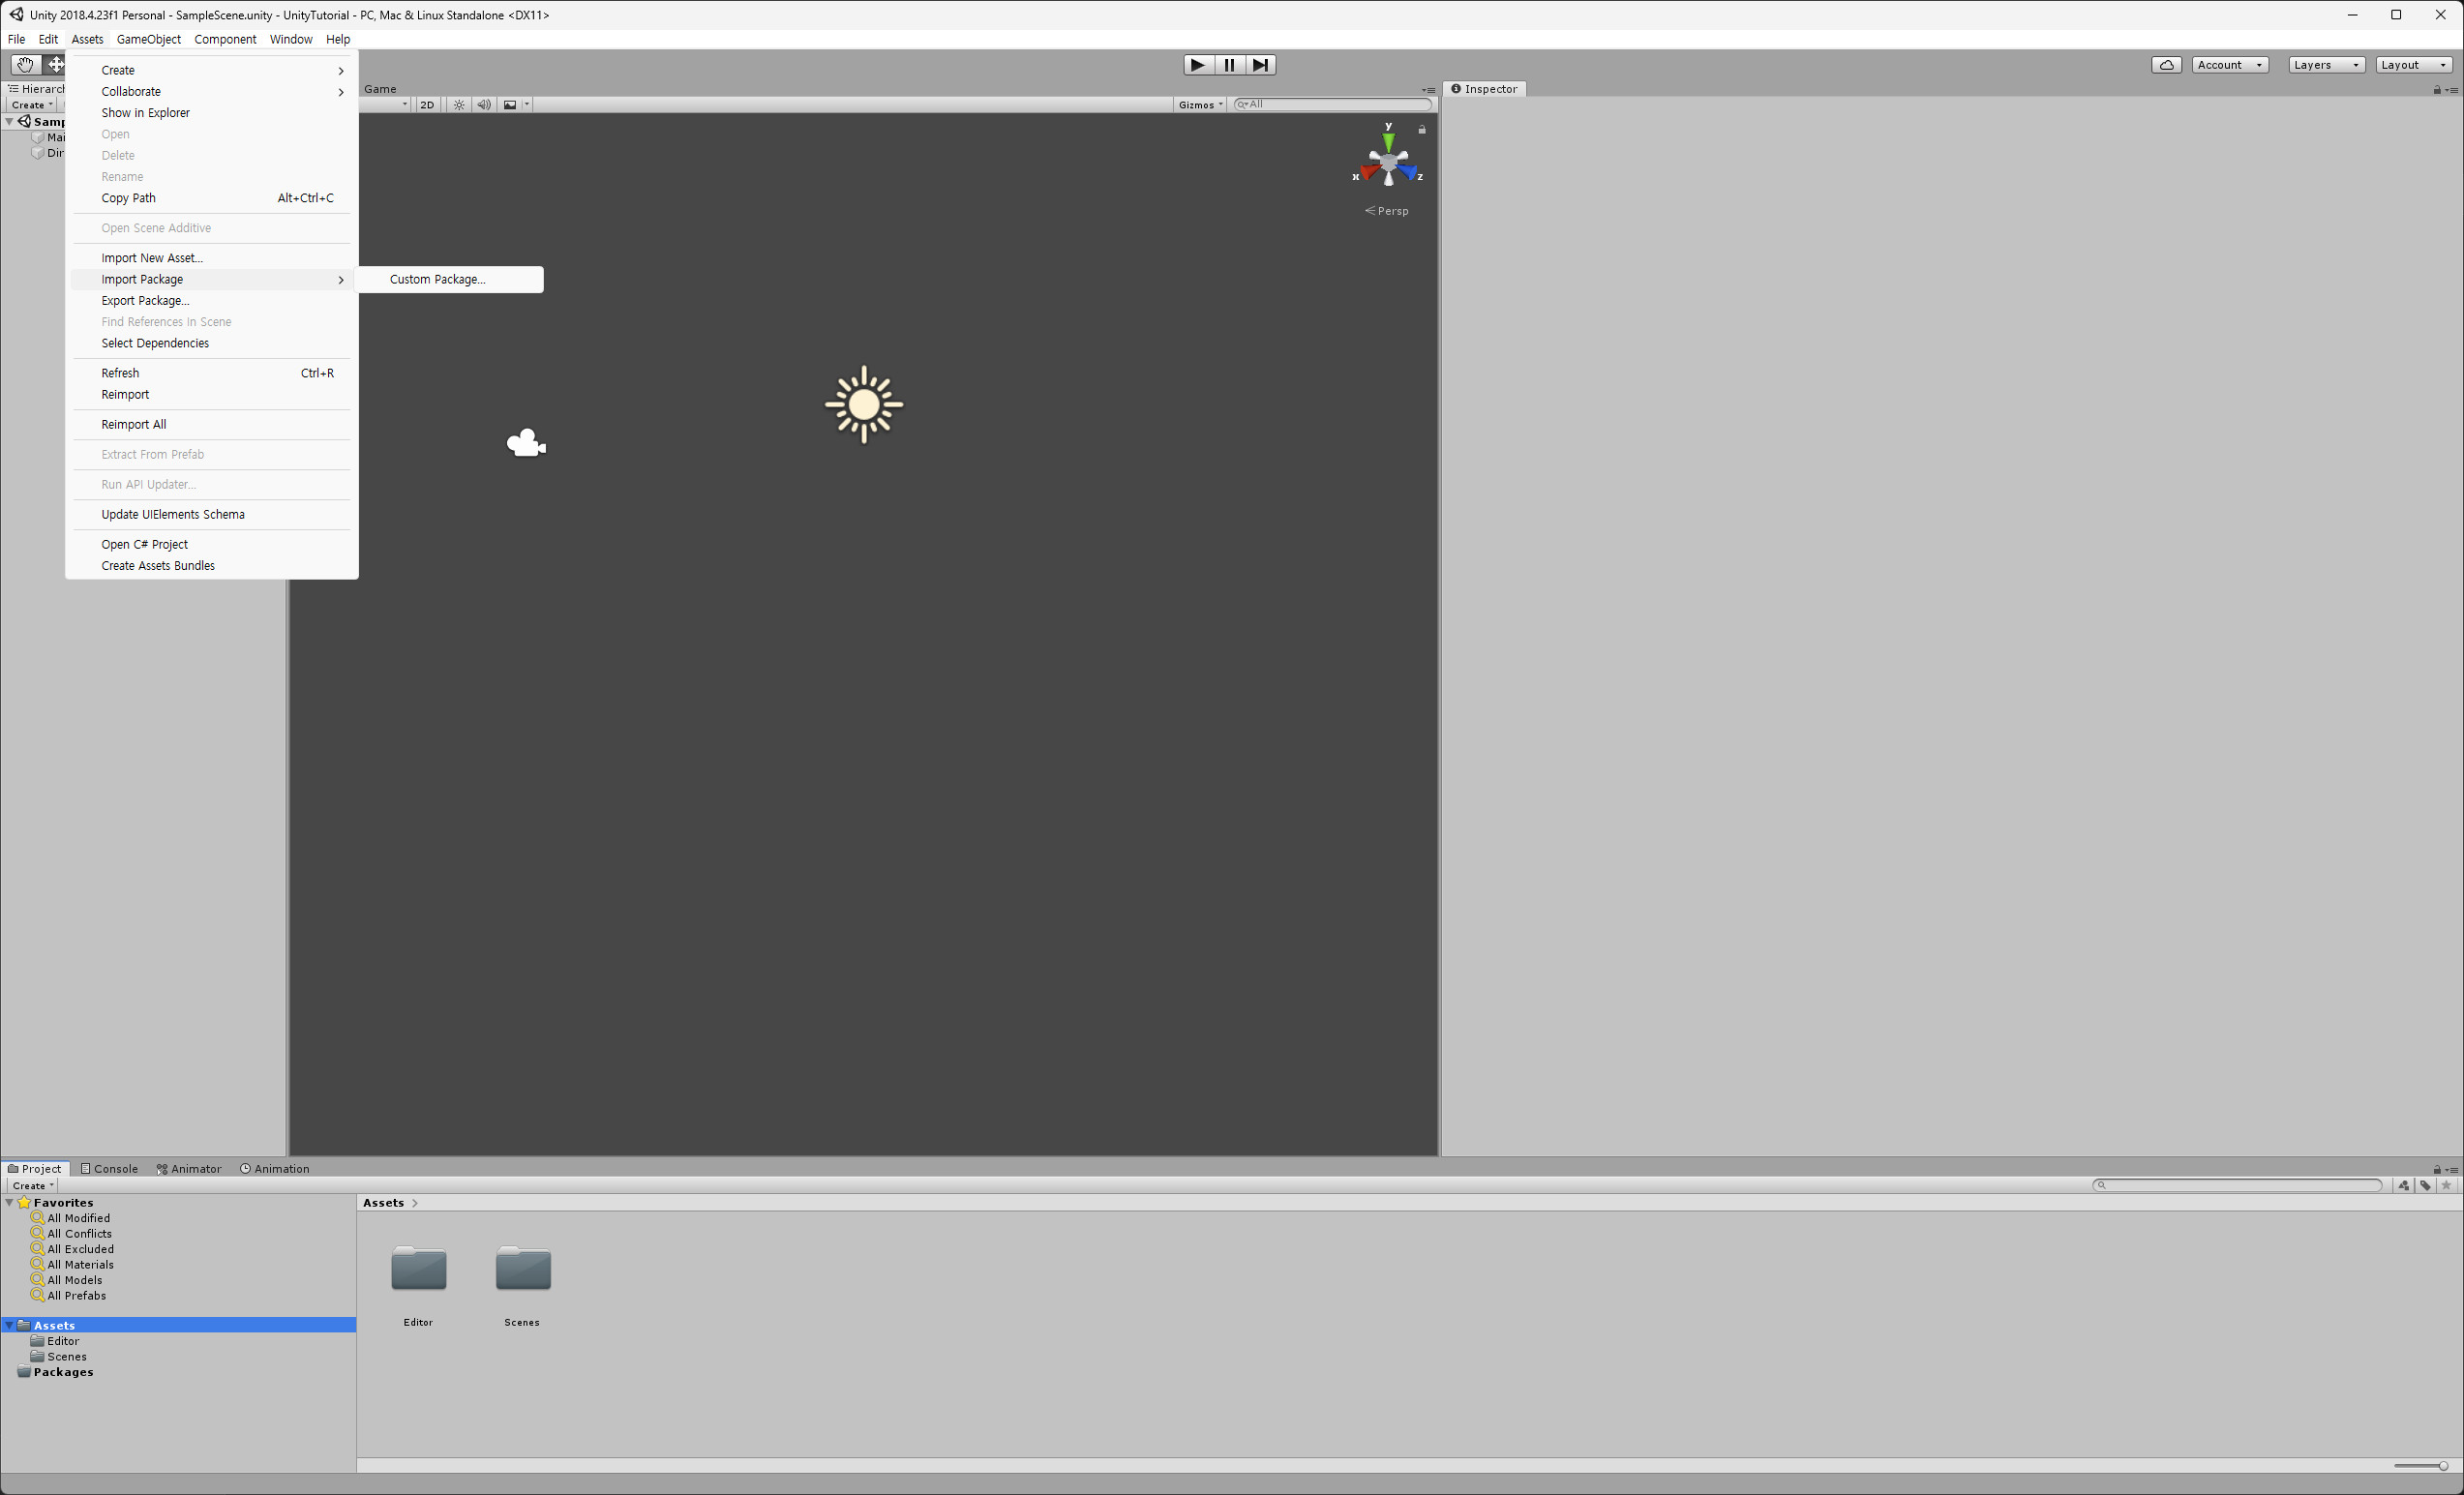
At the top, select Assets -> Import Package -> Custom Package.
Then, navigate to the folder containing MeshDeleterWithTexture and click on the file(MeshDeleterWithTexture_v0.8.2.unitypackage).
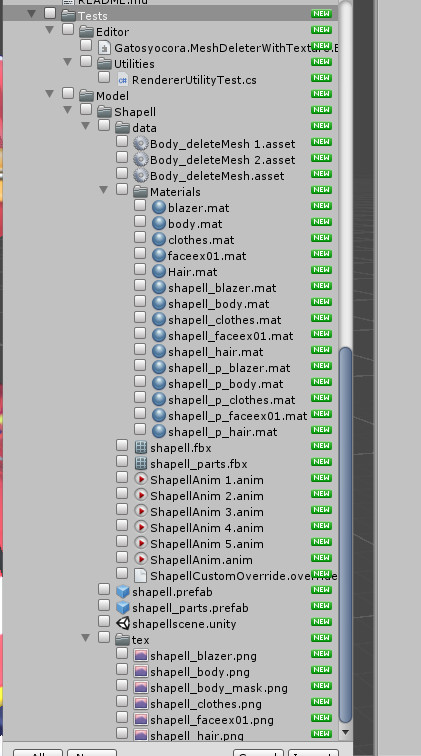
Then a window like the one below will appear, and if you scroll down, you'll see

You'll see a section called Tests. Uncheck it.

Next, click the Import button.
Once the import is complete, you should see GatoTool displayed at the top. However, it might not appear in some cases.
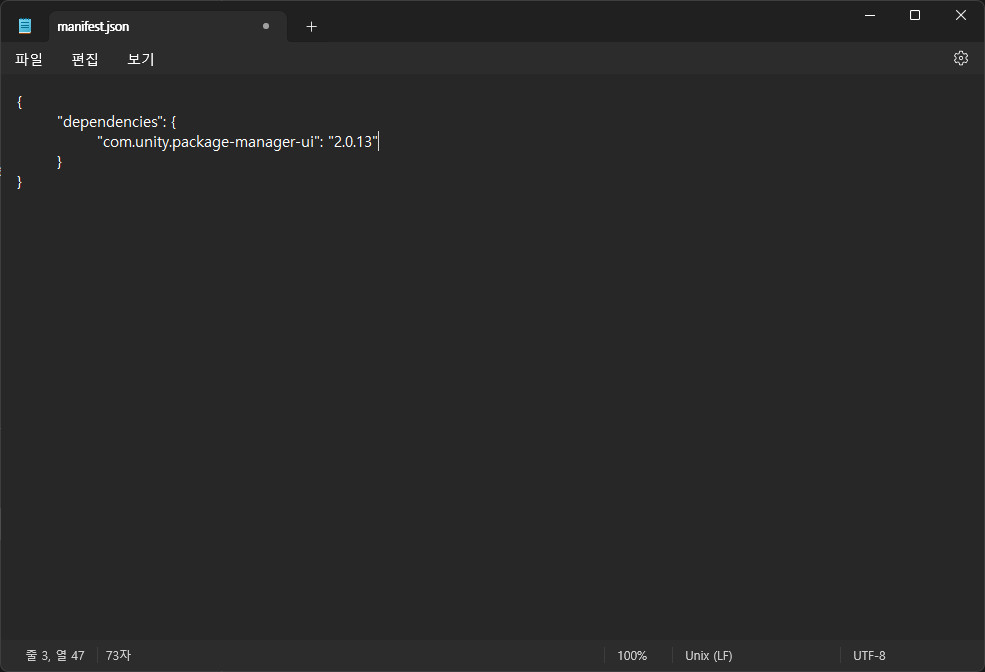
If that happens, locate the manifest.json file in your Unity project folder.

Add "com.unity.package-manager-ui": "2.0.13" between the {} like this.

After saving and returning to Unity, GatoTool will be displayed at the top left.
3. Importing Assets -> Skip this if you already know how to import assets.
Create a folder in Unity and drag the files extracted with AssetStudio into it.
For reference, to create a folder, right-click, then select Create -> Folder.
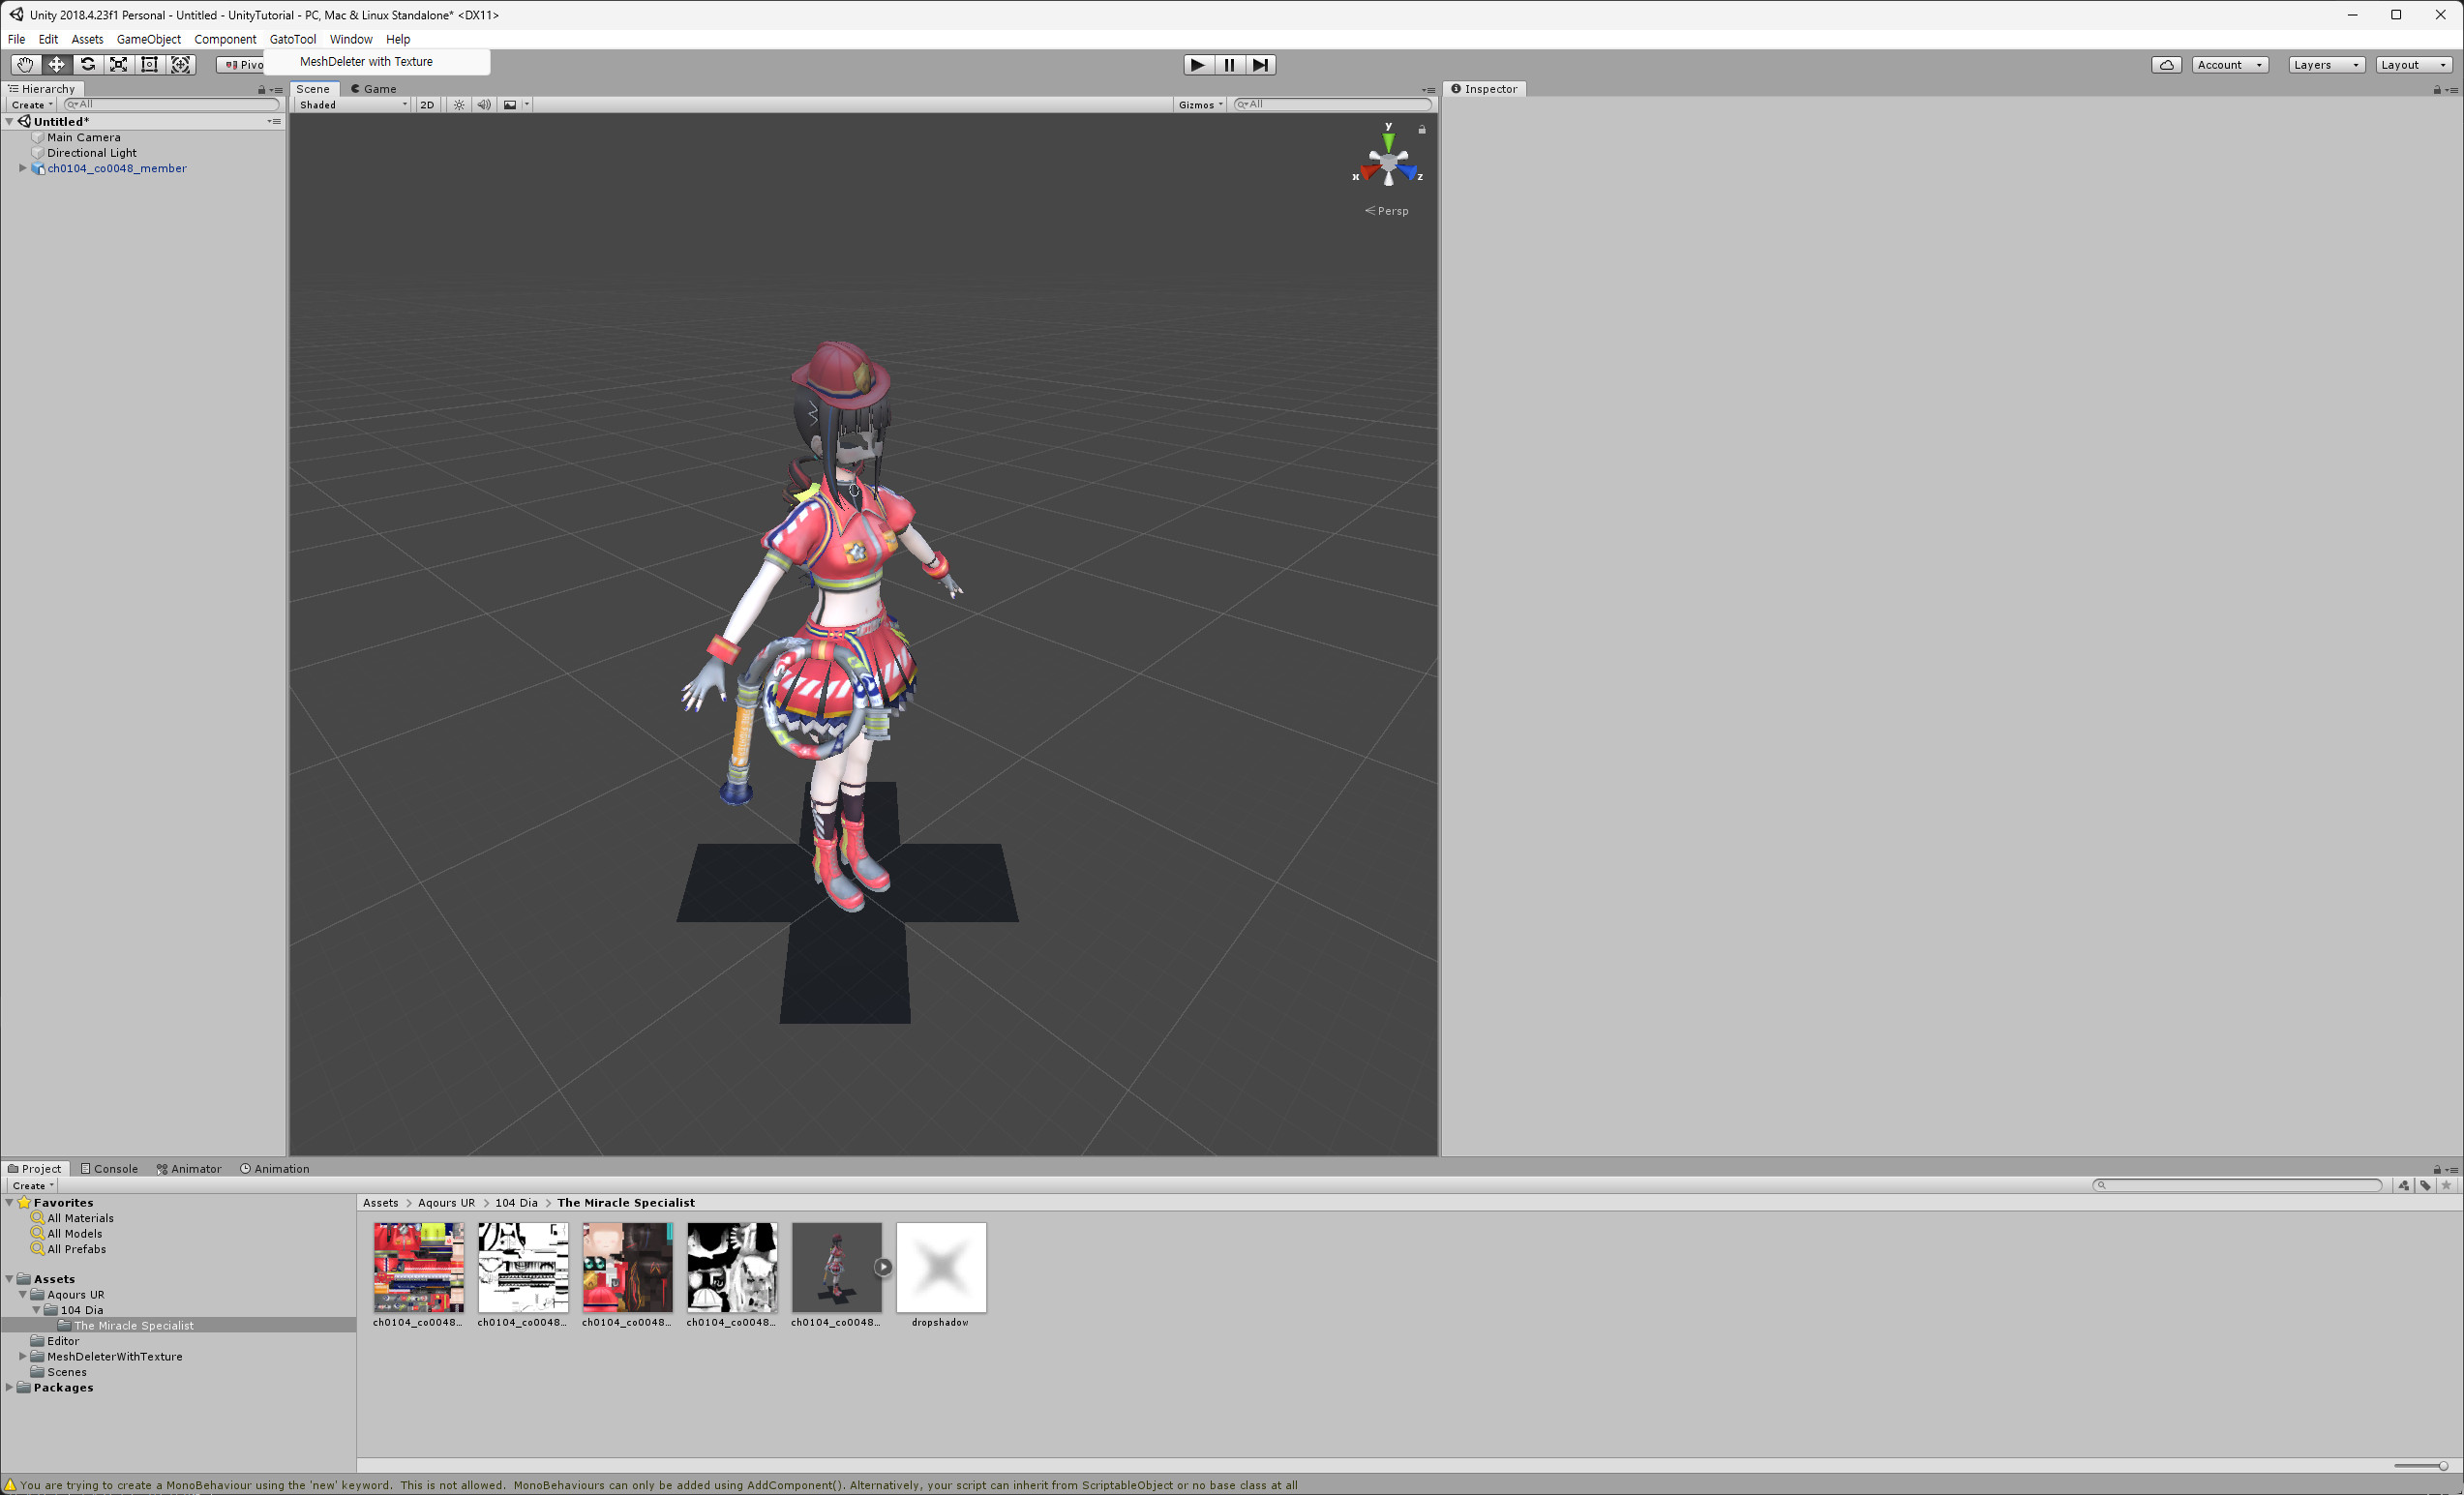
Drag the Dia modeling file you imported into Unity to the left Hierarchy window

4. Running MeshDeleterWithTexture
Click GatoTool -> MeshDeleter With Texture to run it.

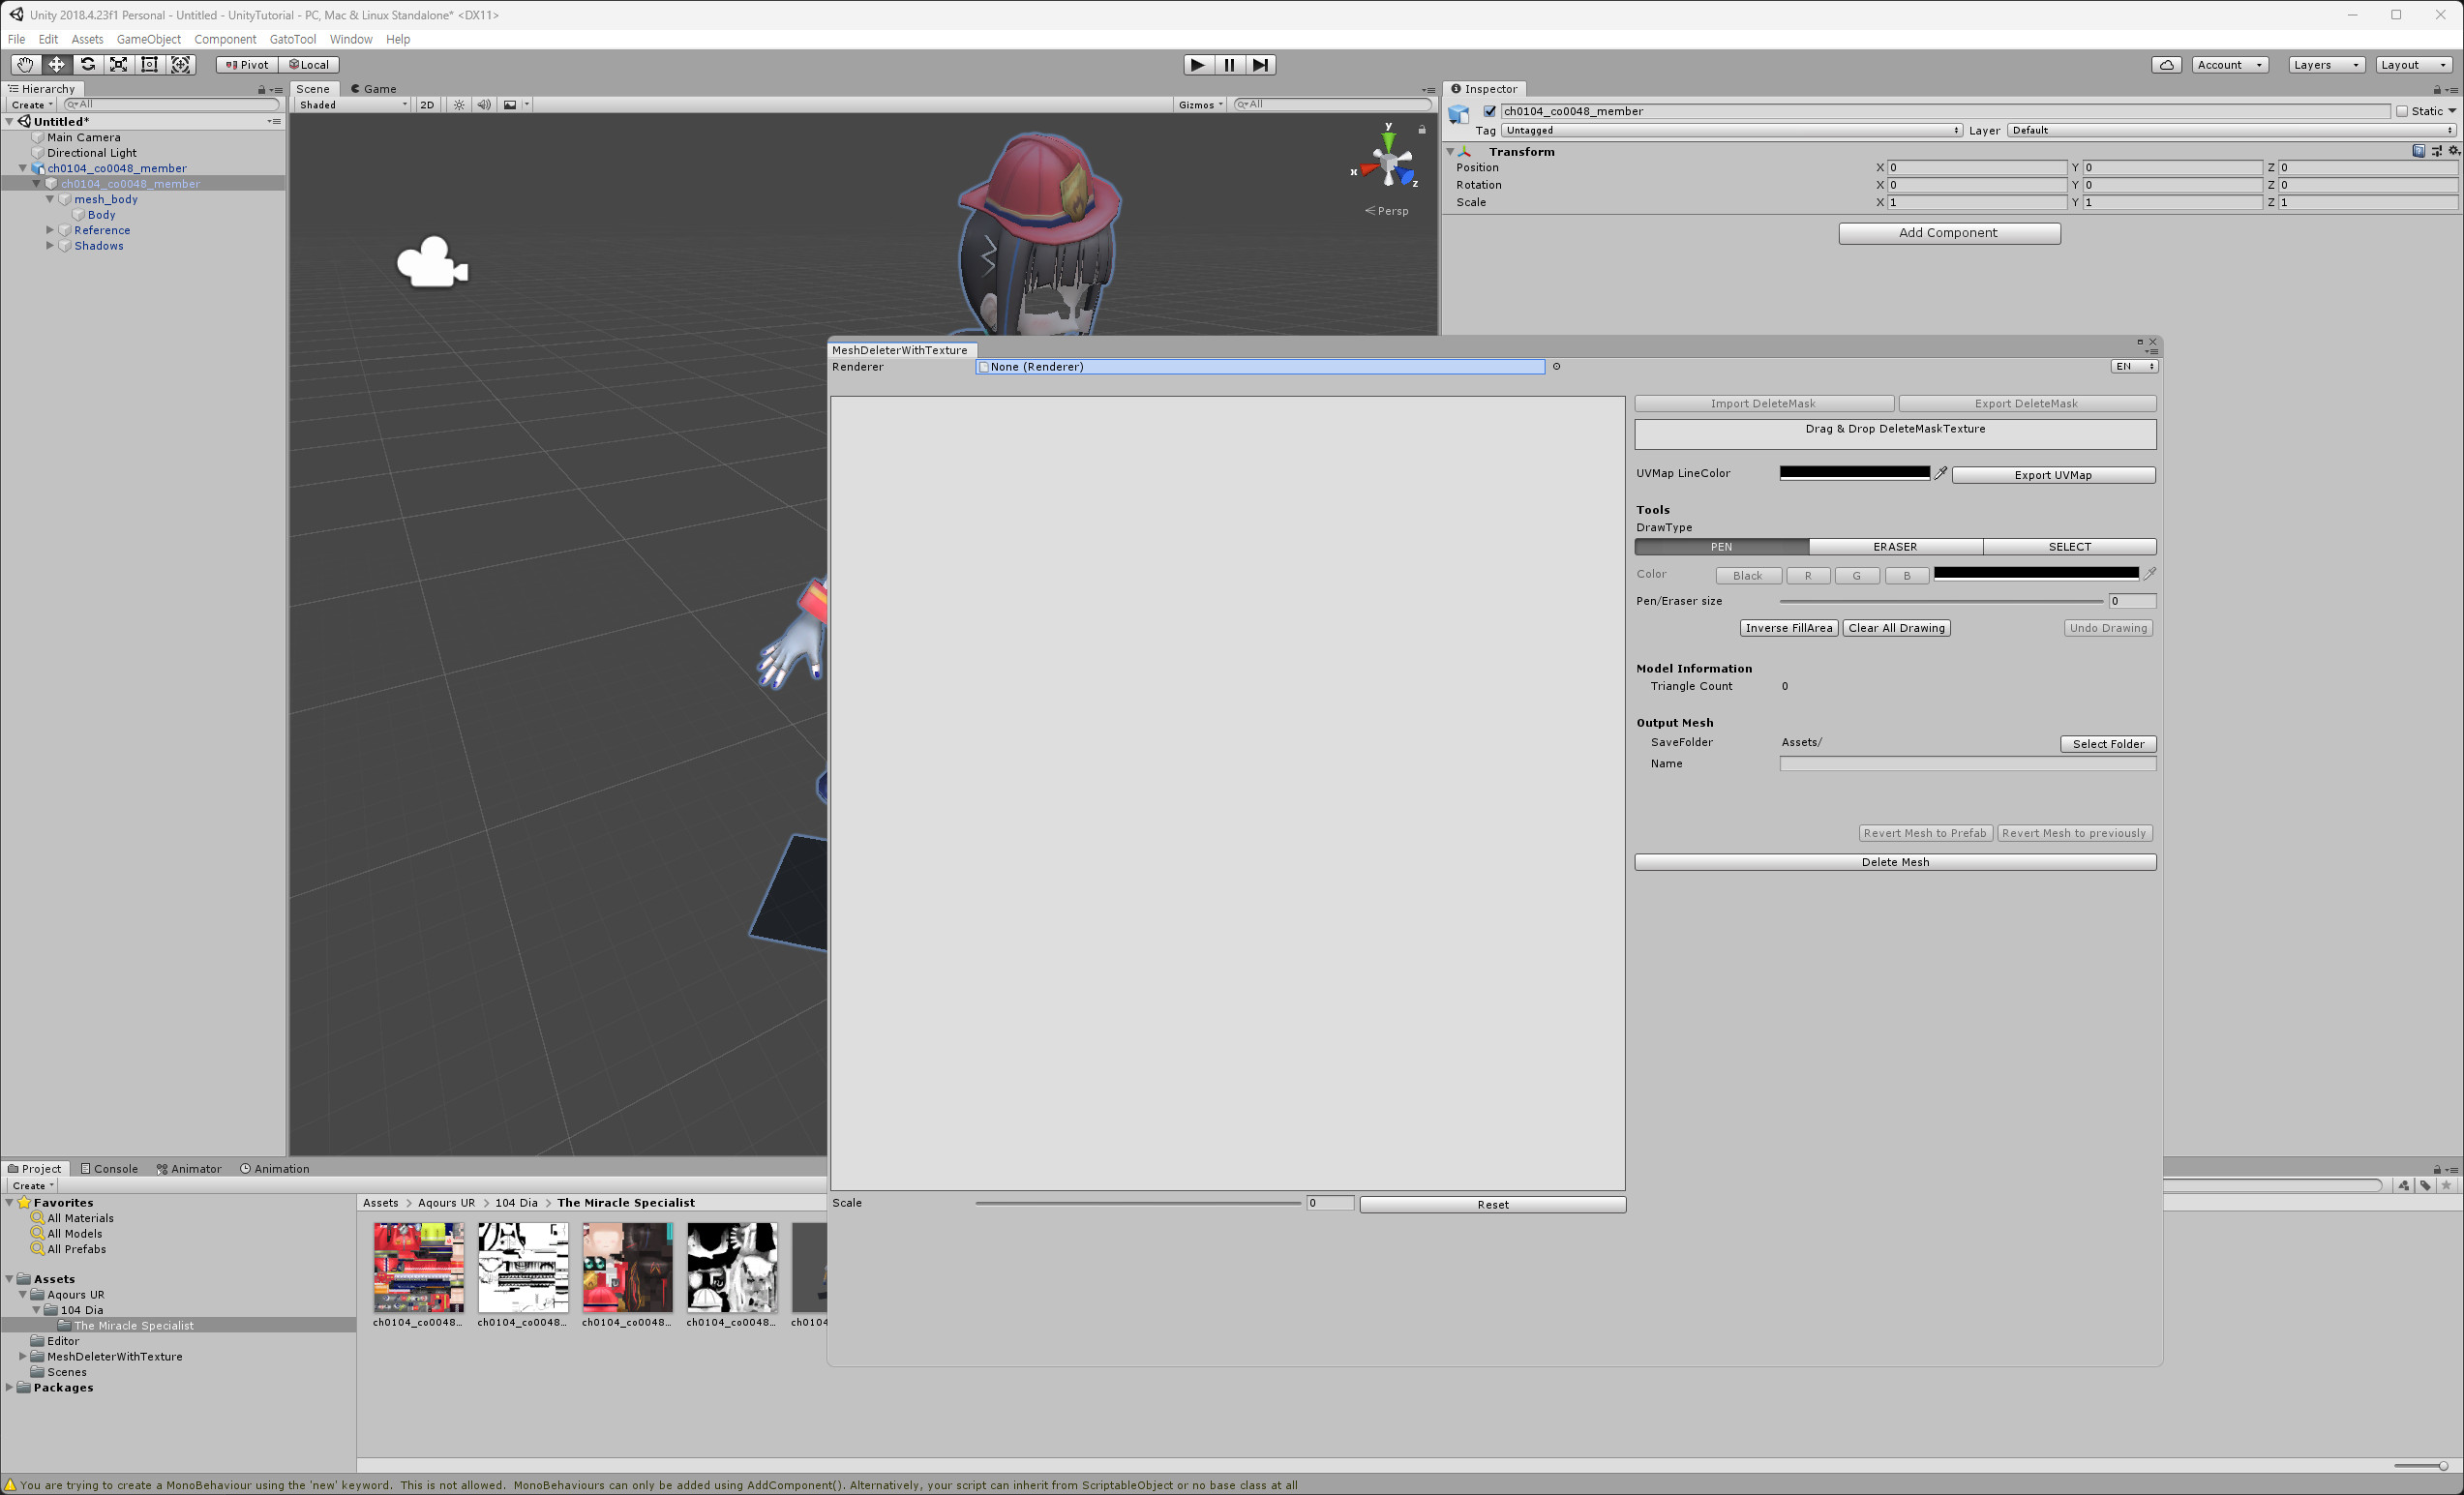
In the Renderer field, it says None, but you can drag and drop the desired mesh object into it. for now it is 'body'
In the Hierarchy, click the ▶ next to ch0104_co0048_member to expand it, and you'll see body. Drag it into the Renderer field in the MeshDeleter With Texture window.

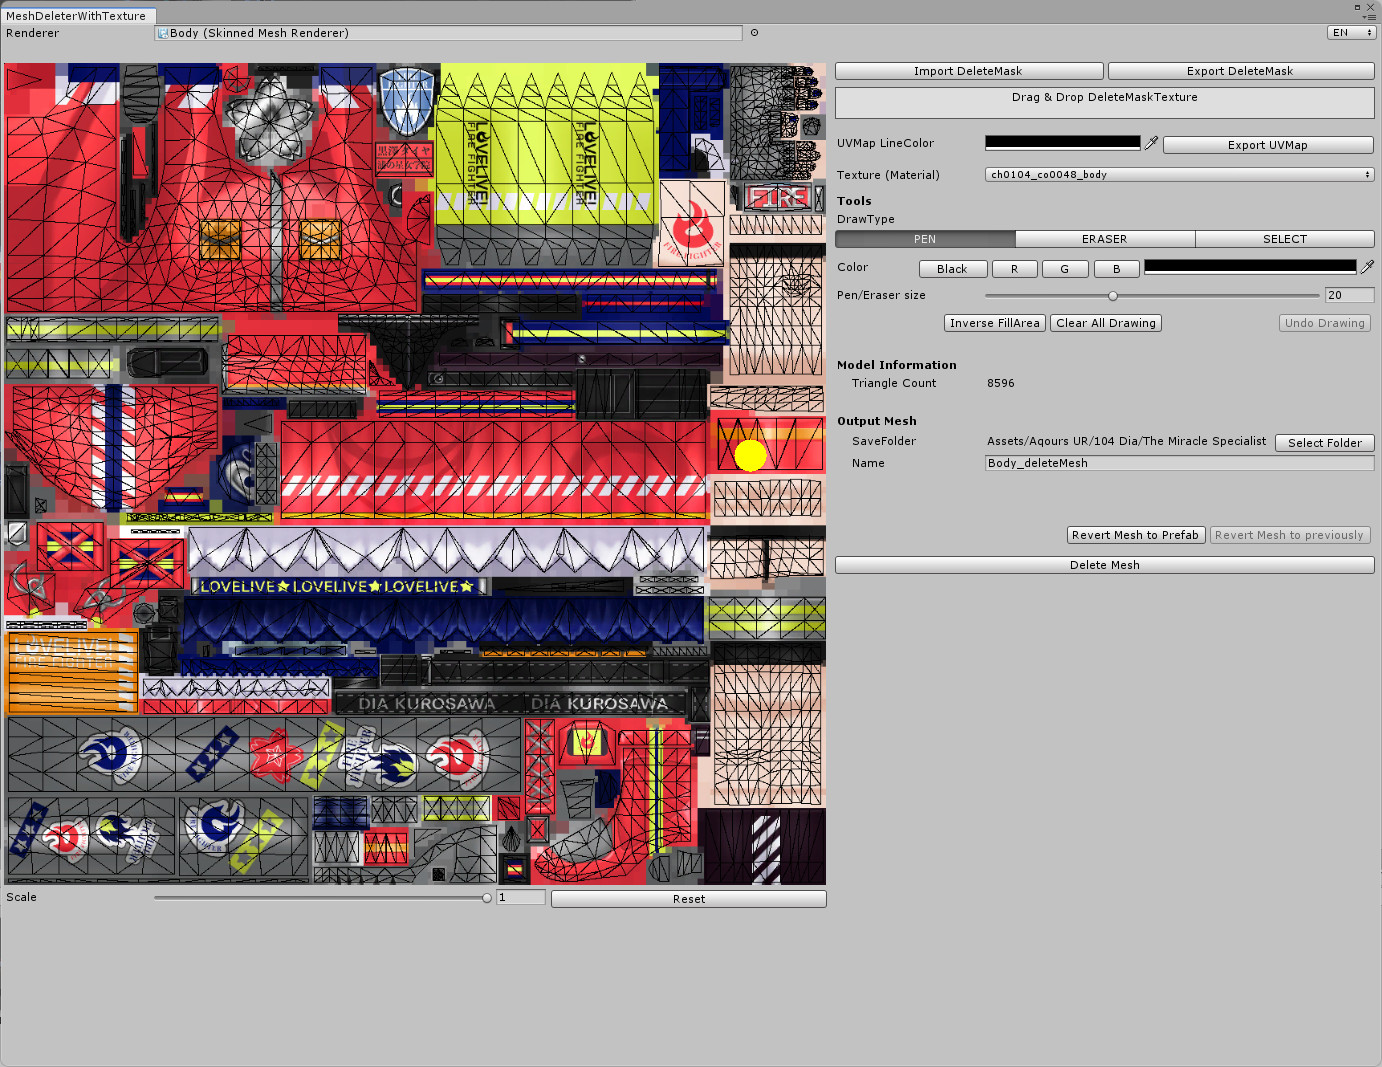
Then the Mesh Deleter window will display the texture image and UV map (spiderweb) applied to the object.
However, the default settings make both appear black, making them difficult to see.
Then the Mesh Deleter window will display the texture image and UV map (spiderweb) applied to the object.
Since I dragged in the 'body' object, only the UV map corresponding to the 'body' is visible.
However, the default settings make both appear black, making them difficult to see.
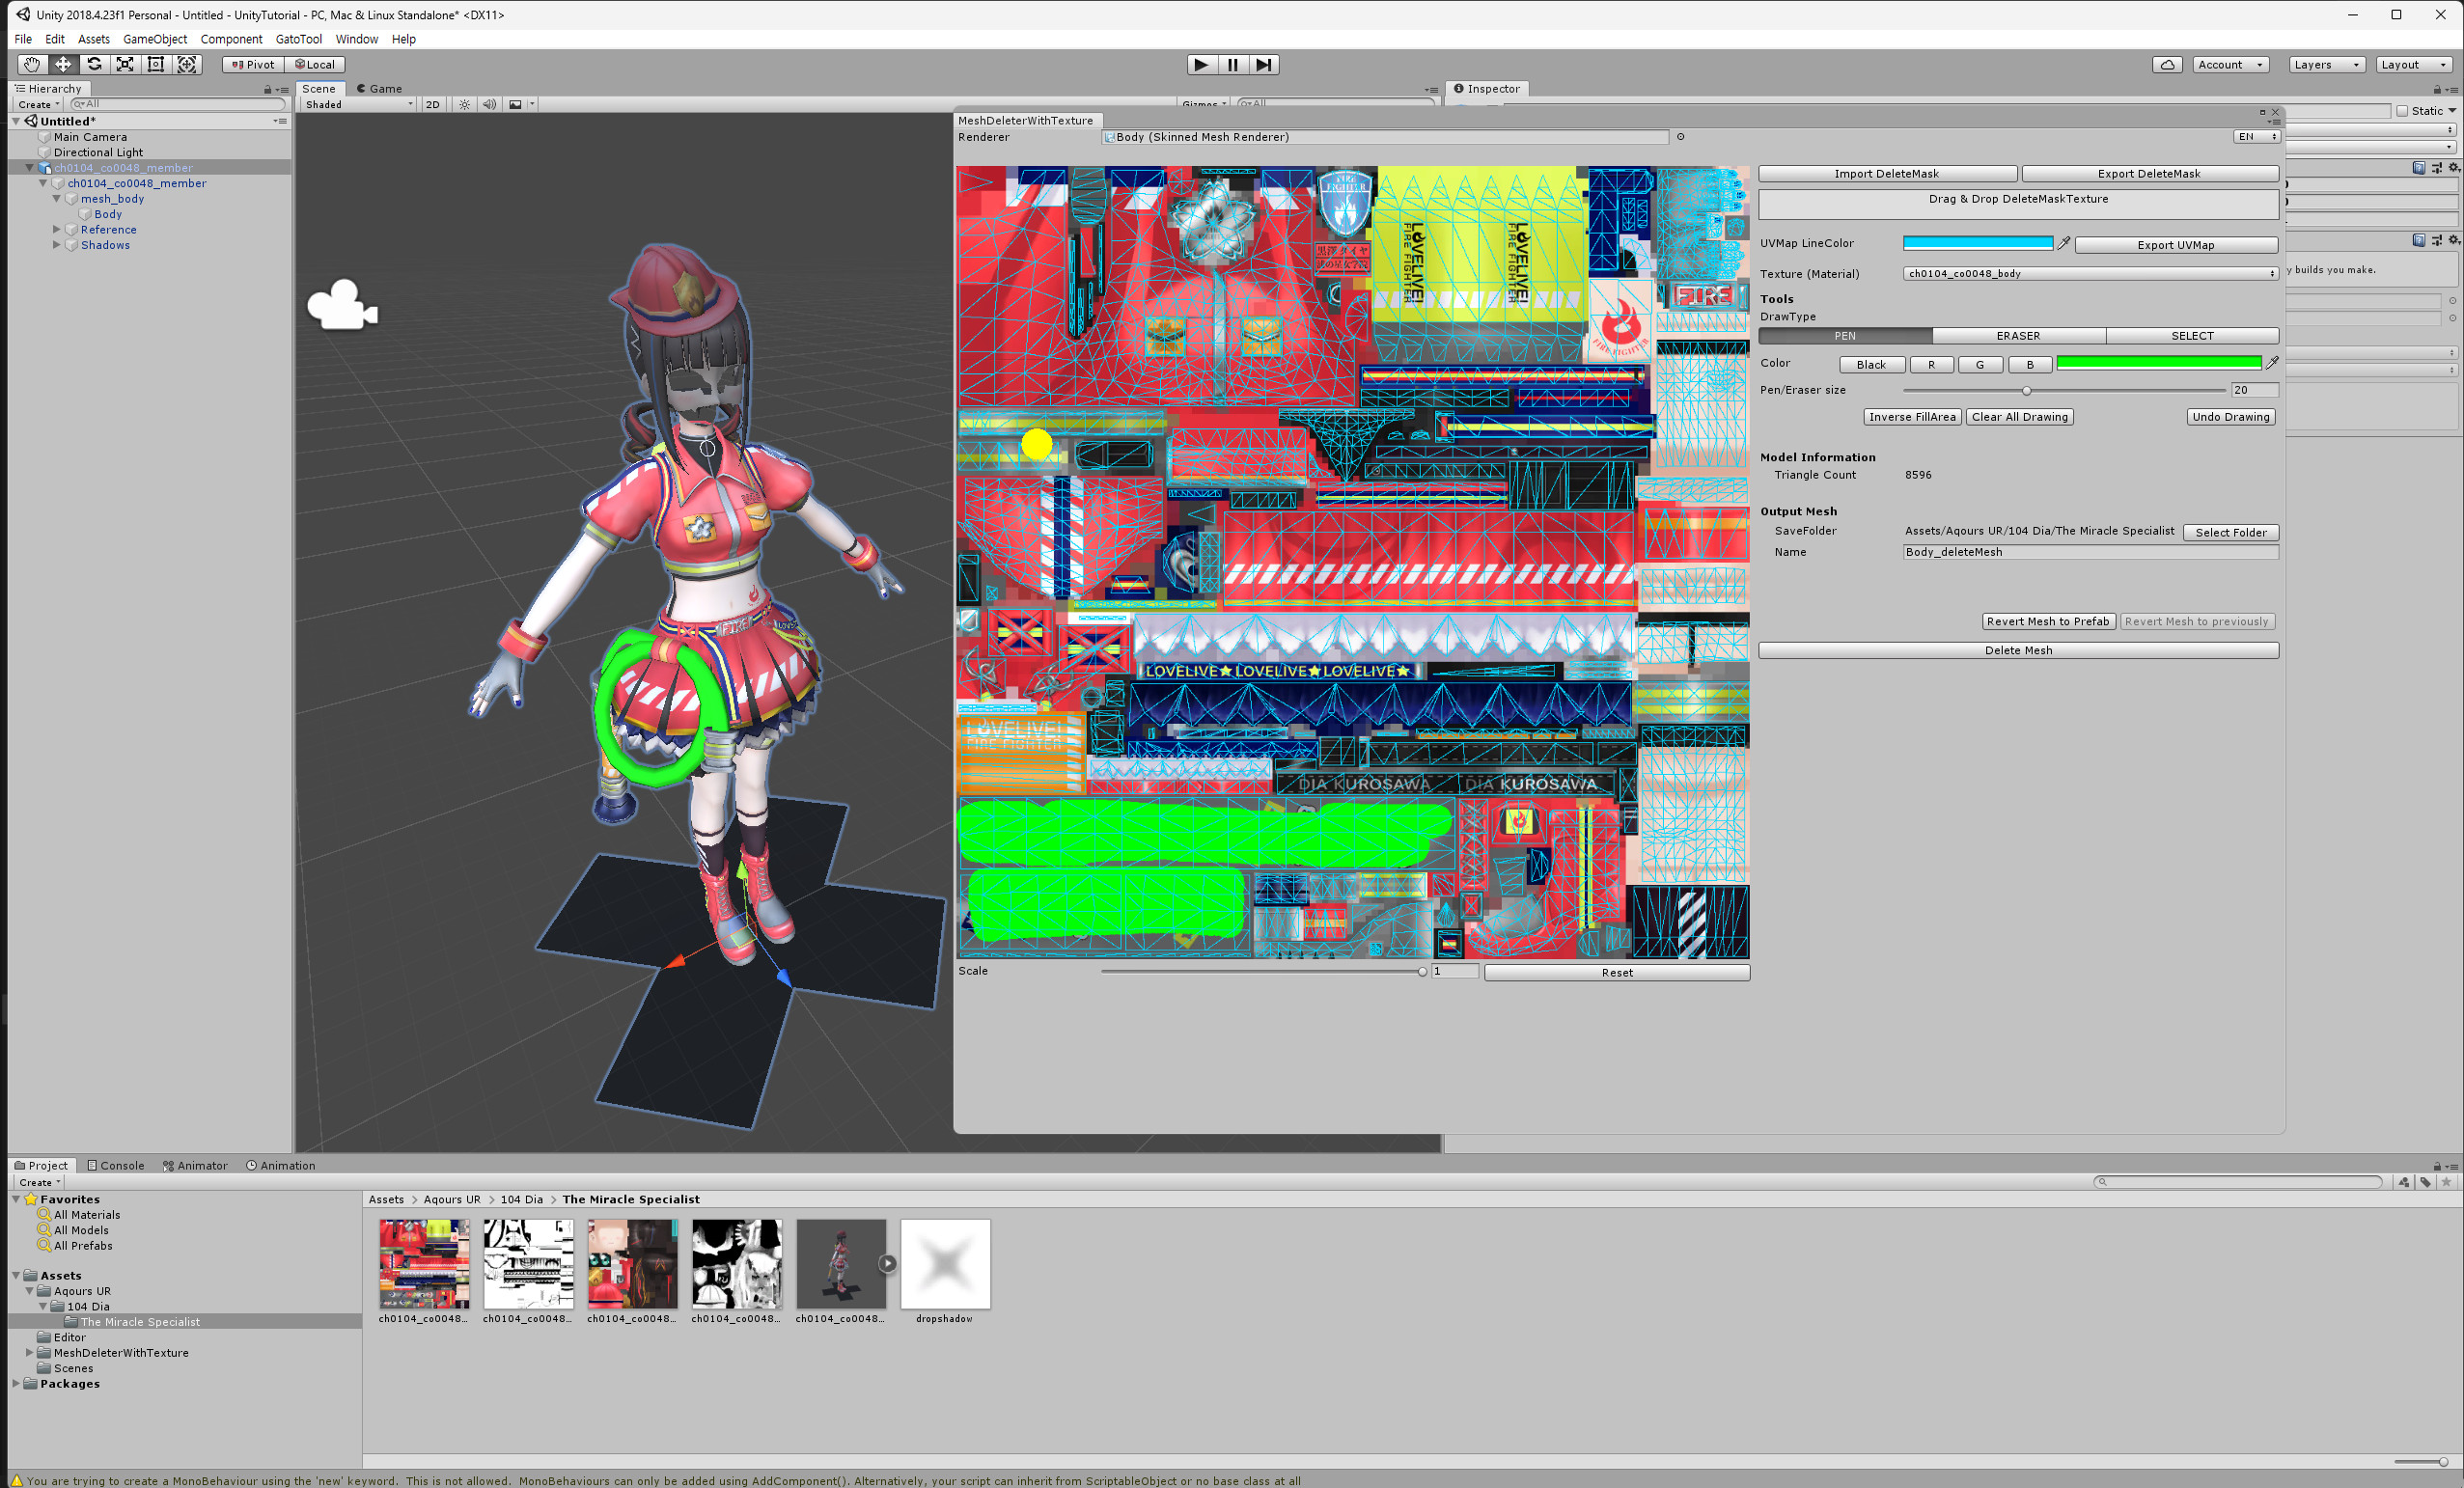
To make it easier to see, let's change the line color of the UV map to blue.
Also, change the color indicating the part we want to erase to something more visible. I personally prefer green (fluorescent) because it's bright and doesn’t overlap with other colors.
To erase a part, you first need to know what corresponds to which area, but it can be challenging to locate specific parts due to similar pieces.
In such cases, try randomly painting a spot you think might be the one, and check it in the Scene view.

The corresponding part will be displayed in the same way.
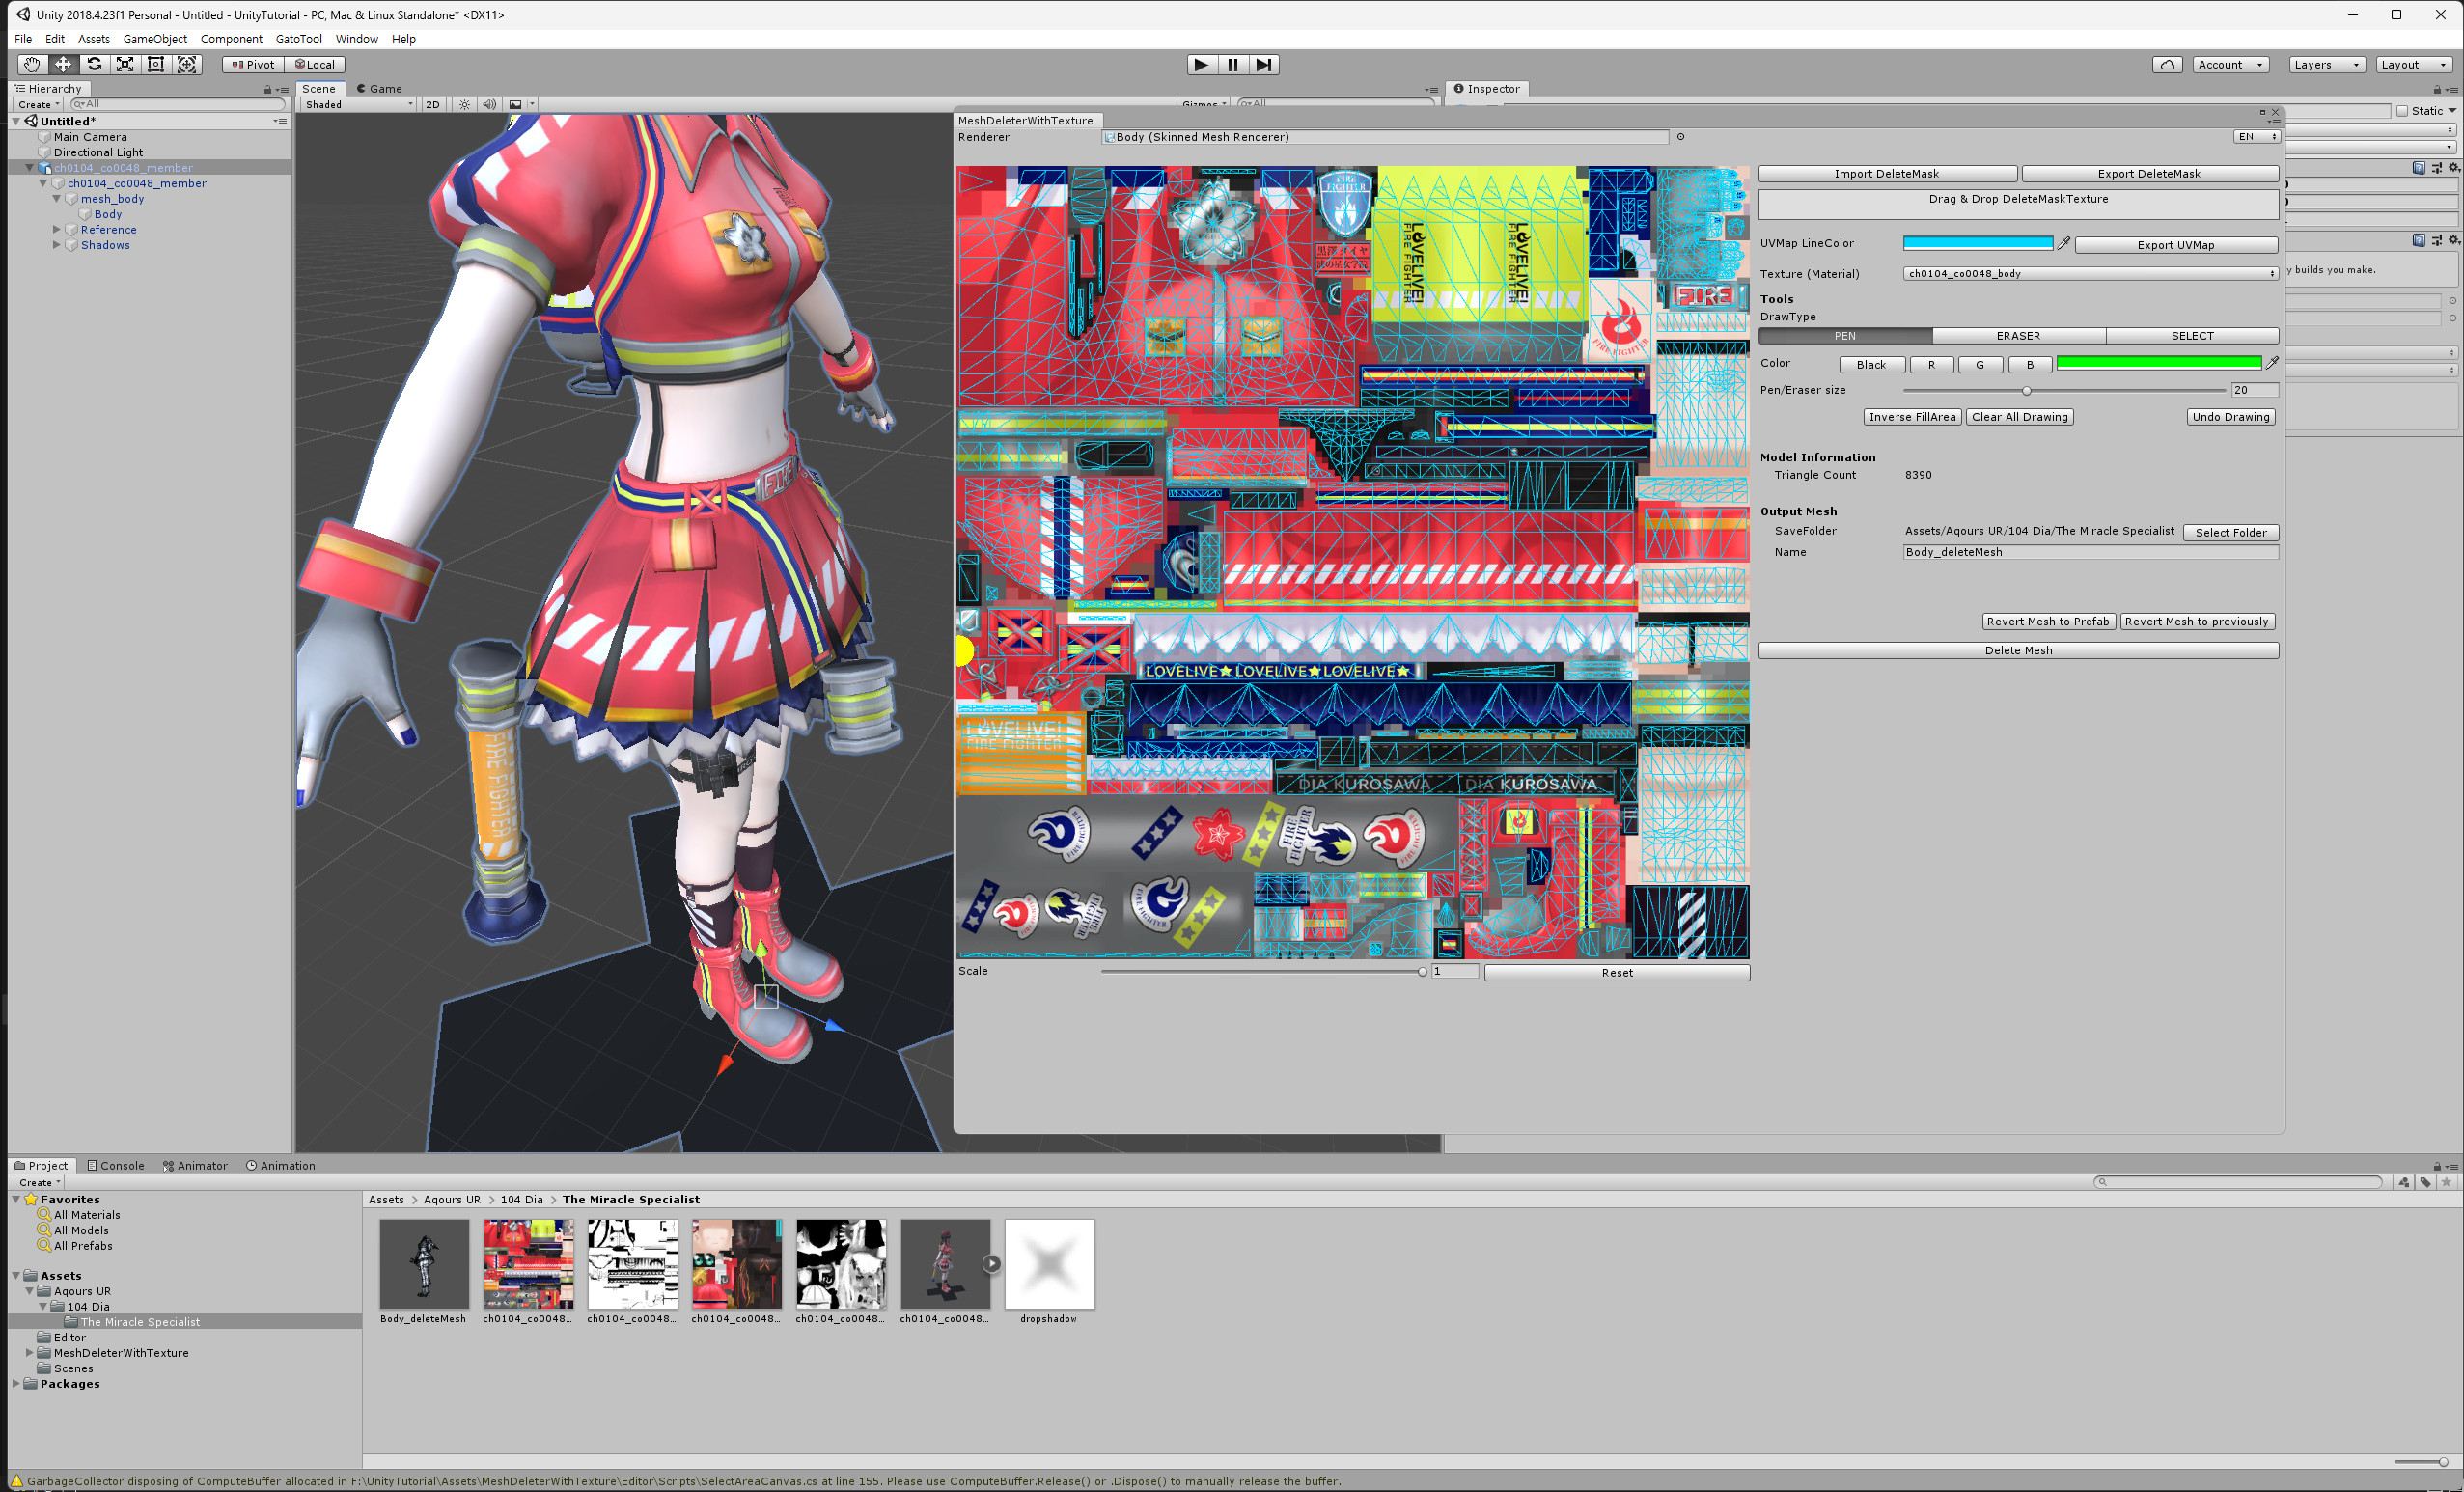
If the painted area isn’t what you wanted, use Undo Drawing (it works just like Ctrl+Z) to revert and repeat the process until you find the desired area.
Once you've found the part you want to erase, apply the color.
When applying the color, focus on the UV map rather than the texture. Some might complain that it's hard to erase because the textures overlap, but since you're working with the UV map, it doesn't matter at all.
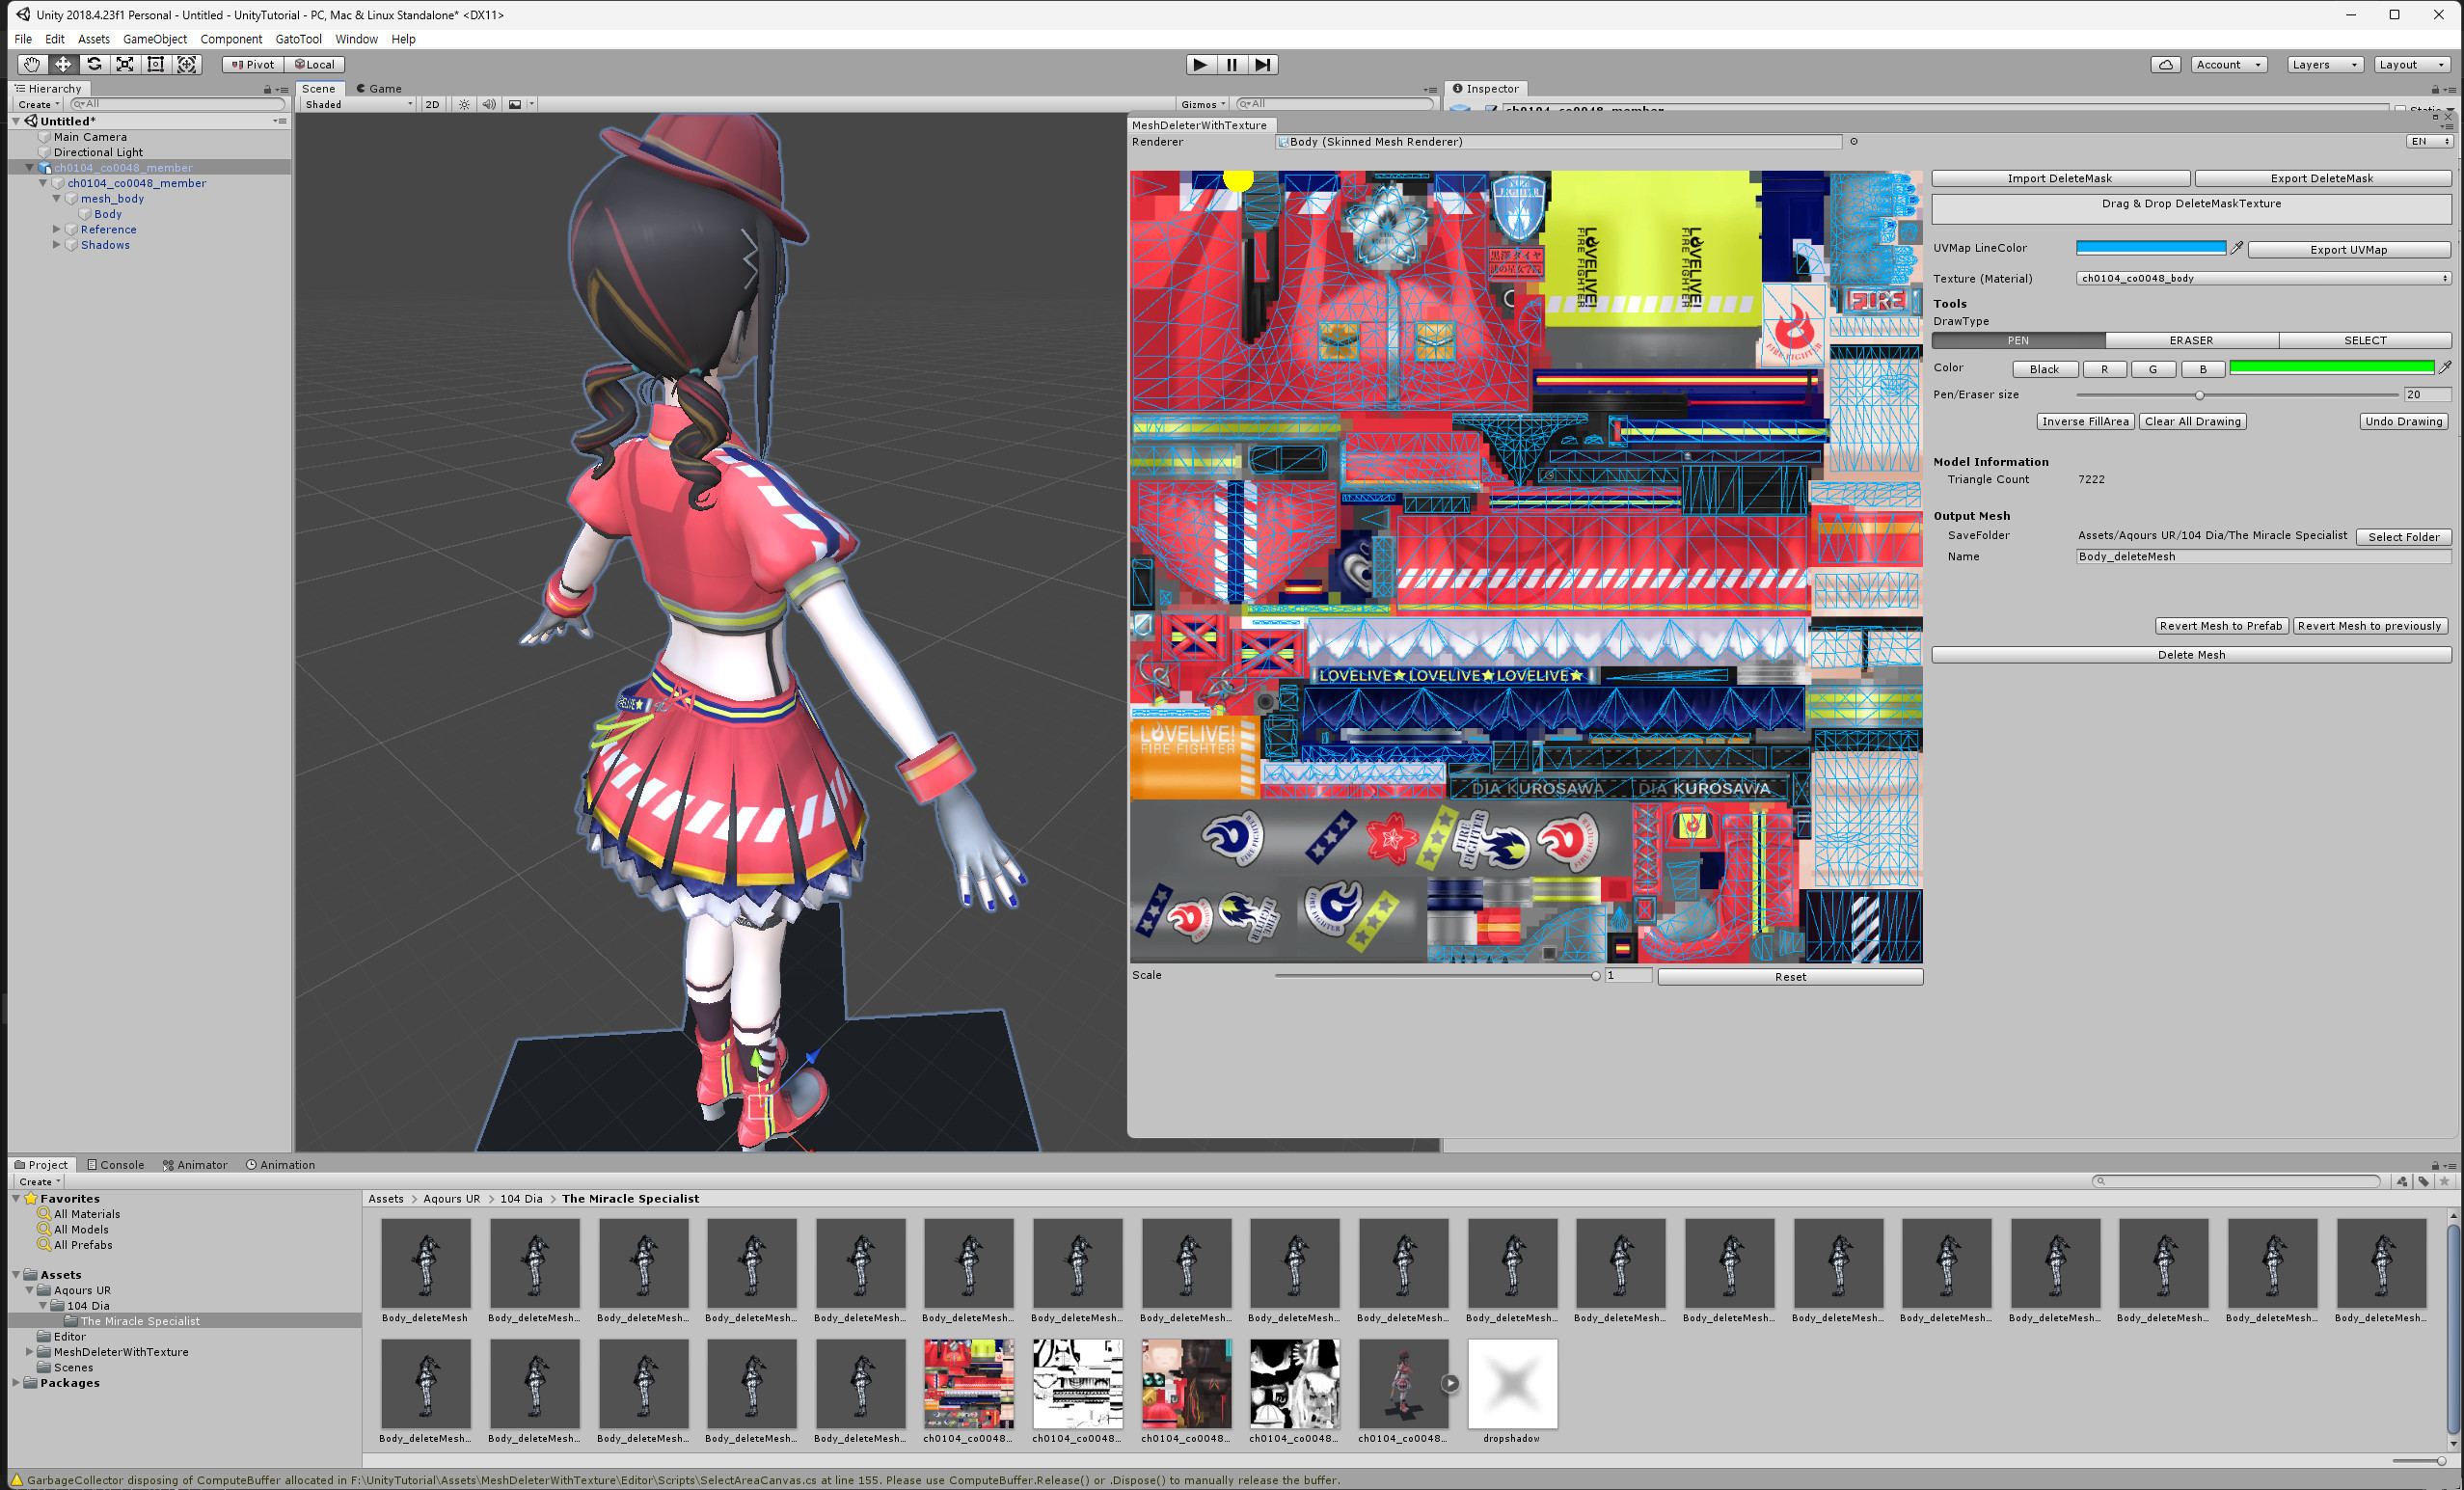
Check in the Scene view to ensure the color has been applied correctly. If it looks right, simply click Delete Mesh, and you're done. A new mesh with the desired parts removed will be created and immediately replaced.

result

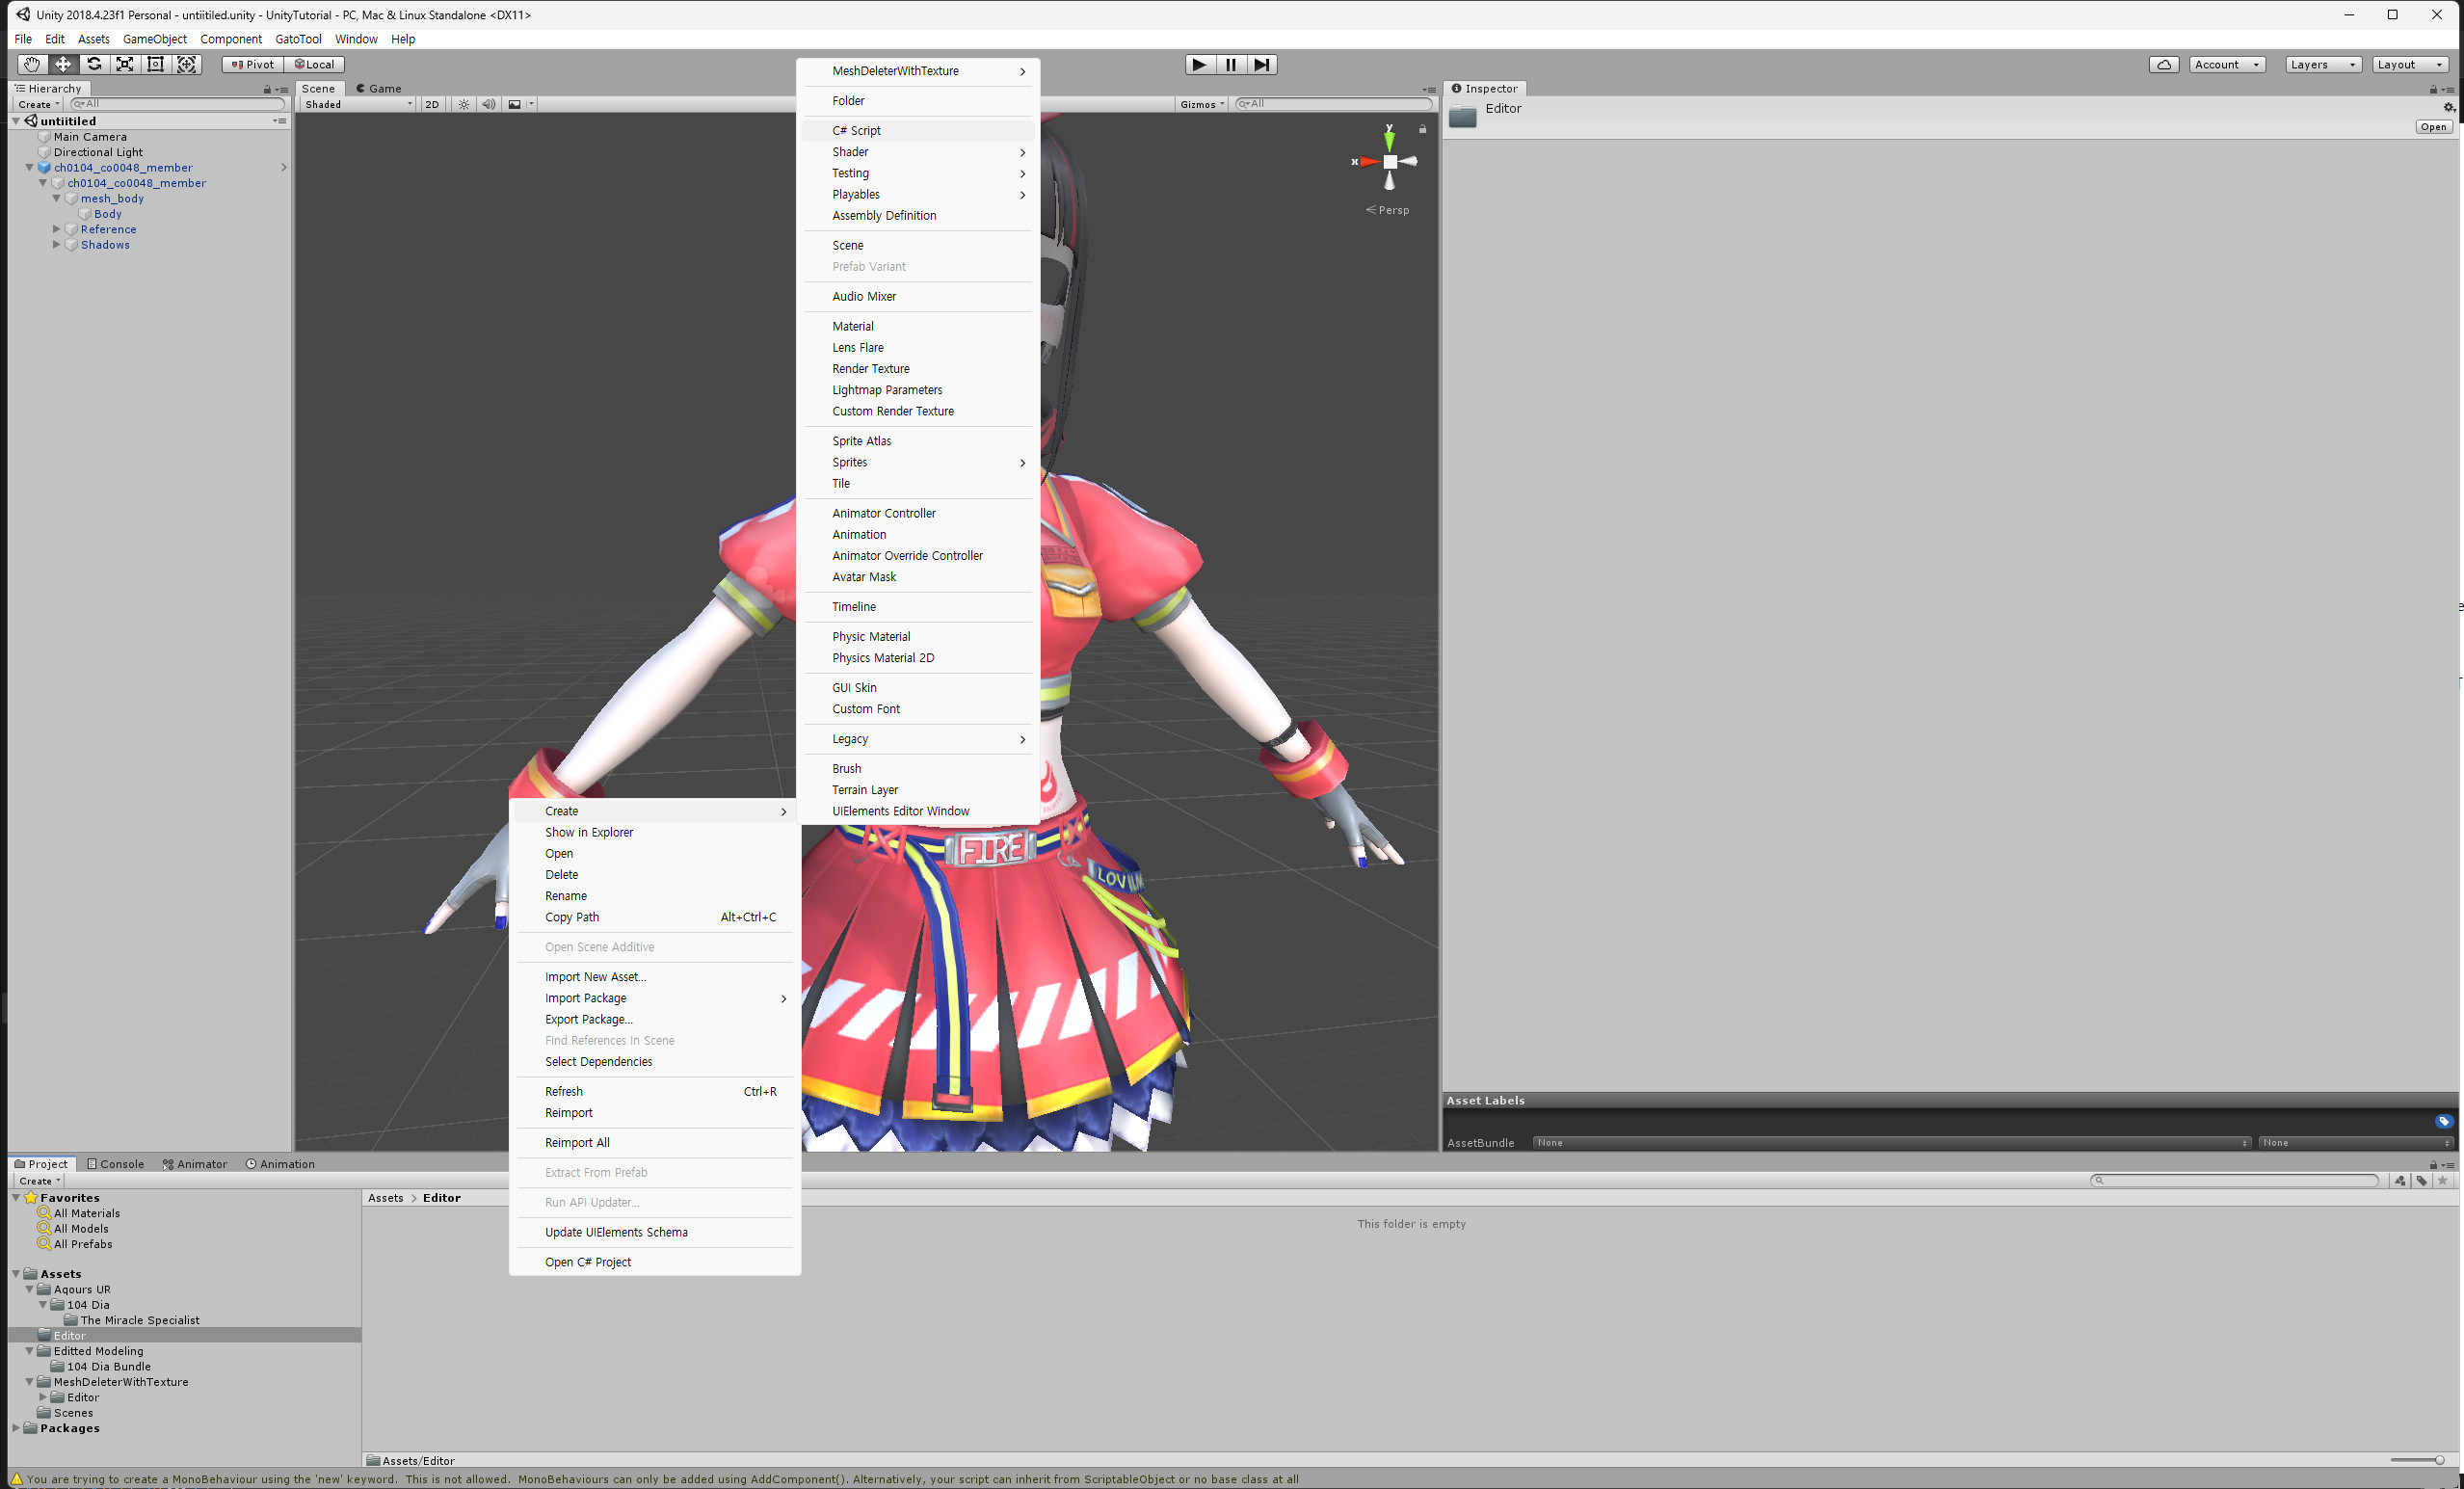
4. Creating an AssetBundle -> Skip this if you already know how to create an AssetBundle
Create an Editor folder in Unity and add a C# Script file. I'll name it CreateAssetBundles.

Replace the contents of the newly created script with the following
using System;
using UnityEditor;
using UnityEngine;
public class CreateAssetBundles
{
[MenuItem("Assets/Create Assets Bundles")]
private static void BuildAllAssetBundles()
{
string assetBundleDirectoryPath = Application.dataPath + "/../AssetBundles";
try
{
BuildPipeline.BuildAssetBundles(assetBundleDirectoryPath, BuildAssetBundleOptions.None, EditorUserBuildSettings.activeBuildTarget);
}
catch (Exception e)
{
Debug.LogWarning(e);
}
}
}
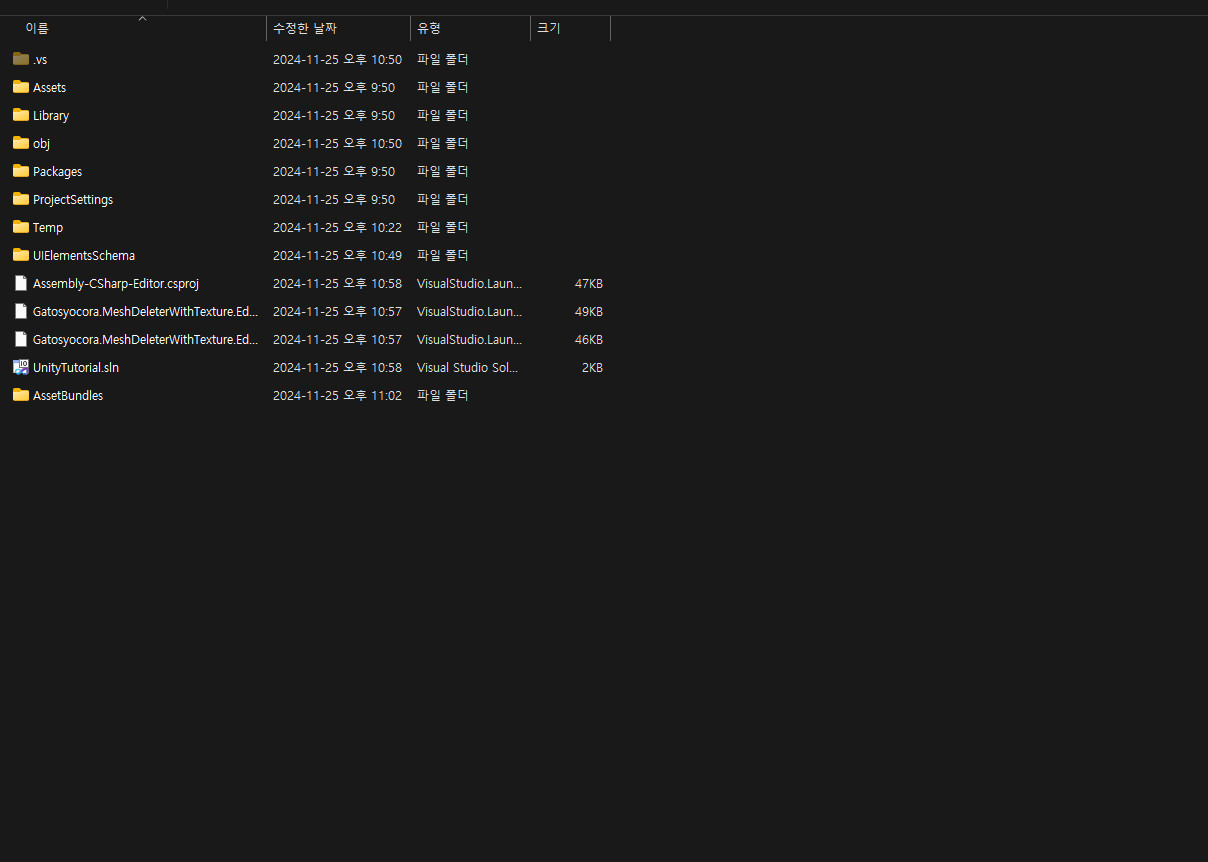
Then, create an AssetBundles folder in your project folder using file explorer.


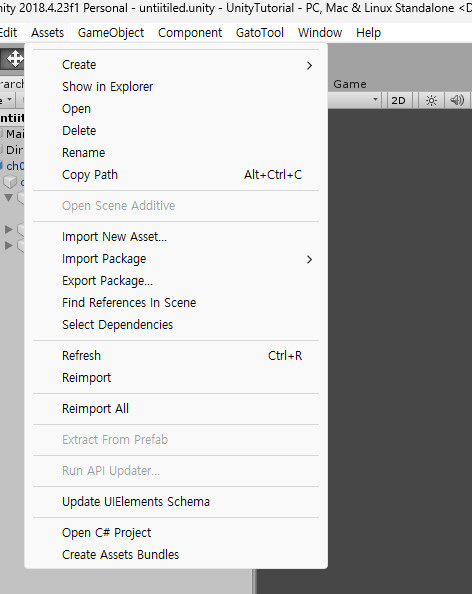
As shown in the screenshot above, you should see the Create Assets Bundles option in the top-left under Assets.
Next, create a folder to store the edited models.

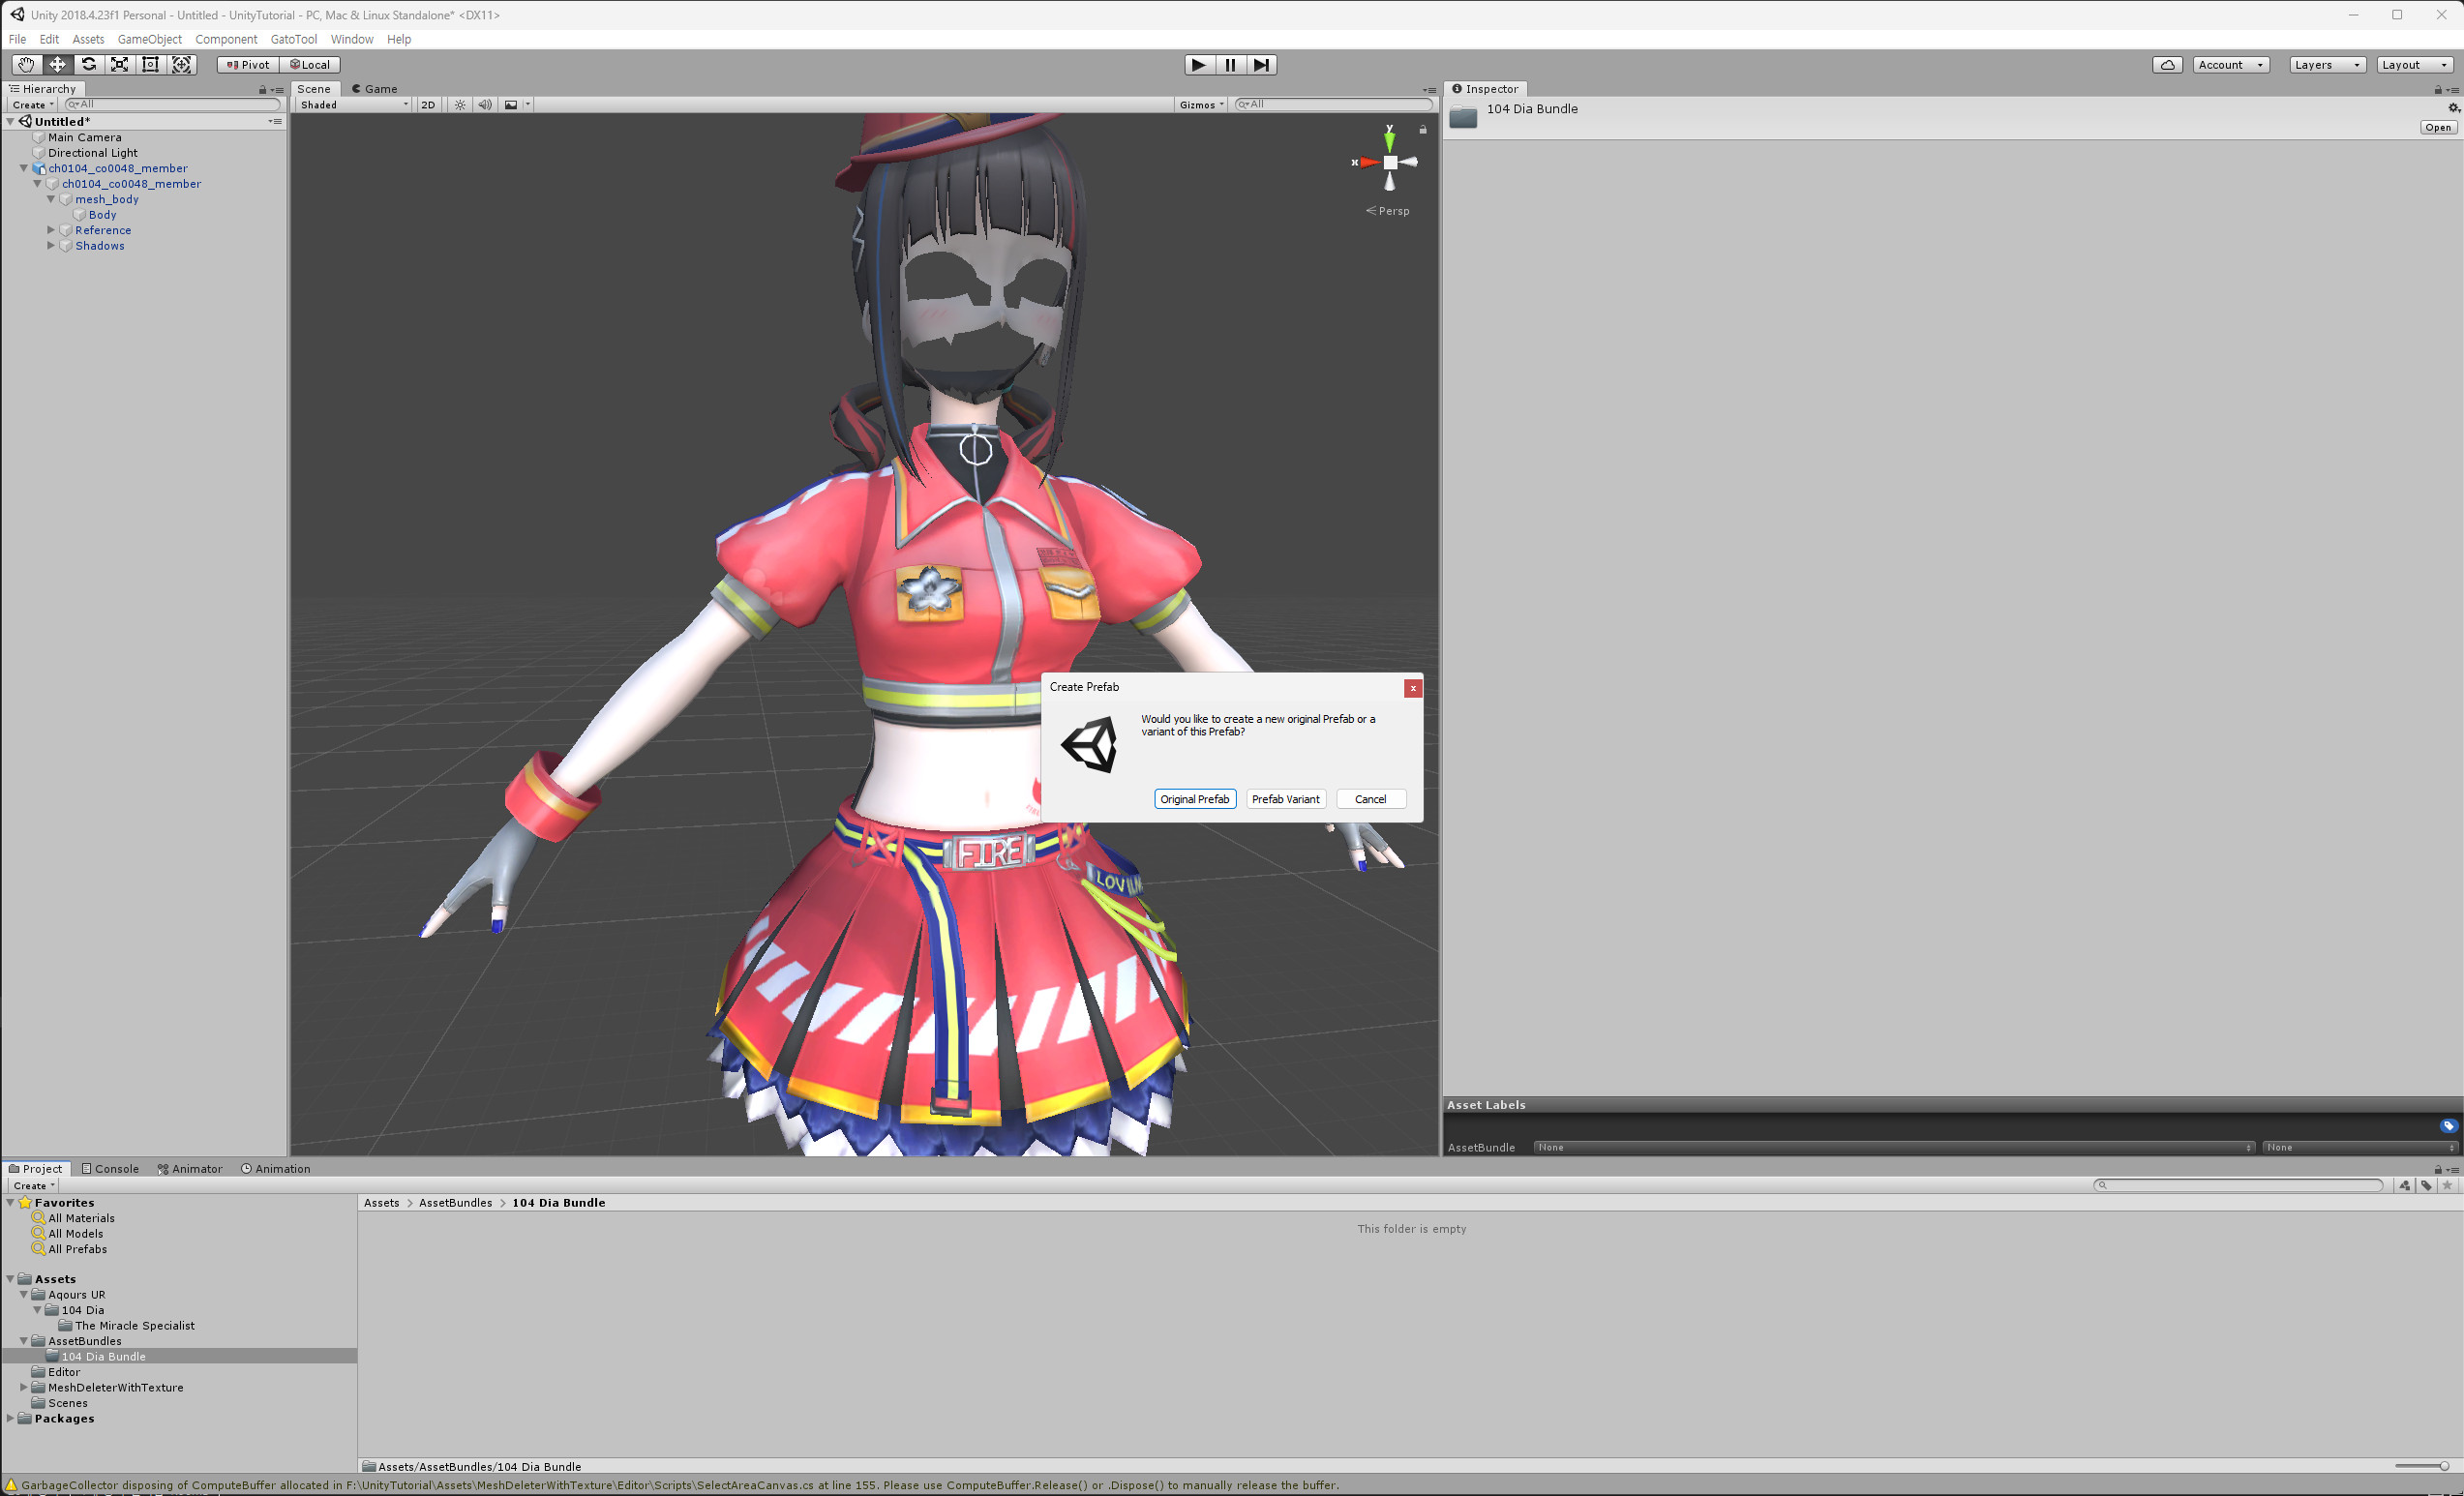
Drag the ch0104_co0048_member from the left into that folder. A window will appear, and you should click Original Prefab.

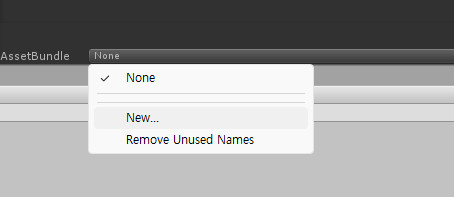
Then, it will look like the screen above. Click None -> New next to AssetBundle on the right, and enter your desired name.

Next, go to the top-left menu and select Assets -> Create Asset Bundles to create the AssetBundle.
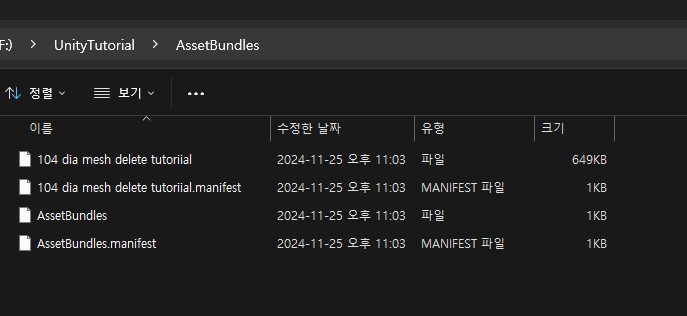
After a short while, check the AssetBundles folder, and you'll find it there.

An AssetBundle with the name you just entered will be created.
5. Editing the AssetBundle(Export Mesh to your modding assetbundle)

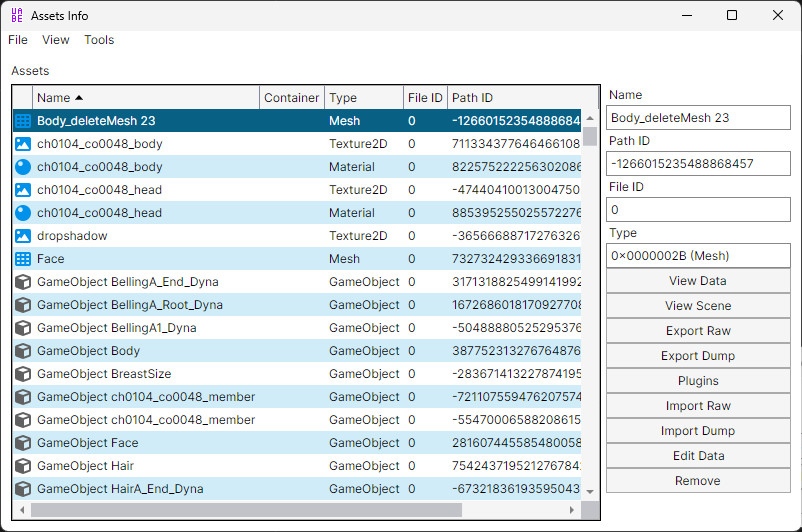
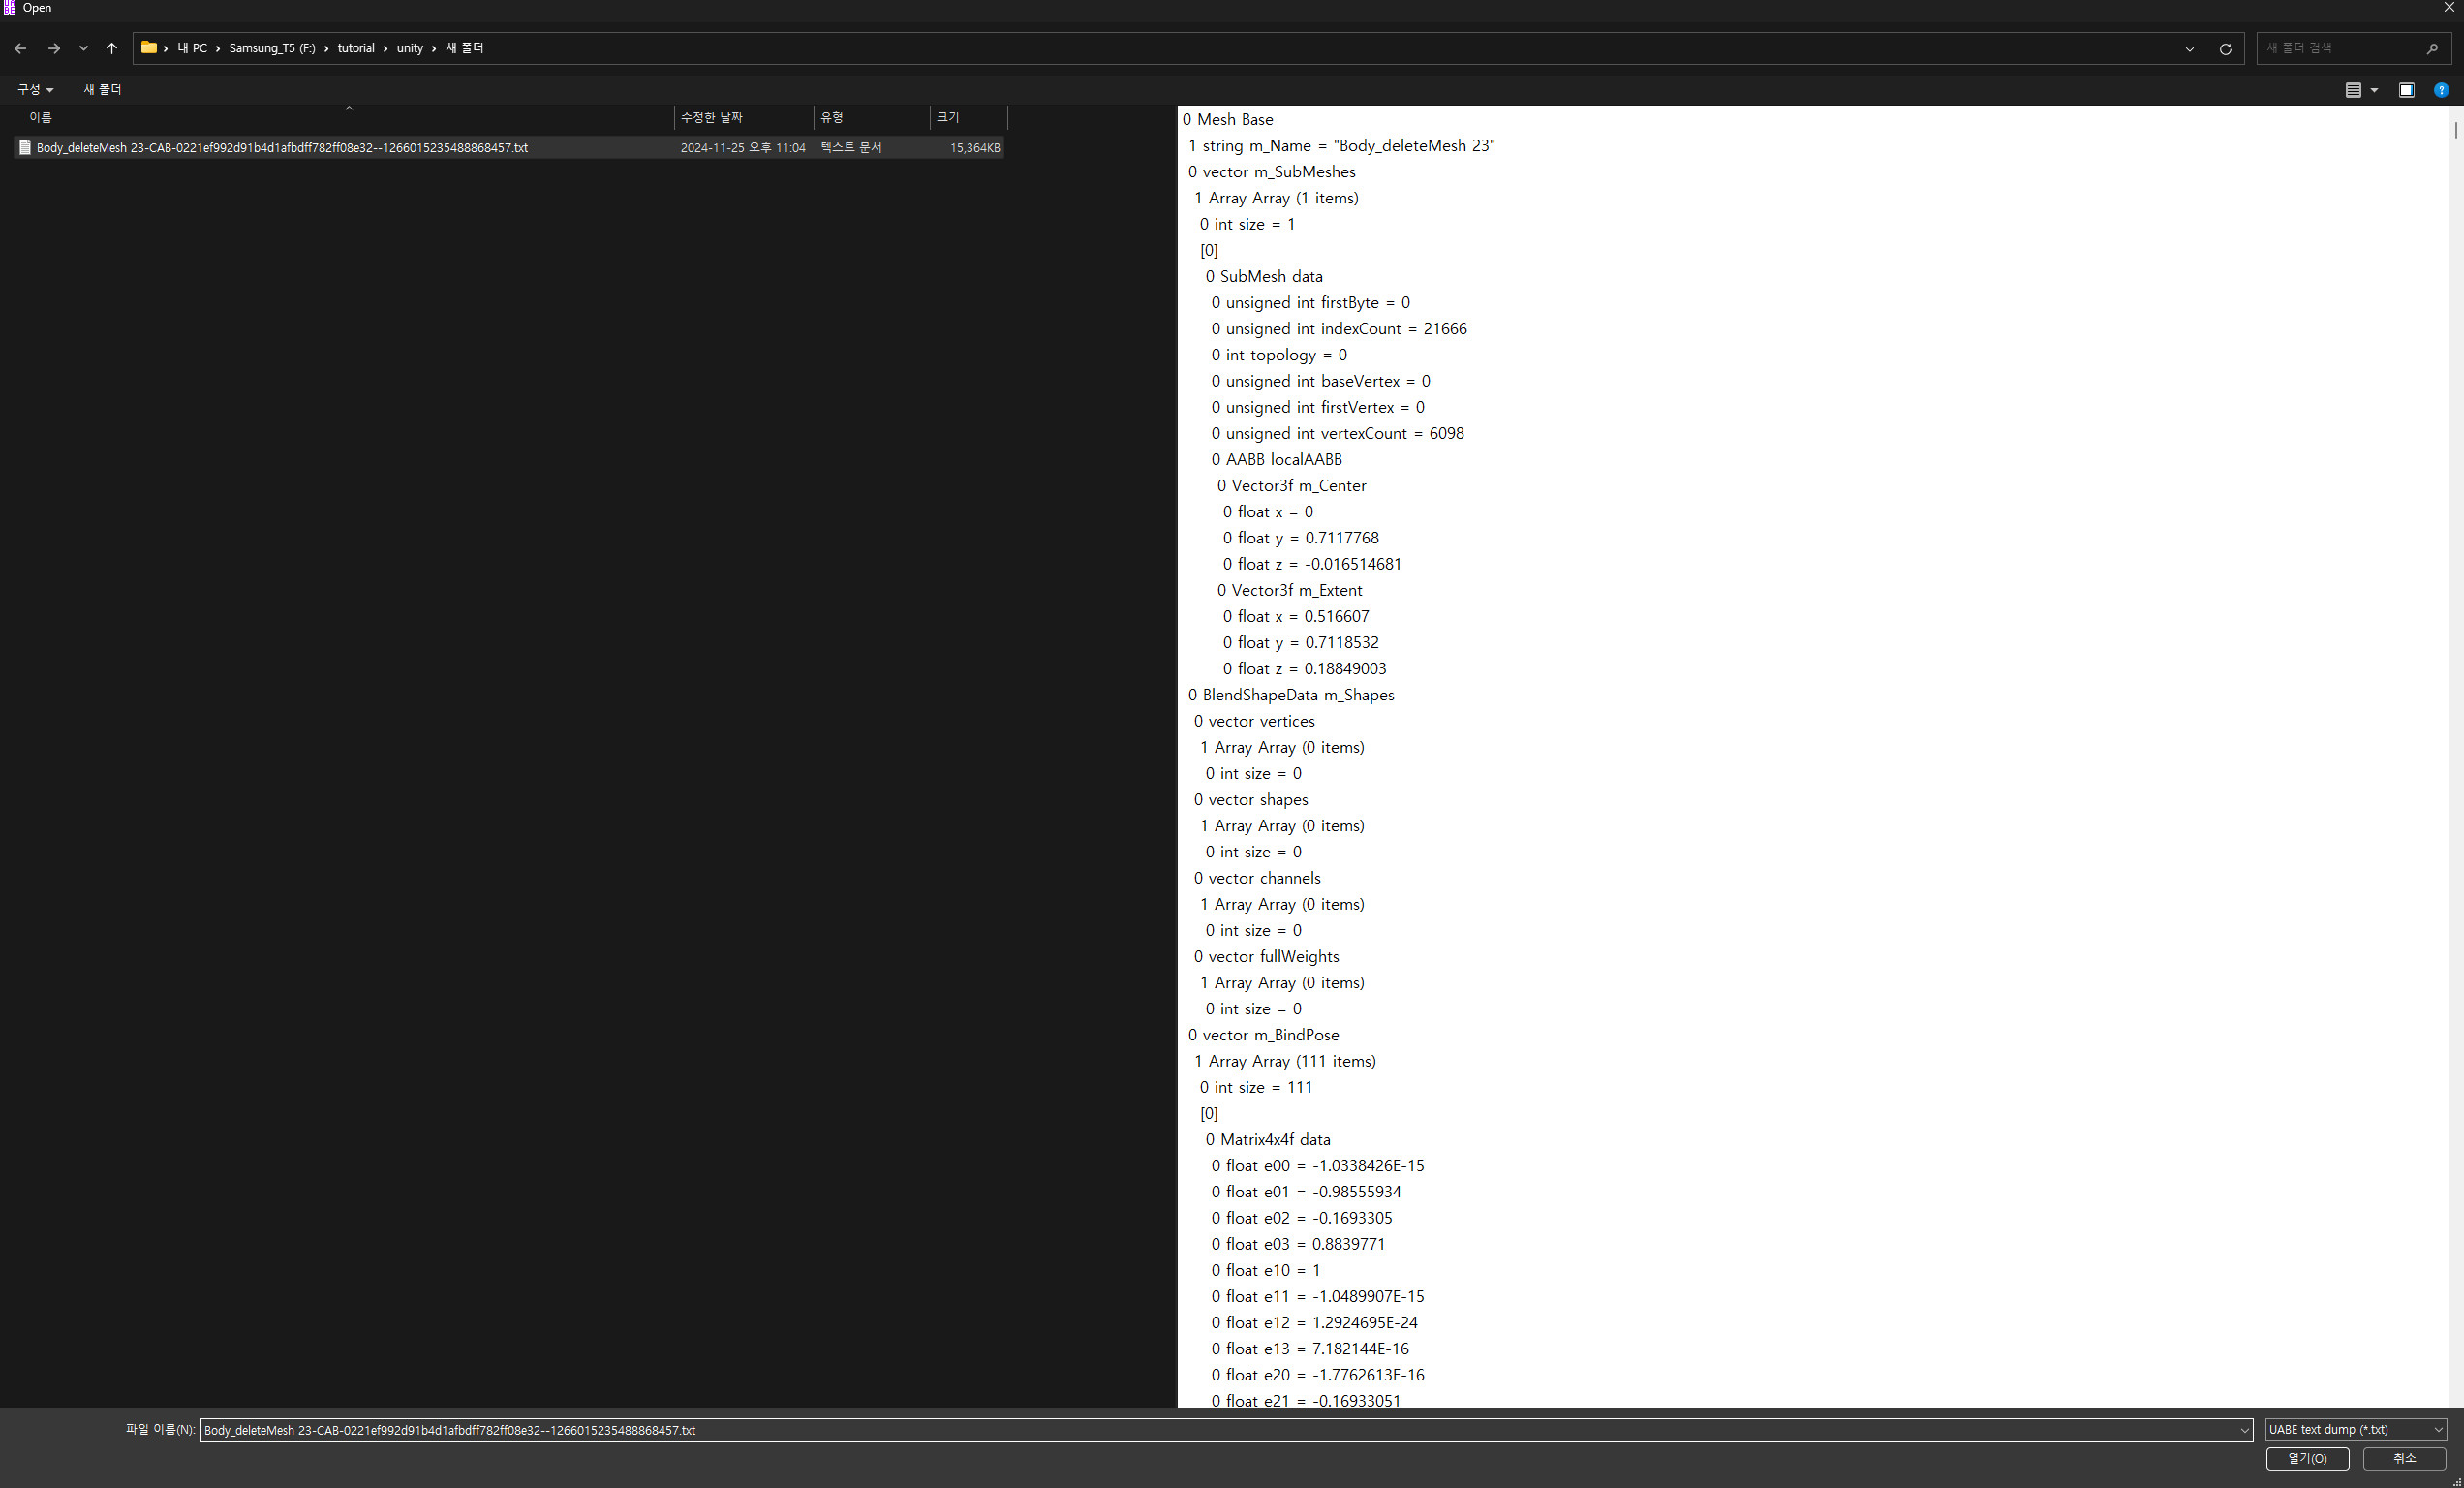
Use UABEA to Export Dump the modified mesh(from assetbundles folder). Then txt file will be made.
For reference, to check the name of the modified mesh, click on the edited body in Unity, and you'll see the name in the Mesh field in the Inspector window on the right.

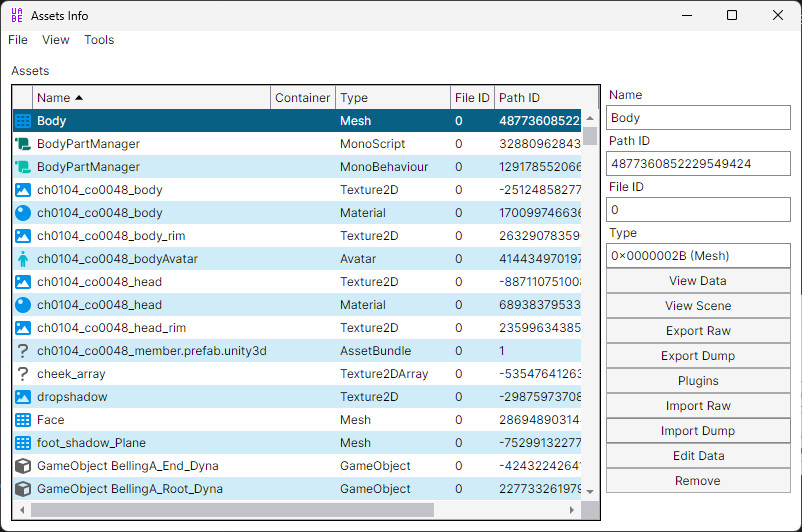
After that, open the assetbundle file you want to edit and click Import Dump test file you exported.

Import the Dump text file that was just exported.
The rest of the process is covered in the previous post, 'How to Adjust Breast Size in SIFAS Modeling'
https://gamebanana.com/tuts/18009
I tried to explain everything as clearly as possible, but I feel like some parts are overly detailed while others might lack sufficient explanation.
If you think there’s too much unnecessary detail or certain parts need more clarification, let me know.
I’m a bit short on time these days, so I’m not sure when I’ll be able to create the next tutorial, but I’ll try to get it done as soon as possible.


