
How to Recover Data from an EXT4 File System
What is an EXT4 file system?
There are over 100 different types of file systems available for disk storage on the Linux Operating System. The Extended file system version 4, or EXT4 as it’s more commonly known, is one of the most popular choices and has been the default file system standard incorporated into all the major Linux distributions.
Recovering data from an EXT4 partition can be difficult to achieve. This is due to the way the Operating System breaks up the data on an EXT4 file system. EXT4 is efficient and structures data into a series of block groups to boost performance.
A block is a group of sectors between 1KiB (1024 kb) and 64KiB (65536 kb) in size and the block group layout is split into multiple blocks. There are several blocks that aid the file system structure the data include an EXT4 superblock, Group descriptors, Inode tables, Inode bitmaps, and the actual data blocks.
How is EXT4 file system designed to protect data
EXT4 is a flexible, durable, and backward compatible file system (EXT2, EXT3) that supports several OS features and extended attributes aimed at providing scalability and reliability for large file systems.
These include:
Inode Tables
An Inode table is a fundamental building block of the file system. It contains metadata about a file or block of data on an EXT4 file system. An application can retrieve the unique metadata by calling the known Inode ID. Each Inode represents a file from the file table. This file system approach improves performance and reduces fragmentation on the server.
Inodes contain pertinent information such as:
- File creation (birth) timestamp (btime)
- Last modification timestamp (mtime)
- Last status change timestamp (ctime)
- Size of file
- Device id
- User id (UID)
- Group Id (GID)
- And a pointer to the data
Inodes do not store the file name, that information is kept in the file table. Each file name is mapped to only one single Inode number, but one file Inode number may have many names that map to it. Querying Inode data is very simple on any EXT4 file system, simply execute the command:
df –i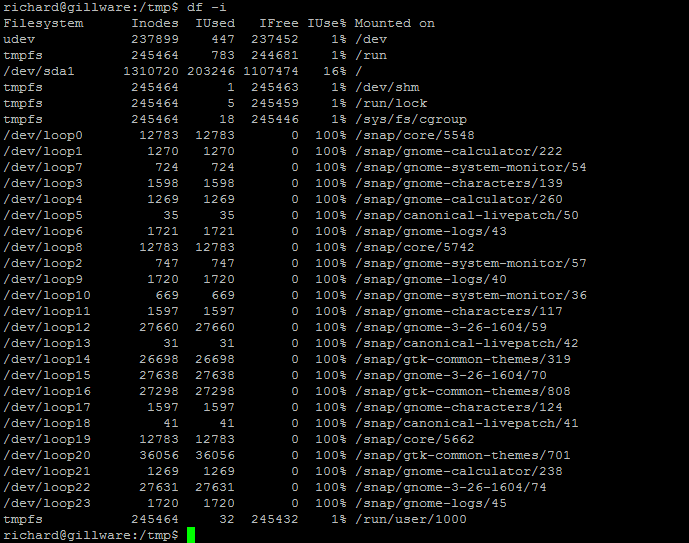
To get detailed Inode information on a file, simply run the stat command
stat testfile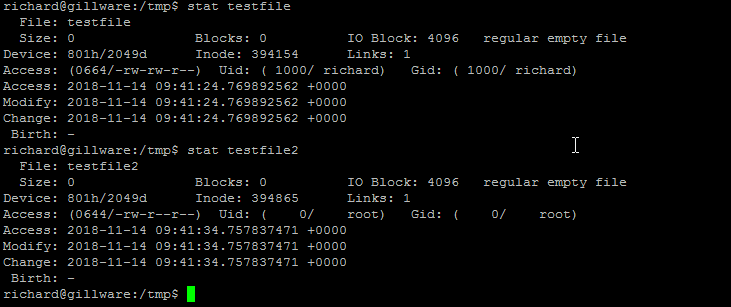
Journaling
Journaling is a feature of ext4 designed to prevent data corruption. Essentially a journaling log tracks writes to disk and ensure any partially written jobs are completed next. The file system uses the journal if there is an unexpected reboot and data has not finished writing to disk.
You can check the status of your journaling by executing the following
$ cat /proc/fs/jbd2/your partition/info 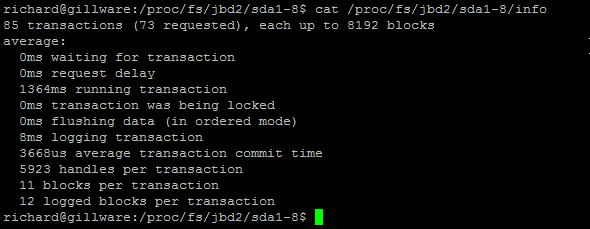
EXT4 Data Recovery
It is important to understand the concepts discussed above when looking into EXT4 Data Recovery. Data can be lost due to hardware, software, or user error regardless of the reliability of any associated hardware. Data is arguably most frequently deleted in error or by malice. If your server does not have an up-to-date backup, then it may not always be possible to roll back and restore your critical data.
Out of the box, Linux distributors advise that it is not possible to recover EXT4 data files. However, there are alternative methods that can be used to potentially restore your data to its source. Several tools exist that attempt to recover data by grepping the file system journal or undeleting lost Inodes (with varying success).
There is also the option to send your disk to a third-party data recovery specialist if you are not confident completing these actions yourself, or if your attempts are unsuccessful.
Take a backup image of your partition
Always take a backup image of your disk and never work directly on the file system you want to recover. Doing so can overwrite Inodes and rule out any chance of data recovery. Tools such as ddrescue can be used to copy EXT4 file systems to an alternative location.
Step 1 – Install DDRescue
Sudo apt install gddrescueSudo ddrescue –f –r3 /dev/sdb /tmp/server.img server.log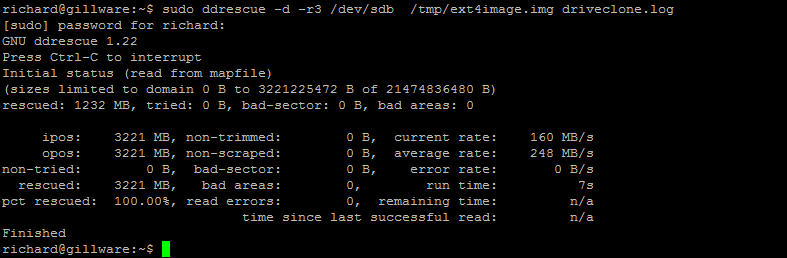
Step 2 – Use Testdisk to recover files
Once you have a backup of our EXT4 file system, we can safely use a tool called testdisk to attempt to recover data.
To demonstrate this I have created 3 data files called data1.img, data2.img and data3.img

Next, for this demonstration, I have deleted the files 3 files using
sudo rm /tmp/data*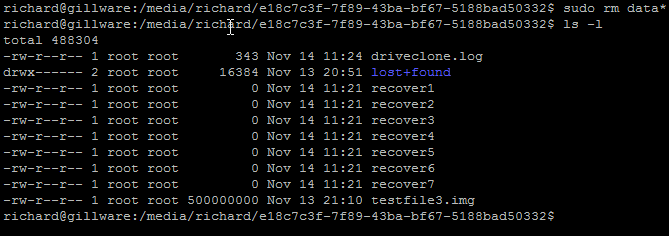
Next, execute the testdisk application. Simply type testdisk
testdisk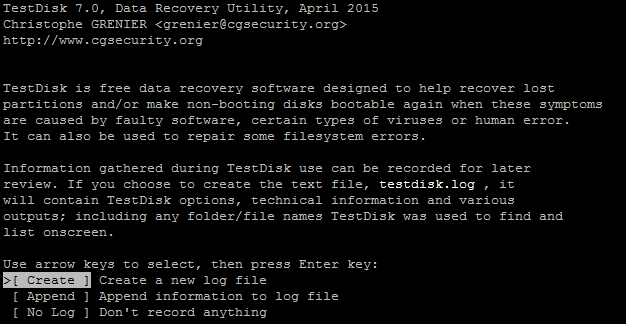
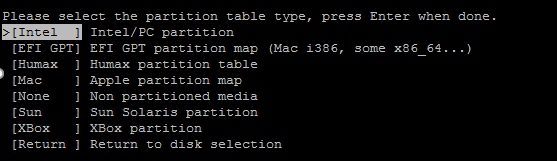
Select Create and choose Intel partition (the program should auto-detect your disk)
Next Select Analyze
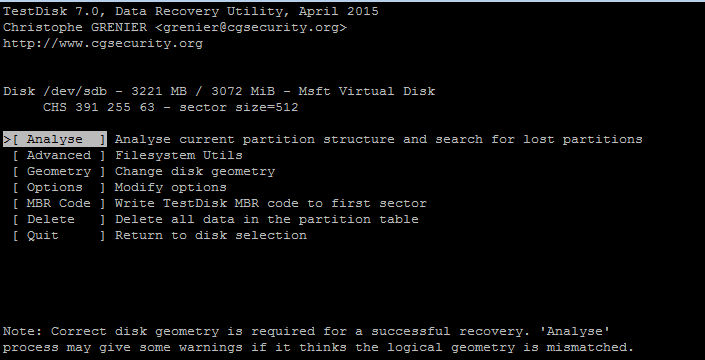
Choose your partition to recover data and hit enter, then press P to list all the files found

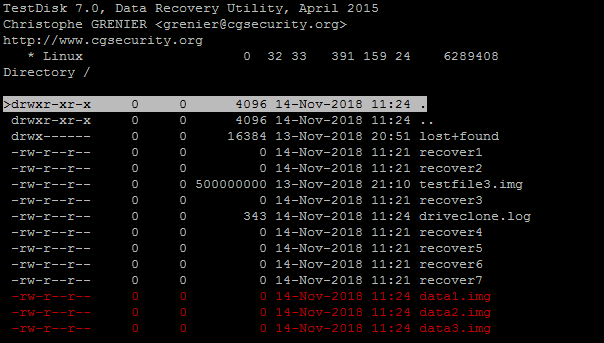
Press: to select files marked in red they will turn green once selected

Press C to copy selected files and choose a location to save the files
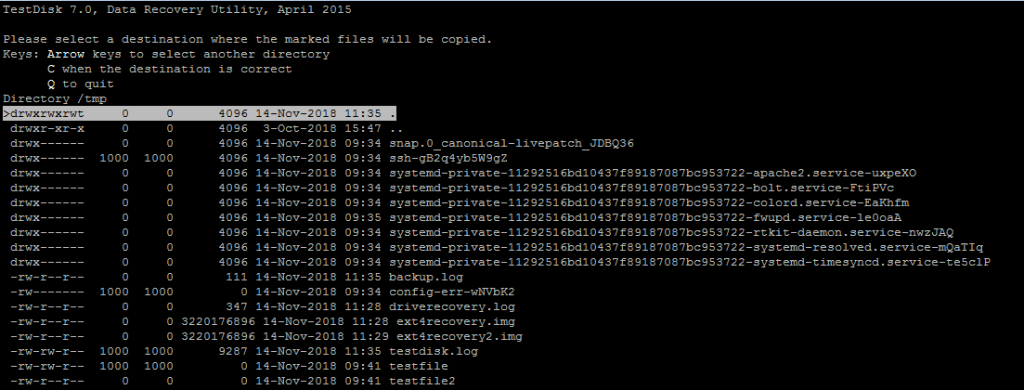
After you have chosen the file system. Press C again to copy

Step 3 – Use a Hex Editor to Examine Data
If you encounter any issues recovering data, or if you can only partially restore a file, you can take your investigation one step further and interrogate the data with a hex editor. The hex editor will determine if the blocks of data are available and if it is worthwhile attempting to recover. A tool such as wxhexeditor is great at interrogating data. You can even mount your backup image taken previously on ddrescue to determine if the data is available.
To install WxHexEditor on Ubuntu:
$ sudo apt-get update
$ sudo apt-get install wxhexeditor
To install WxHexEditor on a Debian varient via the achive repo use:
$ wget -q -O - http://archive.getdeb.net/getdeb-archive.key | sudo apt-key add -
$ sudo sh -c 'echo "deb http://archive.getdeb.net/ubuntu $(lsb_release -cs)-getdeb apps" >> /etc/apt/sources.list.d/getdeb.list'
$ sudo apt-get update
$ sudo apt-get install wxhexeditor
To install WxHexEditor on a RHEL, CentOS, Rocky or Fedora varient via the achive repo use:
$ sudo yum install libtool gcc-c++ wxGTK-devel
$ git clone https://github.com/EUA/wxHexEditor.git
$ cd wxHexEditor
$ make OPTFLAGS="-fopenmp"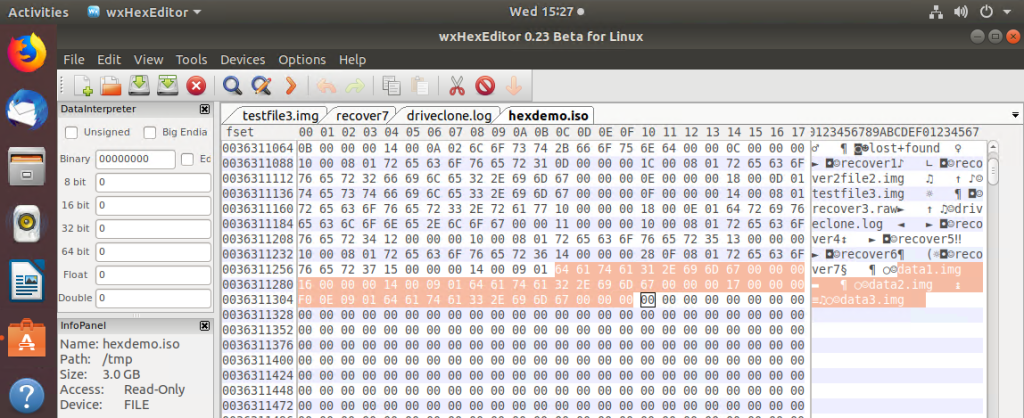
Summary
We have just scratched the surface of data recovery on the EXT4 file system. We have shown just 2 methods that can be used to protect and recover your data. Every recovery scenario is different and consideration has to be given to the amount of data you are trying to restore, if the data is encrypted or if you have a hardware fault – such as a failed raid controller.
There are plenty of Linux applications that can attempt to recover the data. Also, consider looking into:
- Ext4magic
- Extundelete
- The Sleuth Kit
- Photorec (ideal for recovering photos from USB)


Recent Comments