
この記事はUnity #3 Advent Calendar 2020 18日目の記事です
動機
ノベルゲーム最近少なくて寂しいなぁ
データが簡単に作れたらもしかして誰か作るかもしれないなぁ
...せや!シンプルなノードベースのシナリオエディタ作ったろ!
環境
Mac
Unity 2019.4.8.f1
最終的にこんなのを作ります

プロジェクト一式
https://github.com/dwl398/GraphViewSample
どんな人に向けた記事か
・シンプルなノベルシステムを作りたすぎる人
この記事で紹介する内容
・GraphViewの基本的な使い方
・GraphViewで作ったノードの保存、読込(つまづきポイントのみ)
GraphViewの基本的な使い方
1. EditorWindowを作成する
GraphViewを使うためにはまずEditorWindowを用意します
public class ScriptGraphWindow : EditorWindow
{
[MenuItem("Tool/ScriptGraph")]
public static void Open()
{
ScriptGraphWindow window = GetWindow<ScriptGraphWindow>();
window.Show();
}
}
2. GraphViewを作る
GraphViewを作成します
※UnityEngine.UIElementsに依存した機能が各所に使われているのでusingミスに注意(1敗)
using UnityEngine.UIElements;
using UnityEditor.Experimental.GraphView;
public class ScriptGraphView : GraphView
{
public ScriptGraphView() : base()
{
// 親のサイズに合わせてサイズを設定
this.StretchToParentSize();
// ズームインアウト
SetupZoom(ContentZoomer.DefaultMinScale, ContentZoomer.DefaultMaxScale);
// ドラッグで描画範囲を移動
this.AddManipulator(new ContentDragger());
// ドラッグで選択した要素を移動
this.AddManipulator(new SelectionDragger());
// ドラッグで範囲選択
this.AddManipulator(new RectangleSelector());
}
}
private void OnEnable()
{
var scriptGraph = new ScriptGraphView();
this.rootVisualElement.Add(scriptGraph);
}
これでエディタのメニューからTools/ScriptGraphを選んで開いてみます
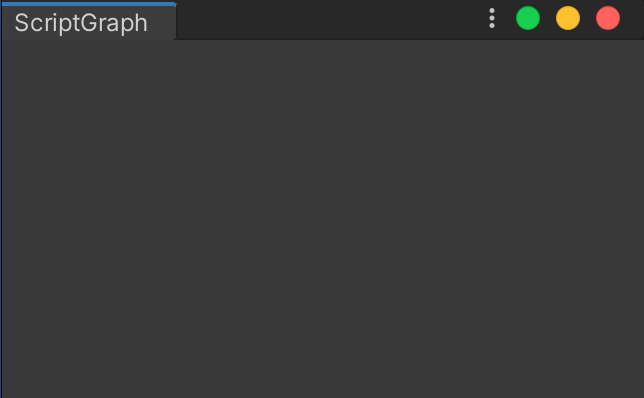
なんもでません そりゃそうだ
このまま次のノード作成に行く前にちょっとおしゃれにしたいので寄り道します
エディタの背景が殺風景だと殺風景なシナリオしか出てこないんです
無駄じゃないんです
2_a. 背景を付ける
Resourcesに以下のファイルを追加します
GridBackground {
--grid-background-color: #282828;
--line-color: rgba(193,196,192,0.1);
--tick-line-color: rgba(193,196,192,0.1);
--spacing: 20
}![Something went wrong]()
ファイルを読み込んで背景を追加します
public class ScriptGraphView : GraphView
{
public ScriptGraphView() : base()
{
// 省略
// ussファイルを読み込んでスタイルに追加
this.styleSheets.Add(Resources.Load<StyleSheet>("GraphViewBackGround"));
// 背景を一番後ろに追加
this.Insert(0, new GridBackground());
}
}
グリッドっぽいものが追加されました

作成したussファイルをいじれば即反映されるのでカスタマイズも簡単です
3. Nodeを作る
次は作成したGraphViewに載せるノードを作ります
using UnityEngine;
using UnityEngine.UIElements;
using UnityEditor.Experimental.GraphView;
public class MessageNode : Node
{
private TextField textField;
public MessageNode()
{
// ノードのタイトル設定
this.title = "Message";
// ポート(後述)を作成
var inputPort = Port.Create<Edge>(Orientation.Horizontal, Direction.Input, Port.Capacity.Multi, typeof(Port));
inputPort.portName = "In";
inputContainer.Add(inputPort);
var outputOort = Port.Create<Edge>(Orientation.Horizontal, Direction.Output, Port.Capacity.Single, typeof(Port));
outputOort.portName = "Out";
outputContainer.Add(outputOort);
// メイン部分に入力欄追加
textField = new TextField();
// 複数行対応
textField.multiline = true;
// 日本語入力対応
textField.RegisterCallback<FocusInEvent>(evt => { Input.imeCompositionMode = IMECompositionMode.On; });
textField.RegisterCallback<FocusOutEvent>(evt => { Input.imeCompositionMode = IMECompositionMode.Auto; });
this.mainContainer.Add(textField);
}
}
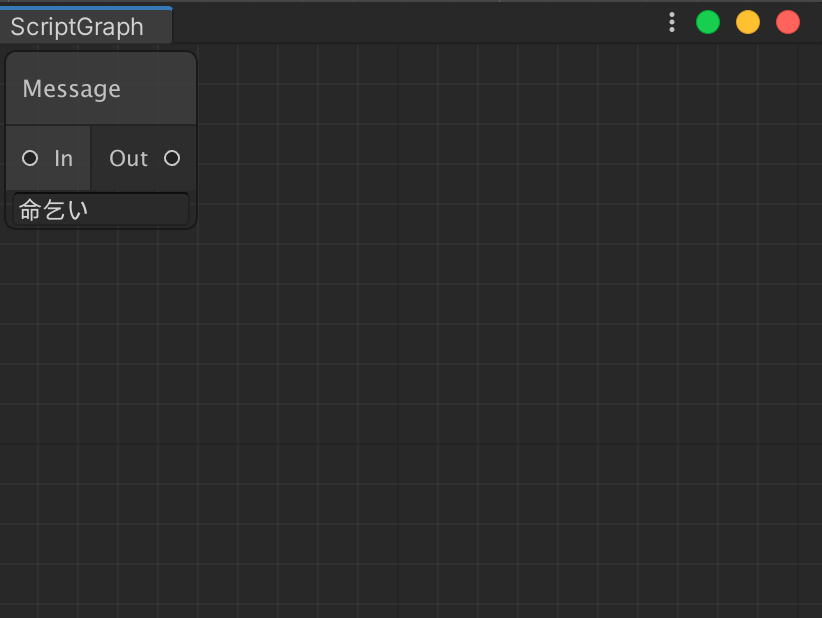
これをGraphViewに追加してみます
public ScriptGraphView() : base()
{
// 省略
this.Add(new MessageNode());
}
ノードが生成されて配置されました
これで全てのノードをプログラムで追加しまくりのハードコーディングしまくりで
色々な賞も受賞しまくりです
4. Nodeをエディタから作れるようにする
もちろん嘘なのでShaderGraphの右クリックで出てくるアレを作ります
using System;
using System.Collections.Generic;
using UnityEditor.Experimental.GraphView;
using UnityEngine;
public class ScriptGraphSearchWindowProvider : ScriptableObject, ISearchWindowProvider
{
private SctiptGraphWindow _window;
private ScriptGraphView _graphView;
public void Init(ScriptGraphView graphView,ScriptGraphWindow window)
{
_window = window;
_graphView = graphView;
}
public List<SearchTreeEntry> CreateSearchTree(SearchWindowContext context)
{
var entries = new List<SearchTreeEntry>();
entries.Add(new SearchTreeGroupEntry(new GUIContent("Create Node")));
entries.Add(new SearchTreeEntry(new GUIContent(nameof(MessageNode))) { level = 1, userData = typeof(MessageNode)});
return entries;
}
public bool OnSelectEntry(SearchTreeEntry SearchTreeEntry, SearchWindowContext context)
{
var type = SearchTreeEntry.userData as Type;
var node = Activator.CreateInstance(type) as Node;
// ノードの生成位置をマウスの座標にする
var worldMousePosition = _window.rootVisualElement.ChangeCoordinatesTo(_window.rootVisualElement.parent, context.screenMousePosition - _window.position.position);
var localMousePosition = _graphView.contentViewContainer.WorldToLocal(worldMousePosition);
node.SetPosition(new Rect(localMousePosition, new Vector2(100, 100)));
_scriptGraphView.AddElement(node);
return true;
}
}
これをScriptGraphView側で生成して設定します
public ScriptGraphView(ScriptGraphWindow window) : base()
{
// 省略
// 右クリックでノード作成するウィンドウ追加
var searchWindowProvider = ScriptableObject.CreateInstance<ScriptGraphSearchWindowProvider>();
searchWindowProvider.Init(this, window);
this.nodeCreationRequest += context =>
{
SearchWindow.Open(new SearchWindowContext(context.screenMousePosition), searchWindowProvider);
};
}
これで右クリックでノード生成できるようになりました

ここまでやって受賞しまくりです
4_a. Nodeを作るたびにメニューに追加するのは辛い
entries.Add(new SearchTreeEntry(new GUIContent(nameof(MessageNode))) { level = 1, userData = typeof(MessageNode)});
何度もこんなコードを書くのは辛いので少し楽にします
public class ScriptGraphNode : Node
{
}
public class MessageNode : ScriptGraphNode
{
// 省略
}
public List<SearchTreeEntry> CreateSearchTree(SearchWindowContext context)
{
var entries = new List<SearchTreeEntry>();
entries.Add(new SearchTreeGroupEntry(new GUIContent("Create Node")));
foreach (var assembly in AppDomain.CurrentDomain.GetAssemblies())
{
foreach (var type in assembly.GetTypes())
{
if (type.IsClass == false) continue;
if (type.IsAbstract) continue;
if (type.IsSubclassOf(typeof(ScriptGraphNode)) == false) continue;
entries.Add(new SearchTreeEntry(new GUIContent(type.Name)) { level = 1, userData = type });
}
}
return entries;
}
これでScriptGraphNodeを継承したNodeが自動でノード作成メニューに表示されるようになります
5. Nodeを繋ぐ
ノードのついているIn Out のポートを接続します
ポートの接続に関する条件付けができる関数がGraphViewに用意されているので
オーバーライドして条件を記載します
public override List<Port> GetCompatiblePorts(Port startPort, NodeAdapter nodeAdapter)
{
var compatiblePorts = new List<Port>();
foreach (var port in ports.ToList())
{
// 同じノードは繋げない
if (startPort.node == port.node) continue;
// Input - Input , Output - Outputは繋げない
if (startPort.direction == port.direction) continue;
// ポートタイプが違うものは繋げない
if (startPort.portType != port.portType) continue;
compatiblePorts.Add(port);
}
return compatiblePorts;
}
ノードが増えてきた頃に重要になりそうです
GraphViewの基本的な機能はここまでになります
なまじノードの拡張性が高いせいで保存、読み込みなどは各自で用意する必要があります
GraphViewで作ったデータの保存、読込
私のつまづきポイントのみの解説となります
冒頭に記載したgithubにコードがあるので詳細はそちらで確認お願いします
手順としては以下になります
1.保存するデータ(ScriptableObject)を用意
2.編集がScriptableObjectに反映されるように
3.ノードのシリアライザ、デシリアライザを用意
4.ProjectウィンドウのScriptableObject選択でEditorWindowが開くように
5.開いた際にノードが生成されるように
6.ノードをつなぐエッジが保存されるように
7.ノードをつなぐエッジが生成されるように
2.編集がScriptableObjectに反映されるように
保存するデータはこんな感じです
[CreateAssetMenu(fileName = "scriptgraph.asset", menuName ="ScriptGraph Asset")]
public class ScriptGraphAsset : ScriptableObject
{
public List<ScriptNodeData> list = new List<ScriptNodeData>();
}
[Serializable]
public class ScriptNodeData
{
public int id;
public NodeType type;
public Rect rect;
public int[] outIds;
public byte[] serialData;
}
ノード作成時にスクリプタブルオブジェクトにデータを追加すればとりあえずの保存はできます
罠です
public bool OnSelectEntry(SearchTreeEntry SearchTreeEntry, SearchWindowContext context)
{
// 省略
node.SetPosition(new Rect(localMousePosition, new Vector2(100, 100)));
_scriptGraphView.AddElement(node);
ScriptGraphData data = Serialize(node);
// ここで追加しよう!
_scriptGraphAsset.list.Add(data);
return true;
}
なぜか、これでは正しいpositionが保存されません
_scriptGtaphView.AddElement()と同じフレームでnodeのpositionを取得しようとすると
Rect(0,0,float.Nan,float.Nan)が帰ってきます
対策としてパッケージマネージャのEditorCoroutineなどでノード作成の次のフレームで保存するように調整しましょう
終わりに
かなりざっくりとですが今graphViewを扱う上で最低限の情報を書きました
実際にこのシステムでノベルゲームを作るとなると拡張が必要になりますが
拡張のためのサンプルもあるので(BranchNode)プログラマの人なら割と誰でも拡張ができると思います
ストーリー、グラフィック、サウンド、さまざまな拡張に対応し、いずれノベルゲームが完成する
そんな未来を信じています


コメント