[アップデート] EKSでWindowsワーカーノードの実行が正式サポートされました!

みなさん、こんにちは!
AWS事業本部の青柳@福岡オフィスです。
Amazon EKS において、Windows Serverをワーカーノードとして実行することが正式サポートされました!
Windows Nodes Supported by Amazon EKS
さっそく試してみましたので、ご紹介します。
準備
こちらのAWSドキュメントページを参照して進めていきます。
EKS環境構築のスタンダードとなっているeksctlコマンドを使用します。 Windowsノードのサポートはeksctlのバージョン0.7.0以降が必要です。
※ 現時点で、eksctlのバージョン0.7.0はrc版となっています。いずれ正式版が公開されると思いますので、公式サイトでチェックしてみてください。
https://github.com/weaveworks/eksctl/releases
以下は、eksctl 0.7.0-rc.0をインストール(バージョンアップ)する例です。
curl -LO https://github.com/weaveworks/eksctl/releases/download/0.7.0-rc.0/eksctl_Linux_amd64.tar.gztar xvzf eksctl_Linux_amd64.tar.gzmv ./eksctl ~/.local/bin/ |
$ eksctl version[ℹ] version.Info{BuiltAt:"", GitCommit:"", GitTag:"0.7.0-rc.0"} |
EKSクラスターの作成
EKSクラスターを作成します。
WindowsワーカーノードのサポートはKubernetesバージョン1.14が必要ですので、--version 1.14を指定します。
また、現在のところWindowsワーカーノードはLinuxワーカーノードに比べて制約があるため(一部のKubernetesコアシステムポッドがサポートされない等)、EKSクラスター内にLinuxワーカーノードも含める方が無難です。
以下のコマンドでEKSクラスターとLinuxワーカーノードグループを作成します。
eksctl create cluster \ --name example-cluster \ --region ap-northeast-1 \ --version 1.14 \ --nodegroup-name ng-linux \ --node-type m5.large \ --nodes 2 \ --nodes-min 2 \ --nodes-max 2 |
Linuxのワーカーノードが2つ作成されました。
$ kubectl get nodes -o wideNAME STATUS ROLES AGE VERSION INTERNAL-IP EXTERNAL-IP OS-IMAGE KERNEL-VERSION CONTAINER-RUNTIMEip-192-168-44-39.ap-northeast-1.compute.internal Ready <none> 62s v1.14.7-eks-1861c5 192.168.44.39 54.249.106.116 Amazon Linux 2 4.14.146-119.123.amzn2.x86_64 docker://18.6.1ip-192-168-82-251.ap-northeast-1.compute.internal Ready <none> 63s v1.14.7-eks-1861c5 192.168.82.251 13.115.16.238 Amazon Linux 2 4.14.146-119.123.amzn2.x86_64 docker://18.6.1 |
EKSクラスターのWindowsサポートを有効にするために、以下のコマンドを実行します。
$ eksctl utils install-vpc-controllers --name example-cluster --approve |
実行結果は以下のようになりました。
$ eksctl utils install-vpc-controllers --name example-cluster --approve[ℹ] using region ap-northeast-1[ℹ] created "ClusterRole.rbac.authorization.k8s.io/vpc-resource-controller"[ℹ] created "ClusterRoleBinding.rbac.authorization.k8s.io/vpc-resource-controller"[ℹ] created "kube-system:ServiceAccount/vpc-resource-controller"[ℹ] created "kube-system:Deployment.apps/vpc-resource-controller"[ℹ] created "CertificateSigningRequest.certificates.k8s.io/vpc-admission-webhook.kube-system"[ℹ] created "kube-system:secret/vpc-admission-webhook-certs"[ℹ] created "kube-system:Service/vpc-admission-webhook"[ℹ] created "kube-system:Deployment.apps/vpc-admission-webhook"[ℹ] created "kube-system:MutatingWebhookConfiguration.admissionregistration.k8s.io/vpc-admission-webhook-cfg" |
「VPCリソースコントローラー」「VPCアドミッションコントローラーwebhook」などのリソースがEKSクラスターにインストールされました。
Windowsワーカーノードの作成
Windowsワーカーノードを実行する準備ができましたので、作成したEKSクラスターにWindowsワーカーノードのノードグループを追加作成します。
以下のAWSドキュメントページを参照して進めます。
Launching Amazon EKS Windows Worker Nodes - Amazon EKS
ノードグループ作成時には、Windowsワーカーノードの「EKS-Optimized AMI」(EKS最適化AMI)を指定する必要があるため、まずはAMI IDを確認します。
上記ドキュメントページからも参照できますが、AWS CLIを使って確認するには、以下のコマンドを実行します。
aws ssm get-parameter --name /aws/service/ami-windows-latest/Windows_Server-2019-English-Full-EKS_Optimized-1.14/image_id --region ap-northeast-1 |
実行結果は以下のようになりました。
$ aws ssm get-parameter --name /aws/service/ami-windows-latest/Windows_Server-2019-English-Full-EKS_Optimized-1.14/image_id --region ap-northeast-1{ "Parameter": { "Name": "/aws/service/ami-windows-latest/Windows_Server-2019-English-Full-EKS_Optimized-1.14/image_id", "Type": "String", "Value": "ami-0a05e3553f6b96fc7", "Version": 1, "LastModifiedDate": 1570208969.538, "ARN": "arn:aws:ssm:ap-northeast-1::parameter/aws/service/ami-windows-latest/Windows_Server-2019-English-Full-EKS_Optimized-1.14/image_id" }} |
Valueに表示されているami-0a05e3553f6b96fc7がEKS-Optimized AMIのAMI IDです。
それでは、Windowsワーカーノードのノードグループを作成します。
eksctl create nodegroup \ --cluster example-cluster \ --region ap-northeast-1 \ --version 1.14 \ --name ng-windows \ --node-type m5.large \ --nodes 2 \ --nodes-min 2 \ --nodes-max 2 \ --node-ami-family WindowsServer2019FullContainer \ --node-ami ami-0a05e3553f6b96fc7 |
ポイントは以下の2点です。
--node-ami-familyにWindowsServer2019FullContainerを指定する。--node-amiにさきほど確認したEKS-Optimized AMIのAMI IDを指定する。
実行結果は以下のようになりました。
$ eksctl create nodegroup \> --cluster example-cluster \> --region ap-northeast-1 \> --version 1.14 \> --name ng-windows \> --node-type m5.large \> --nodes 2 \> --nodes-min 2 \> --nodes-max 2 \> --node-ami-family WindowsServer2019FullContainer \> --node-ami ami-0a05e3553f6b96fc7[ℹ] eksctl version 0.7.0-rc.0[ℹ] using region ap-northeast-1[ℹ] 1 nodegroup(s) that already exist (ng-linux) will be excluded[ℹ] nodegroup "ng-windows" will use "ami-0a05e3553f6b96fc7" [WindowsServer2019FullContainer/1.14][ℹ] 1 nodegroup (ng-windows) was included (based on the include/exclude rules)[ℹ] combined exclude rules: ng-linux[ℹ] no nodegroups present in the current set were excluded by the filter[ℹ] will create a CloudFormation stack for each of 1 nodegroups in cluster "example-cluster"[ℹ] 1 task: { create nodegroup "ng-windows" }[ℹ] building nodegroup stack "eksctl-example-cluster-nodegroup-ng-windows"[ℹ] deploying stack "eksctl-example-cluster-nodegroup-ng-windows"[ℹ] adding identity "arn:aws:iam::123456789012:role/eksctl-example-cluster-nodegroup-NodeInstanceRole-1XLW4MJFUGWV9" to auth ConfigMap[ℹ] nodegroup "ng-windows" has 0 node(s)[ℹ] waiting for at least 2 node(s) to become ready in "ng-windows"[ℹ] nodegroup "ng-windows" has 2 node(s)[ℹ] node "ip-192-168-2-112.ap-northeast-1.compute.internal" is ready[ℹ] node "ip-192-168-93-233.ap-northeast-1.compute.internal" is ready[✔] created 1 nodegroup(s) in cluster "example-cluster"[ℹ] checking security group configuration for all nodegroups[ℹ] all nodegroups have up-to-date configuration |
作成されたワーカーノードを確認してみます。
$ kubectl get nodes -o wideNAME STATUS ROLES AGE VERSION INTERNAL-IP EXTERNAL-IP OS-IMAGE KERNEL-VERSION CONTAINER-RUNTIMEip-192-168-2-112.ap-northeast-1.compute.internal Ready <none> 80s v1.14.6-eks-5047ed 192.168.2.112 3.115.117.54 Windows Server 2019 Datacenter 10.0.17763.737 docker://18.9.7ip-192-168-44-39.ap-northeast-1.compute.internal Ready <none> 30m v1.14.7-eks-1861c5 192.168.44.39 54.249.106.116 Amazon Linux 2 4.14.146-119.123.amzn2.x86_64 docker://18.6.1ip-192-168-82-251.ap-northeast-1.compute.internal Ready <none> 30m v1.14.7-eks-1861c5 192.168.82.251 13.115.16.238 Amazon Linux 2 4.14.146-119.123.amzn2.x86_64 docker://18.6.1ip-192-168-93-233.ap-northeast-1.compute.internal Ready <none> 80s v1.14.6-eks-5047ed 192.168.93.233 13.231.199.30 Windows Server 2019 Datacenter 10.0.17763.737 docker://18.9.7 |
OS-IMAGE欄にWindows Server 2019 Datacenterと表示されたノードが2つ追加されています!
Windowsワーカーノード上でコンテナ(ポッド)を実行してみる
作成したWindowsワーカーノード上で、Windowsに対応したコンテナ(ポッド)を実行してみましょう。
今回は、AWSドキュメントページにあるサンプルマニフェストを使用しました。
Deploy a Windows Sample Application
1 2 3 4 5 6 7 8 9 10 11 12 13 14 15 16 17 18 19 20 21 22 23 24 25 26 27 28 29 30 31 32 33 34 35 36 37 38 39 40 41 42 43 44 45 46 47 48 | apiVersion: apps/v1kind: Deploymentmetadata: name: windows-server-iisspec: selector: matchLabels: app: windows-server-iis tier: backend track: stable replicas: 1 template: metadata: labels: app: windows-server-iis tier: backend track: stable spec: containers: - name: windows-server-iis image: mcr.microsoft.com/windows/servercore:1809 ports: - name: http containerPort: 80 imagePullPolicy: IfNotPresent command: - powershell.exe - -command - "Add-WindowsFeature Web-Server; Invoke-WebRequest -UseBasicParsing -Uri 'https://dotnetbinaries.blob.core.windows.net/servicemonitor/2.0.1.6/ServiceMonitor.exe' -OutFile 'C:\\ServiceMonitor.exe'; echo '<html><body><br/><br/><marquee><H1>Hello EKS!!!<H1><marquee></body><html>' > C:\\inetpub\\wwwroot\\default.html; C:\\ServiceMonitor.exe 'w3svc'; " nodeSelector: beta.kubernetes.io/os: windows---apiVersion: v1kind: Servicemetadata: name: windows-server-iis-service namespace: defaultspec: ports: - port: 80 protocol: TCP targetPort: 80 selector: app: windows-server-iis tier: backend track: stable sessionAffinity: None type: LoadBalancer |
ポイントは、LinuxとWindowsのワーカーノードが混在する場合、ポッド(ReplicaSet、Deployment)のマニフェストにおいて、ノードセレクタを使って明示的に対象ノードのOS種別を指定する必要があるということです。(今回は当然Windowsを指定)
Windowsワーカーノード上で実行させたい場合:
nodeSelector: beta.kubernetes.io/os: windows |
Linuxワーカーノード上で実行させたい場合:
nodeSelector: beta.kubernetes.io/os: linux |
マニフェストをapplyして、ポッド(Deployment)とServiceを作成します。
$ kubectl apply -f windows-server-iis.yamldeployment.apps/windows-server-iis createdservice/windows-server-iis-service created |
kubectl get pods --watchコマンドでポッドの作成完了を待ちます。
ポッド作成時、コンテナのベースとなる「Windows Server Core」Dockerイメージに対してIISのインストール処理を行っているためか、ポッドの起動までに多少時間がかかるようです。(私が行った時は5分ほどかかりました)
ポッドが無事作成・実行されました。
$ kubectl get pods -o wideNAME READY STATUS RESTARTS AGE IP NODE NOMINATED NODE READINESS GATESwindows-server-iis-66bf9745b-j8g4b 1/1 Running 0 5m46s 192.168.8.136 ip-192-168-2-112.ap-northeast-1.compute.internal <none> <none> |
アクセス確認を行うために、LoadBalancer Service (実体はELB) のエンドポイントを確認します。
$ kubectl get services -o wideNAME TYPE CLUSTER-IP EXTERNAL-IP PORT(S) AGE SELECTORkubernetes ClusterIP 10.100.0.1 <none> 443/TCP 47m <none>windows-server-iis-service LoadBalancer 10.100.206.165 af388594eea2311e9af0906c5cb6fd5b-736422586.ap-northeast-1.elb.amazonaws.com 80:32120/TCP 6m40s app=windows-server-iis,tier=backend,track=stable |
確認したエンドポイントのFQDNに、Webブラウザでアクセスします。
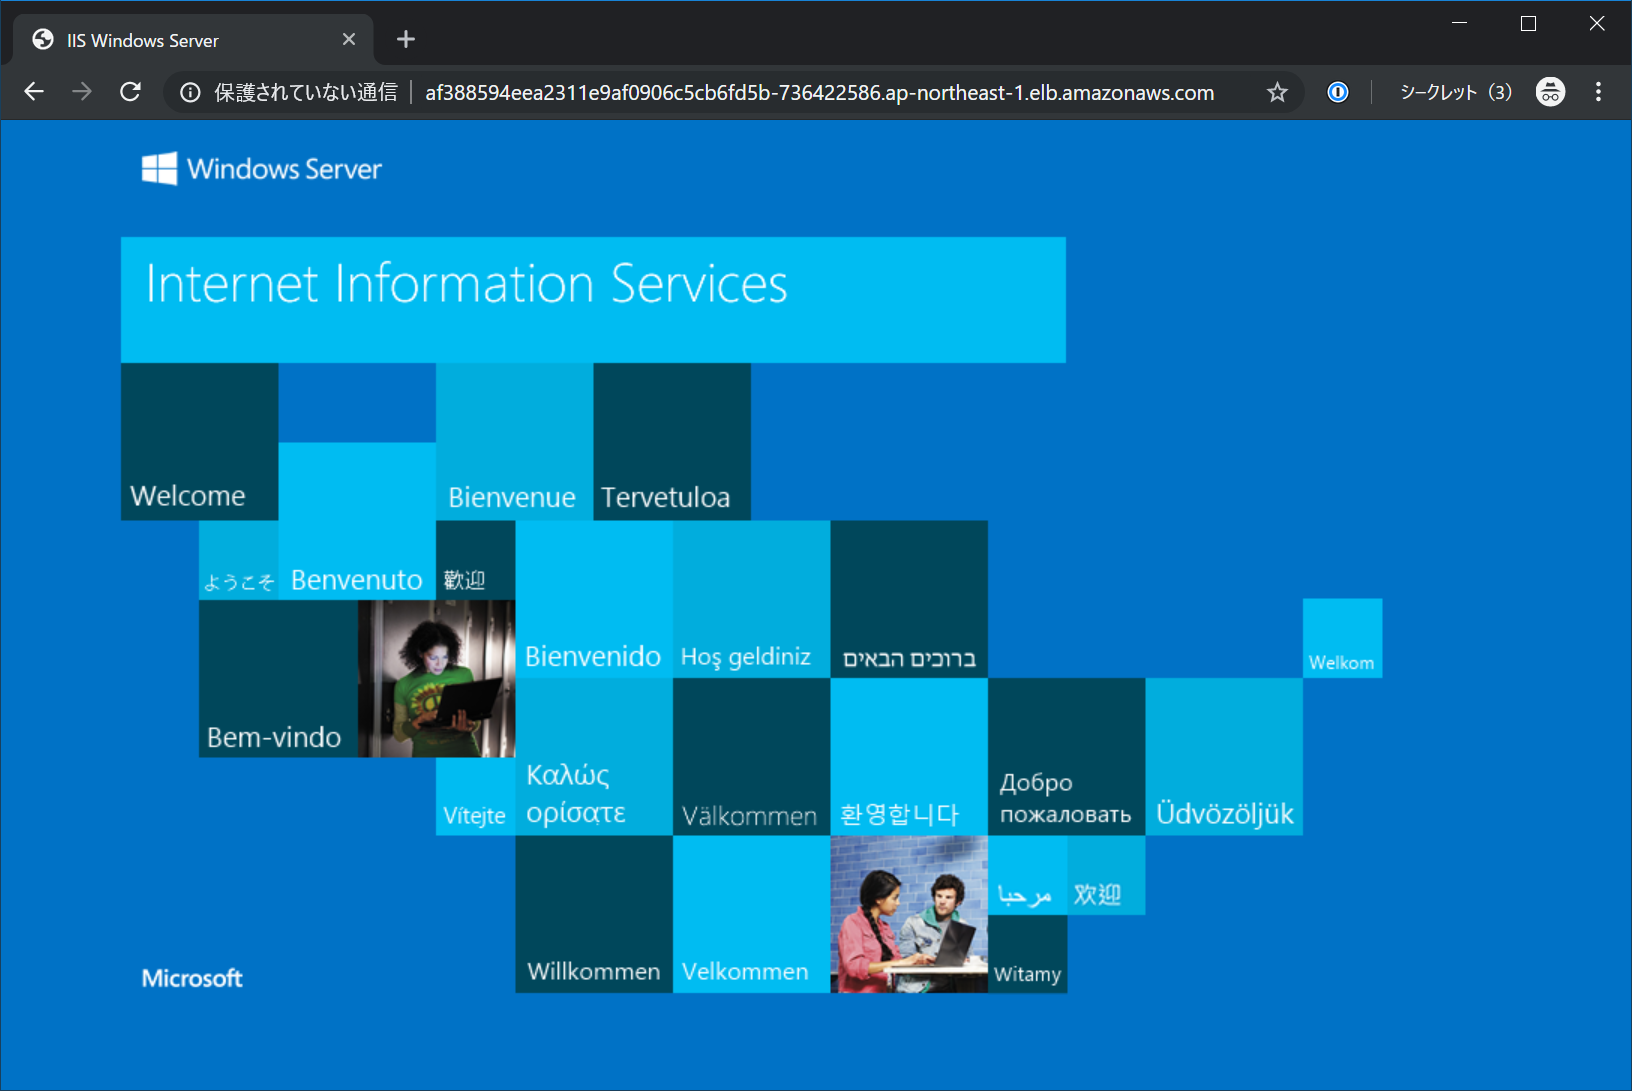
IISのWebサーバーに無事アクセスできました!
おわりに
Amazon EKSでWindowsワーカーノードの実行、Windowsコンテナアプリケーションの実行が行えるようになったことを、実際に試すことができました。
今年のAWS Summit (東京/大阪)などでも、AWSにおけるWindowsワークロード実行の幅広いサポート・実績がアピールされていました。
今回EKSでもサポートされたことにより選択肢がまた一つ増えたということは嬉しいことですね。
今後も注目です!


