
Straw and Hay with Maya
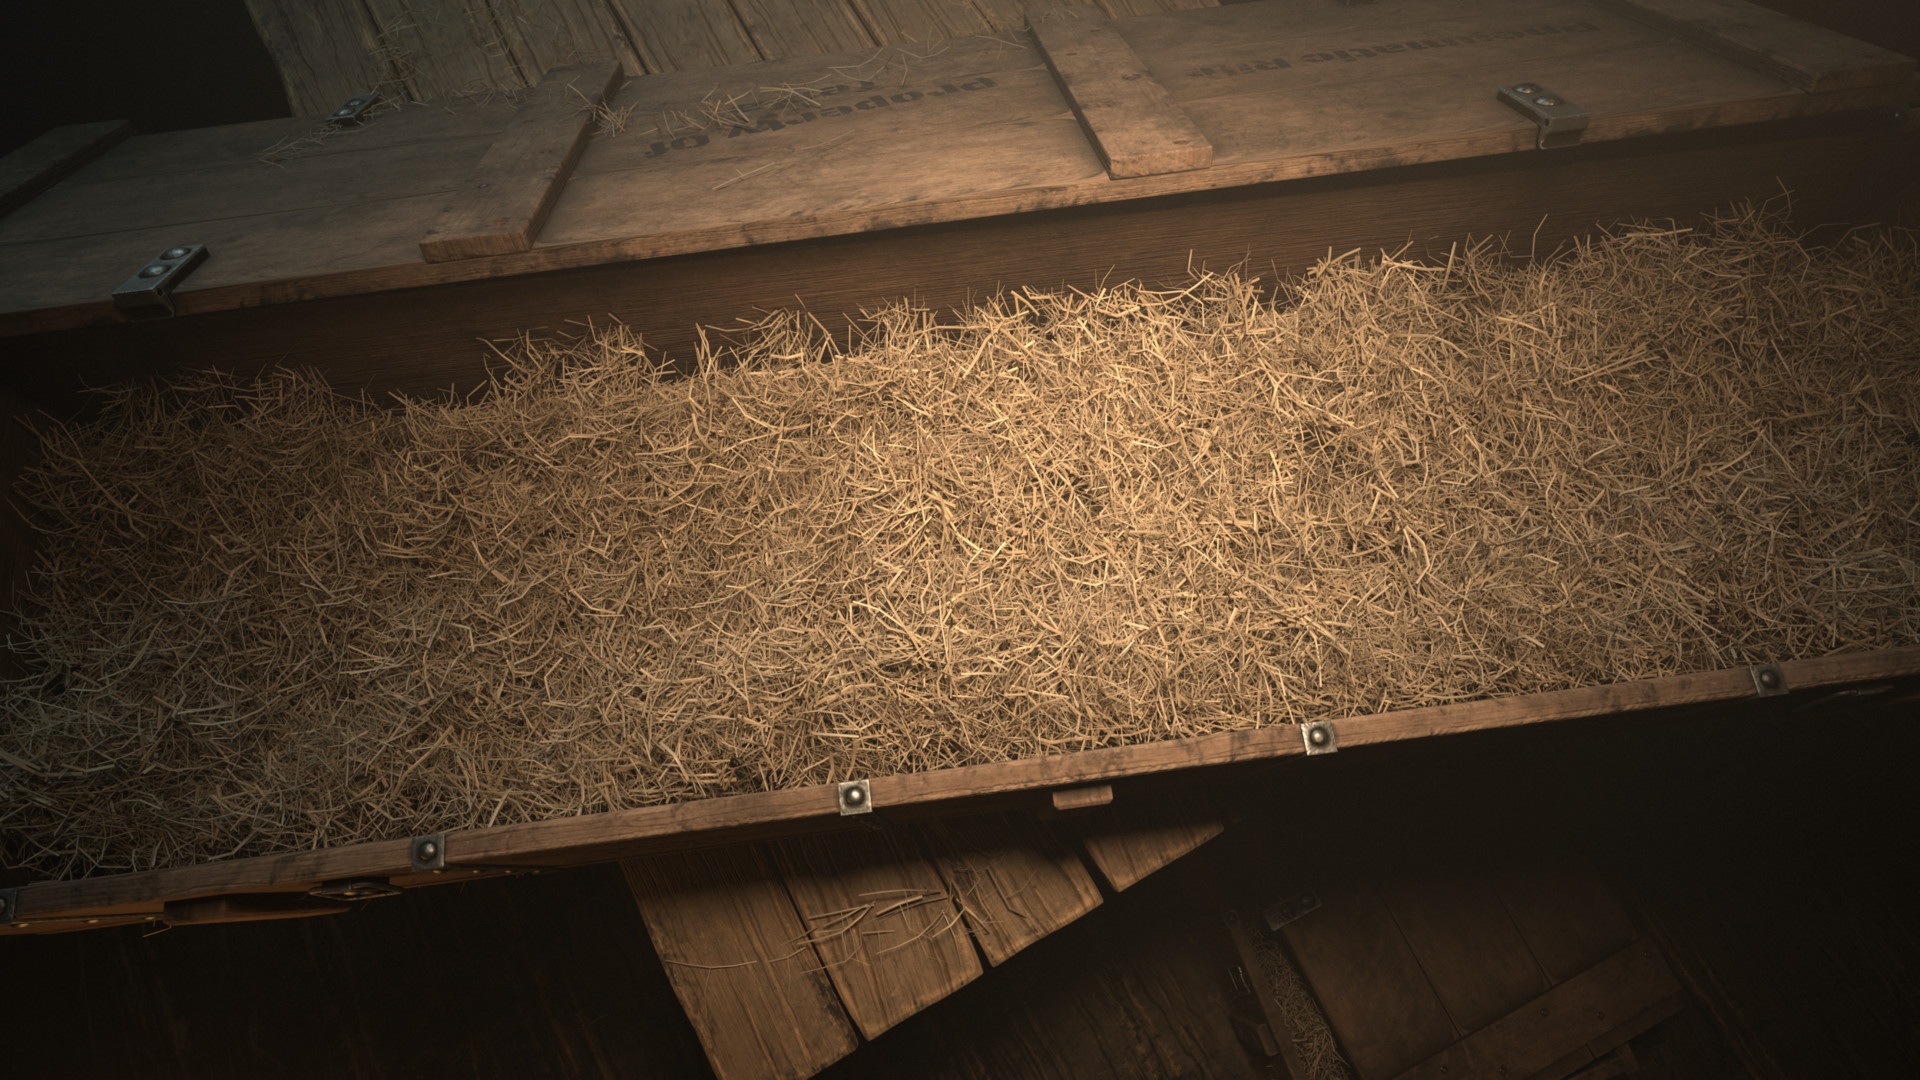
Hello fellow artists! I'll show how I went about creating the straw/hay in the crate of The Pneumatic Rifle. Many asked and here it is. I hope you find it useful.
Approaching The Straw/Hay
When the idea came to me that I wanted to place the weapon in an old shipping crate, I completely forgot the crates shipped with a straw inside of them so that the contents wouldn't be damaged during transportation. After creating the crate,table and setting up the lighting, my last challenge was to crate the straw. I have never created anything related to straw and hay so I need to find a solution. My first thought was to model the different individual pieces but I new that the out come would prove too humanely perfect and wouldn't be very efficient so I moved on to a different solution. I was Given the tip to use Maya's nhair with paint effects to create it quickly so I gave it a try. After my first pass using paint effects the results were not as I expected but with the more time I spend adjusting the options the desired look was beginning to shine through.
Creation
Creating the straw is simple but getting it the way you what it to look is the hard part.
1. Create a geometry you would like the
straw to generate from (E.g. A flat plane).

2. Make sure the UV's are unwrapped.
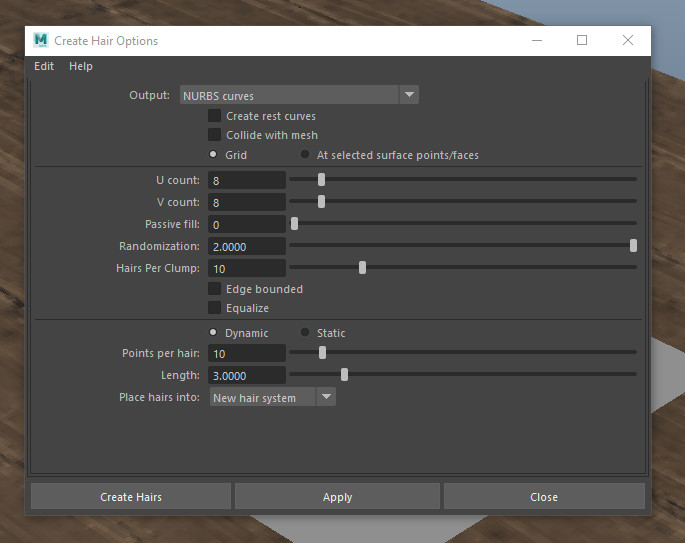
3. With your geometry selected navigate
your way to the FX Tab -> nhair-> Create hair(Option box)
Make sure Nurbs curves is the Output. Other options and be modified to your liking.
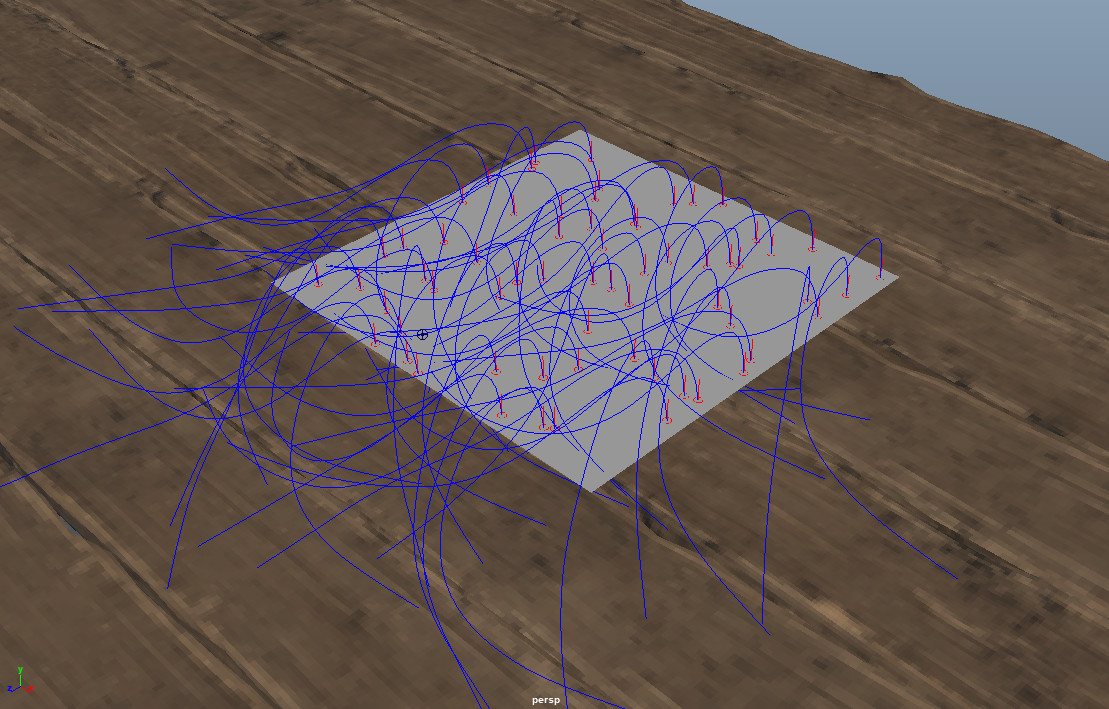
Create Hair!
It should look something like this.

4. Add an nCloth passive collider on anything you want the curves to collide to.
5. Tilt the geometry so that the curves can fall.
6. Play animation.
Result
7. Now select One curve to start creating your straw preset.
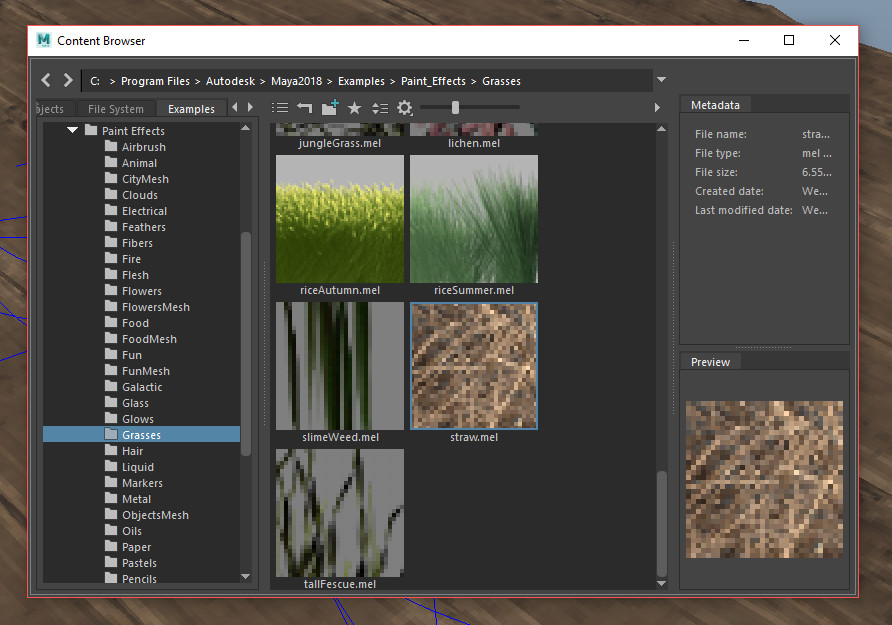
8. FX Tab -> nhair-> Get Hair Example .
9 . A new window should open. Navigate to paint effects folder -> grasses folder -> Select straw.mel.
10. Now go to Modeling Tab -> Generate -> Curve Utilities -> Attach Brush to Curve.
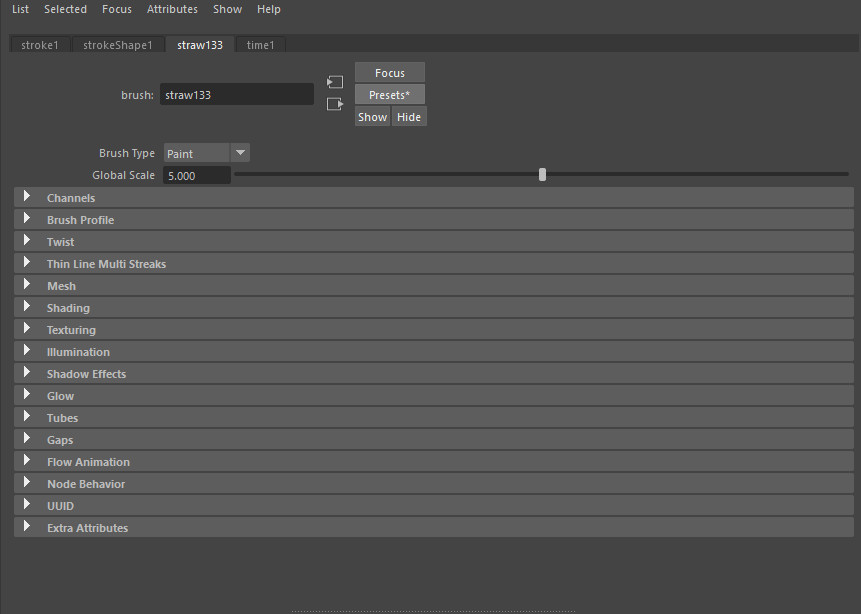
The newly generated straw looks like noodles so lets change that.

11. you can find the setting in the straw tab inside the attributes.
12. I first added some flatness in the brush Profile tab, to give it more or a compacted look.

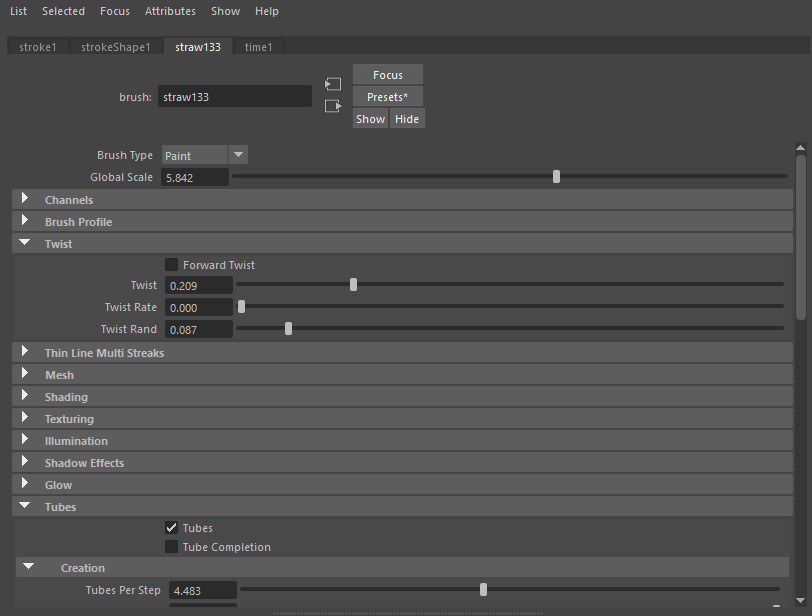
13. Moving on I added some twist.
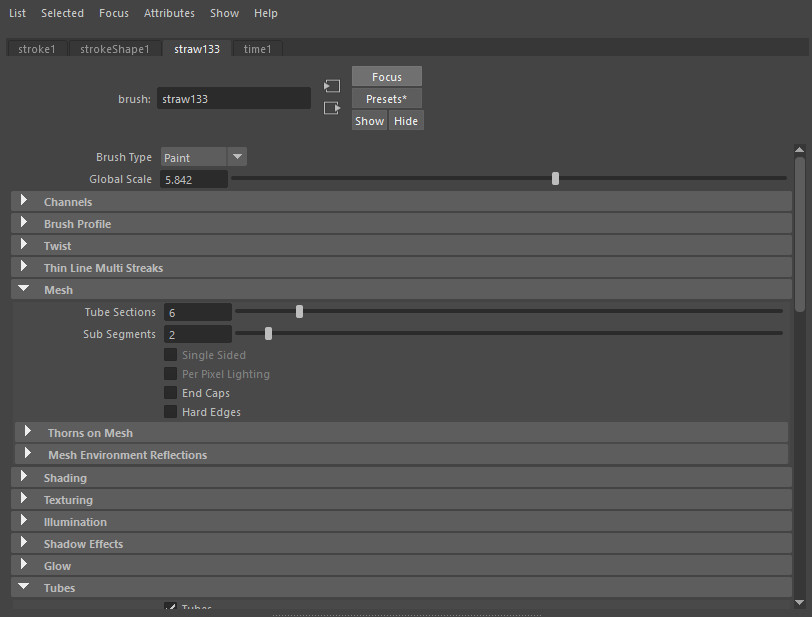
14. lowered some setting on the mesh to get some more bend.
15. Made some changes to some small setting in the creation tab.

16. Added some Twigs in the Growth tab and messed with they're setting to get the look I wanted.

16. In the Behavior tab I changed up the forces to give it some more randomization.

17. And last but not least some more Behavior settings.

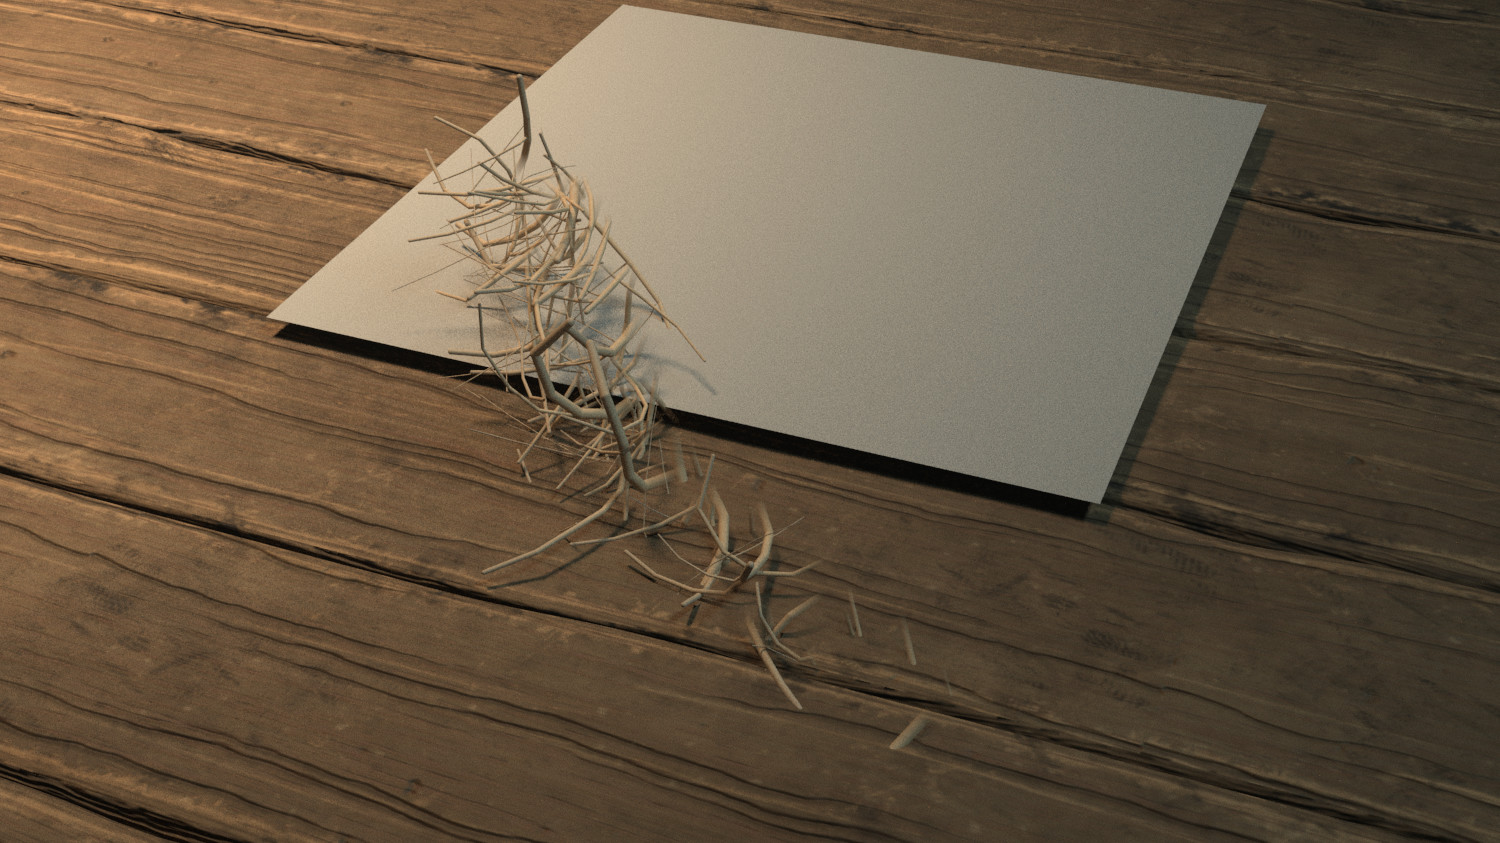
The straw should now look something like this. (V-Ray Render)
Save the straw as a preset if desired.
18. Now select stroke1 in the outliner then Navigate to Generate -> Get setting from selected stroke.
19. Now select all the curves and Navigate to Modeling Tab -> Generate -> Curve Utilities -> Attach Brush to Curve.
Now you have a bunch of straw!

Time To Convert to polygons.
20. Select all your strokes and Convert Paint Effects to Polygons
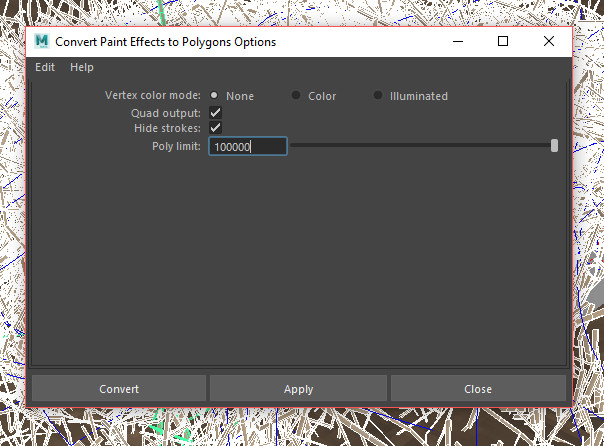
And congratulations you are done!
This is the final results.
