[AWS AppSync] Elasticsearch Service をデータソースに利用する


こんにちは、菊池です。
先日、フルマネージドなGraphQLサービス、AWS AppSyncが正式リリースされました。
先のエントリにて、AppSyncのサンプルスキーマを利用したGraphQL APIの操作を試しました。
上記サンプルスキーマでは、データソースにDynamoDBを利用していました。AppSyncでは他にもElasticsearch Service、Lambdaをデータソースに指定することが可能です。というわけで、今回は公式ドキュメントのチュートリアルを参考に、Elasticsearch Service をデータソースとしてAppSyncを試してみました。
Elasticsearch Serviceを利用したAPIを作成する
それでは、順番に環境を作成していきます。
- Elasticsearch Service ドメインの作成
- IAM Roleの作成
- AppSync APIスキーマの設定
- AppSyncデータソースの指定
- リゾルバマッピング
- クエリの実行
Elasticsearch Service ドメインの作成
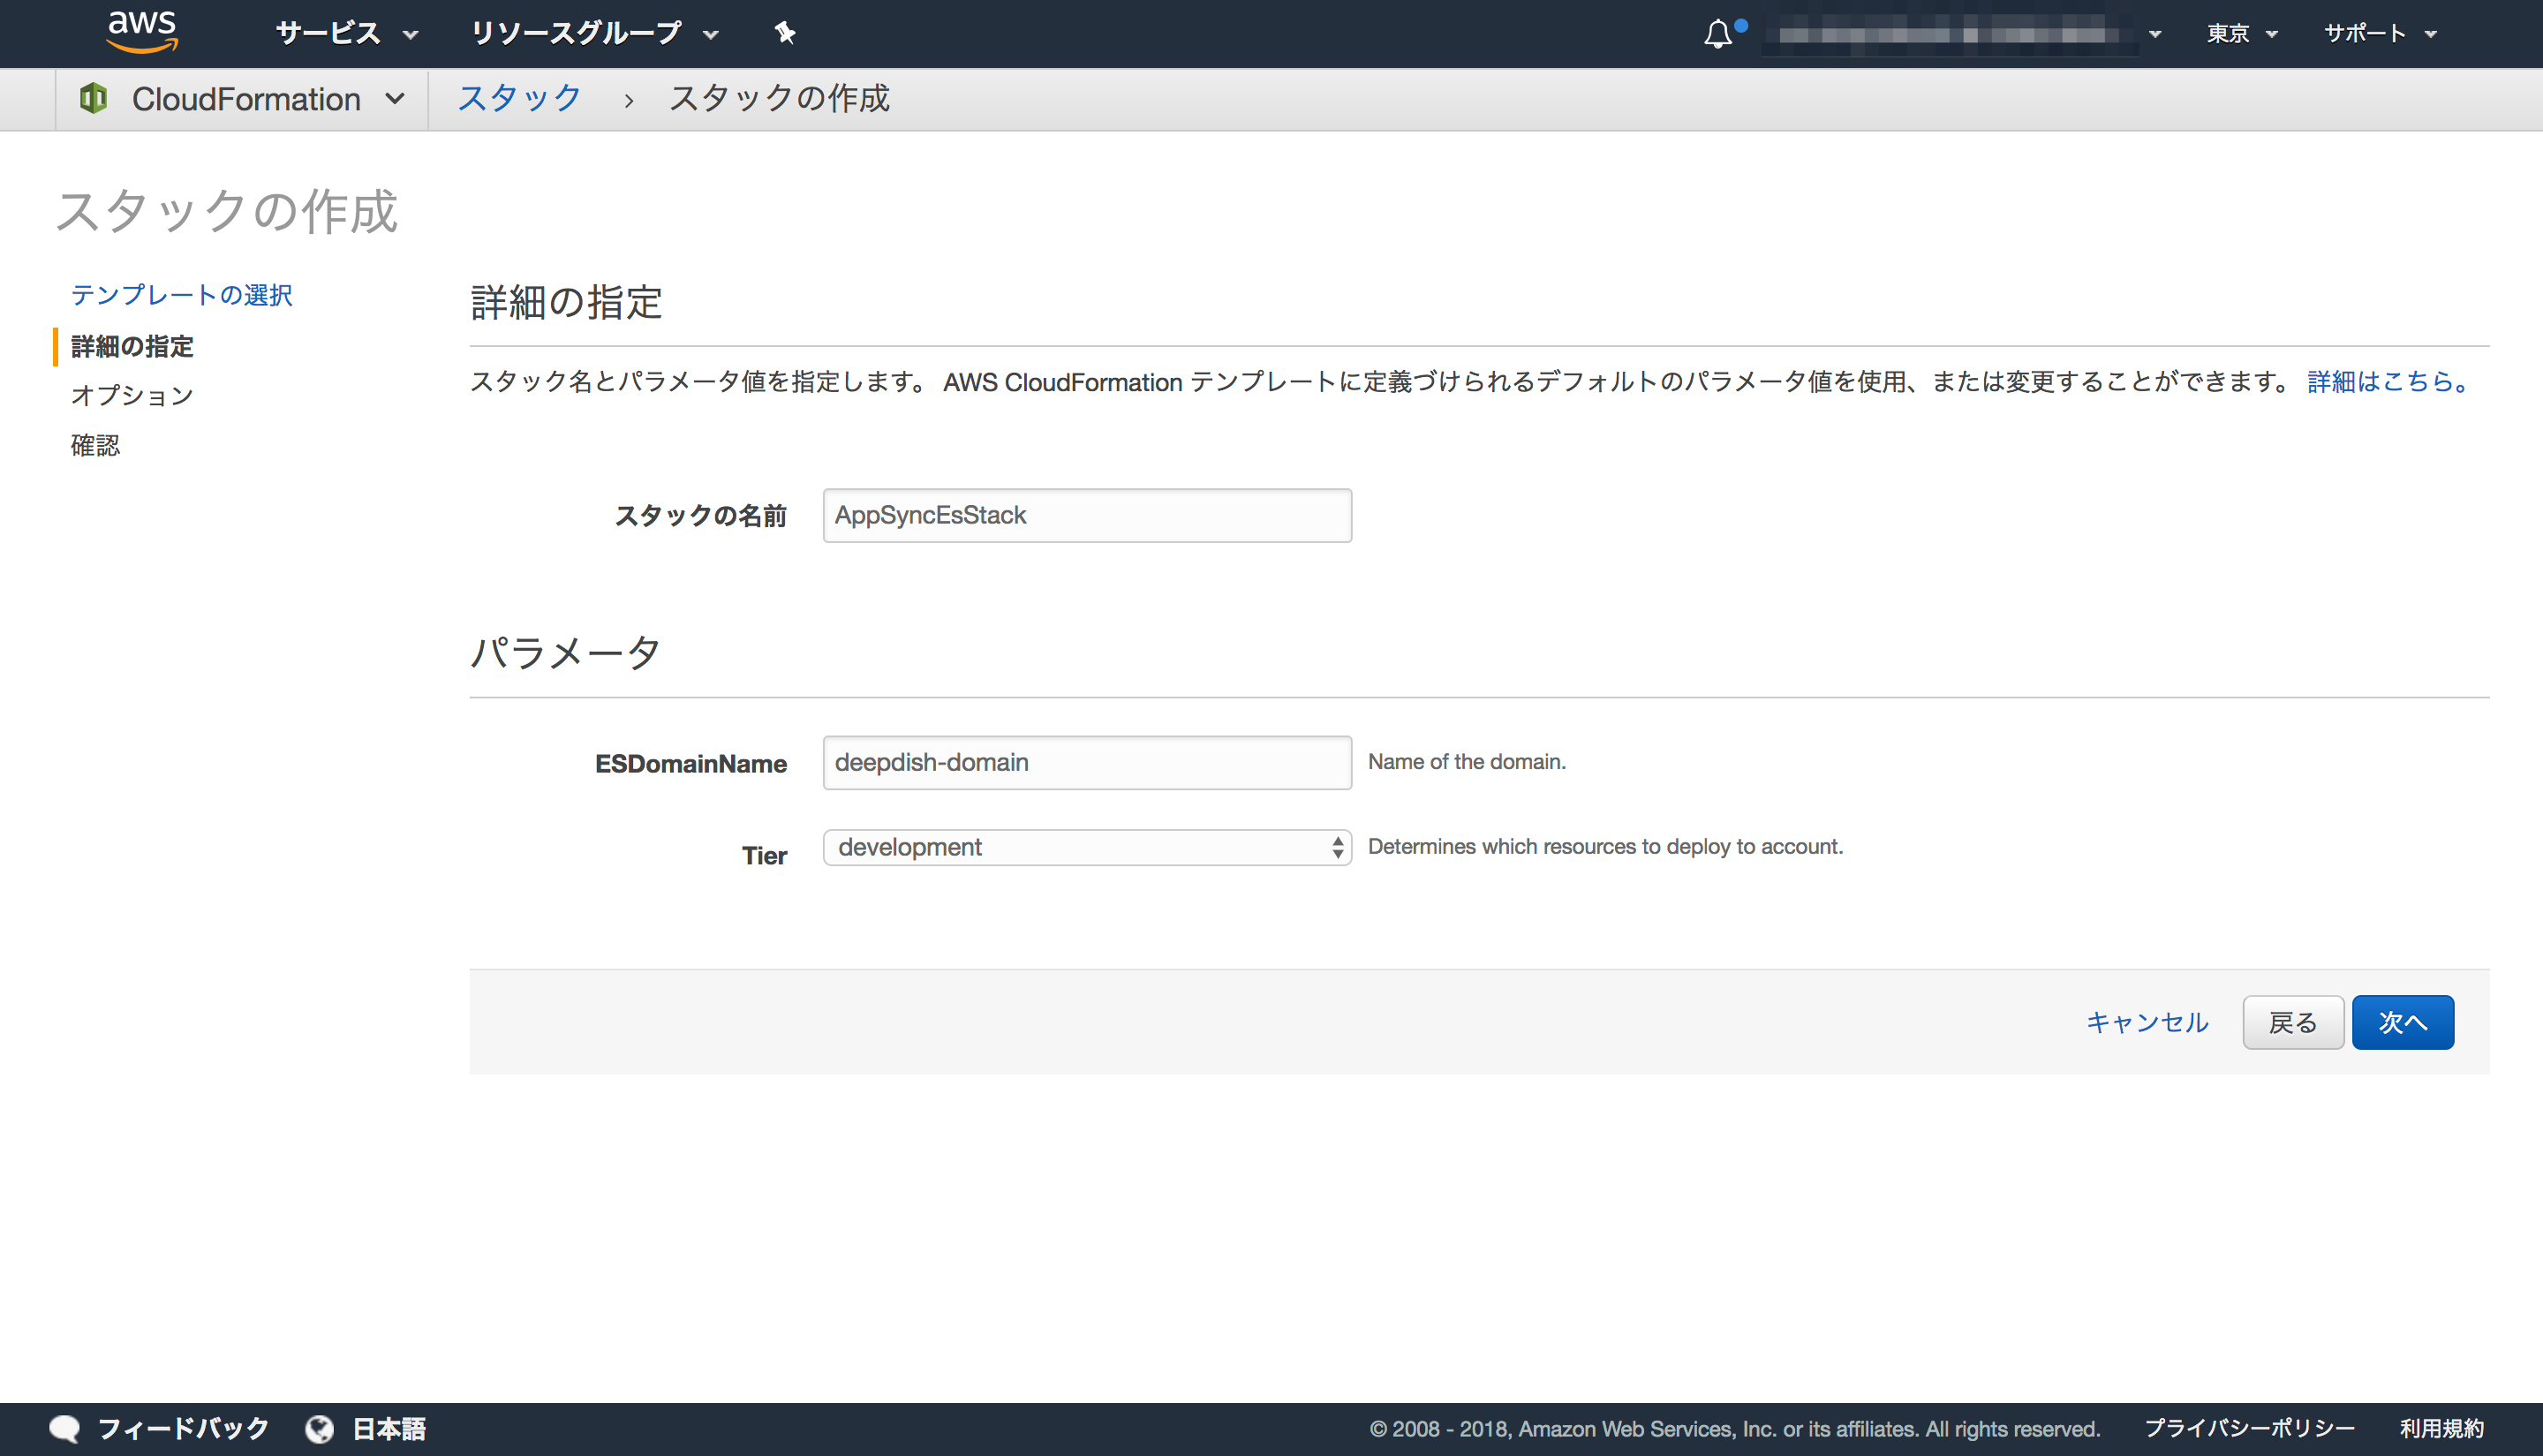
まずは、データソースとなるElasticsearch Serviceのドメインを作成します。公式のチュートリアルに、CloudFromationのテンプレートが公開されていますので、それを利用して作成します。
ドキュメントのリンクをクリックするとそのままCloudFormationのスタックが作成可能ですが、東京リージョンに環境を作りたかったのでテンプレートのみ利用して、作成しました。
Elasticsearch Serviceが起動するまでしばらく待ちます。
IAM Roleの作成
続いて、AppSyncサービスがElasticsearch ServiceにアクセスするためのIAM Roleを作成します。
IAM Roleの作成画面から、[AWSサービス] -> [AppSync]を選んで進みます。

適当な名前をつけてIAM Roleを作成します。

作成したIAM Roleに、ポリシーをアタッチします。ポリシーには、Elasticsearch Serviceにアクセスするための以下のような権限を付与しました。deepdish-domainは先に作成したElasticsearch Serviceのドメイン名です。
1 2 3 4 5 6 7 8 9 10 11 12 13 14 15 16 17 18 19 | { "Version": "2012-10-17", "Statement": [ { "Sid": "Stmt1234234", "Effect": "Allow", "Action": [ "es:ESHttpDelete", "es:ESHttpHead", "es:ESHttpGet", "es:ESHttpPost", "es:ESHttpPut" ], "Resource": [ "arn:aws:es:ap-northeast-1:xxxxxxxxxxxx:domain/deepdish-domain/*" ] } ]} |
AppSync API スキーマ
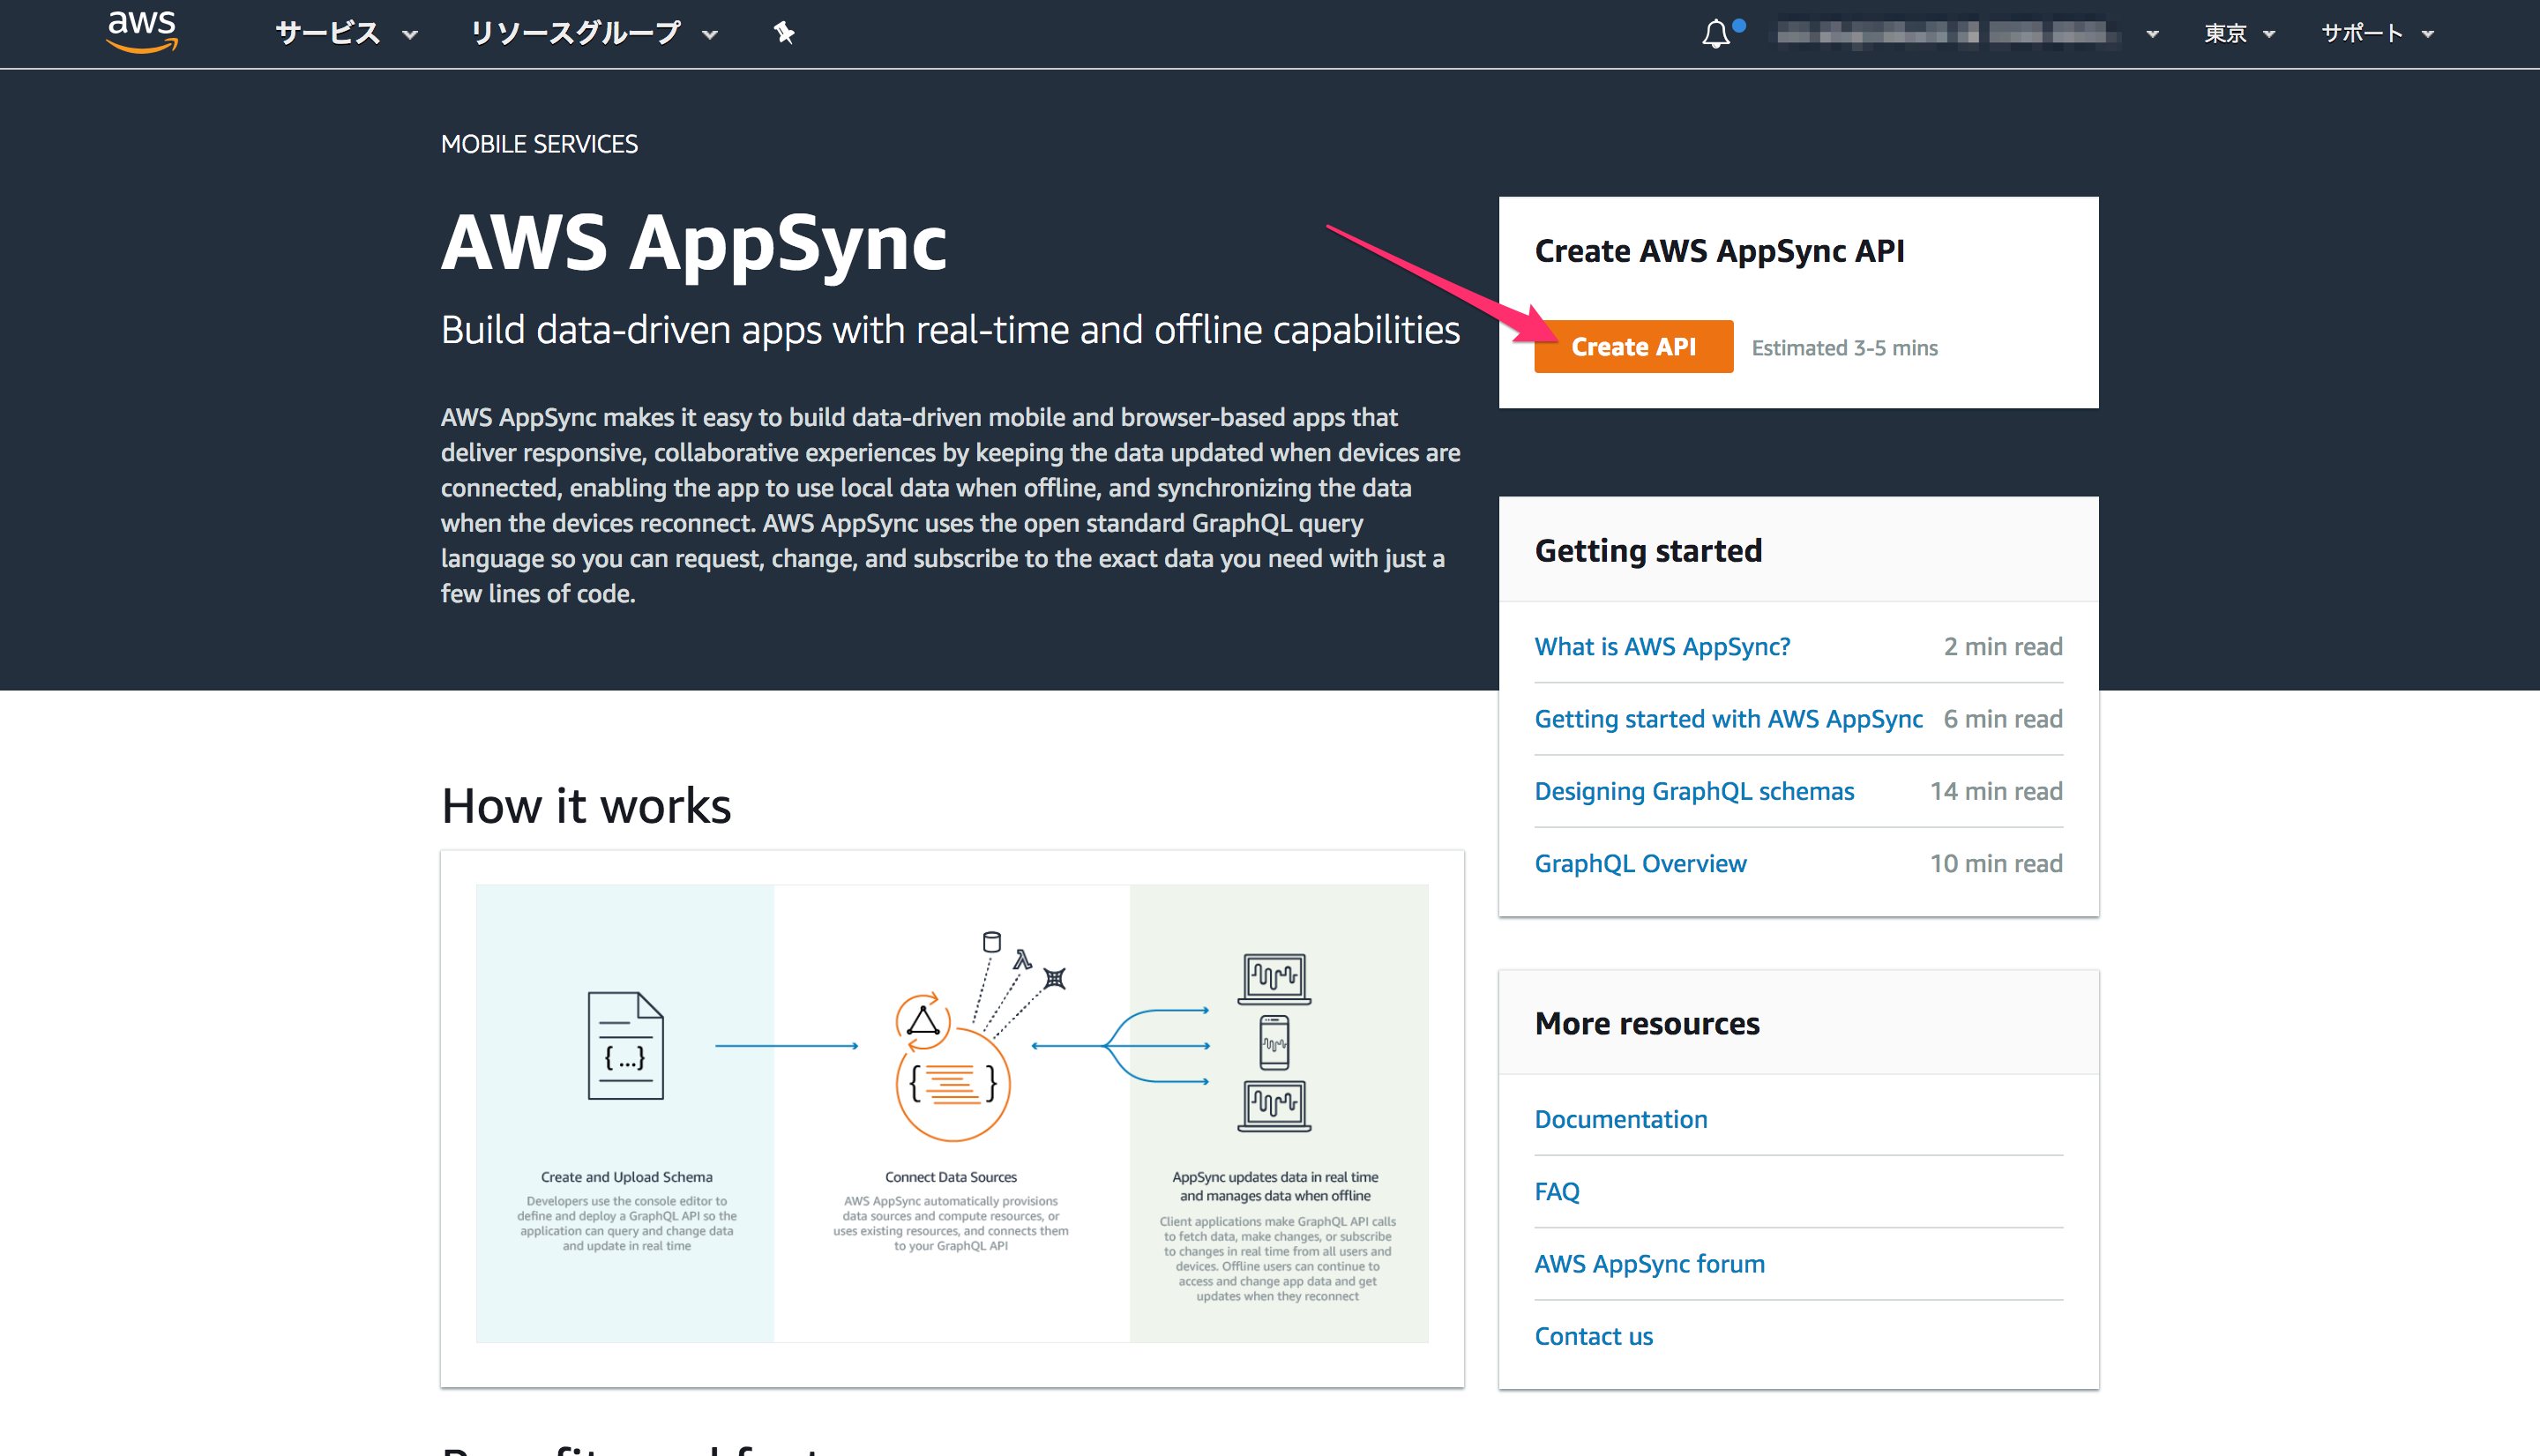
次に、AppSync APIを作成します。コンソールから[Create API]を選択して進みます。
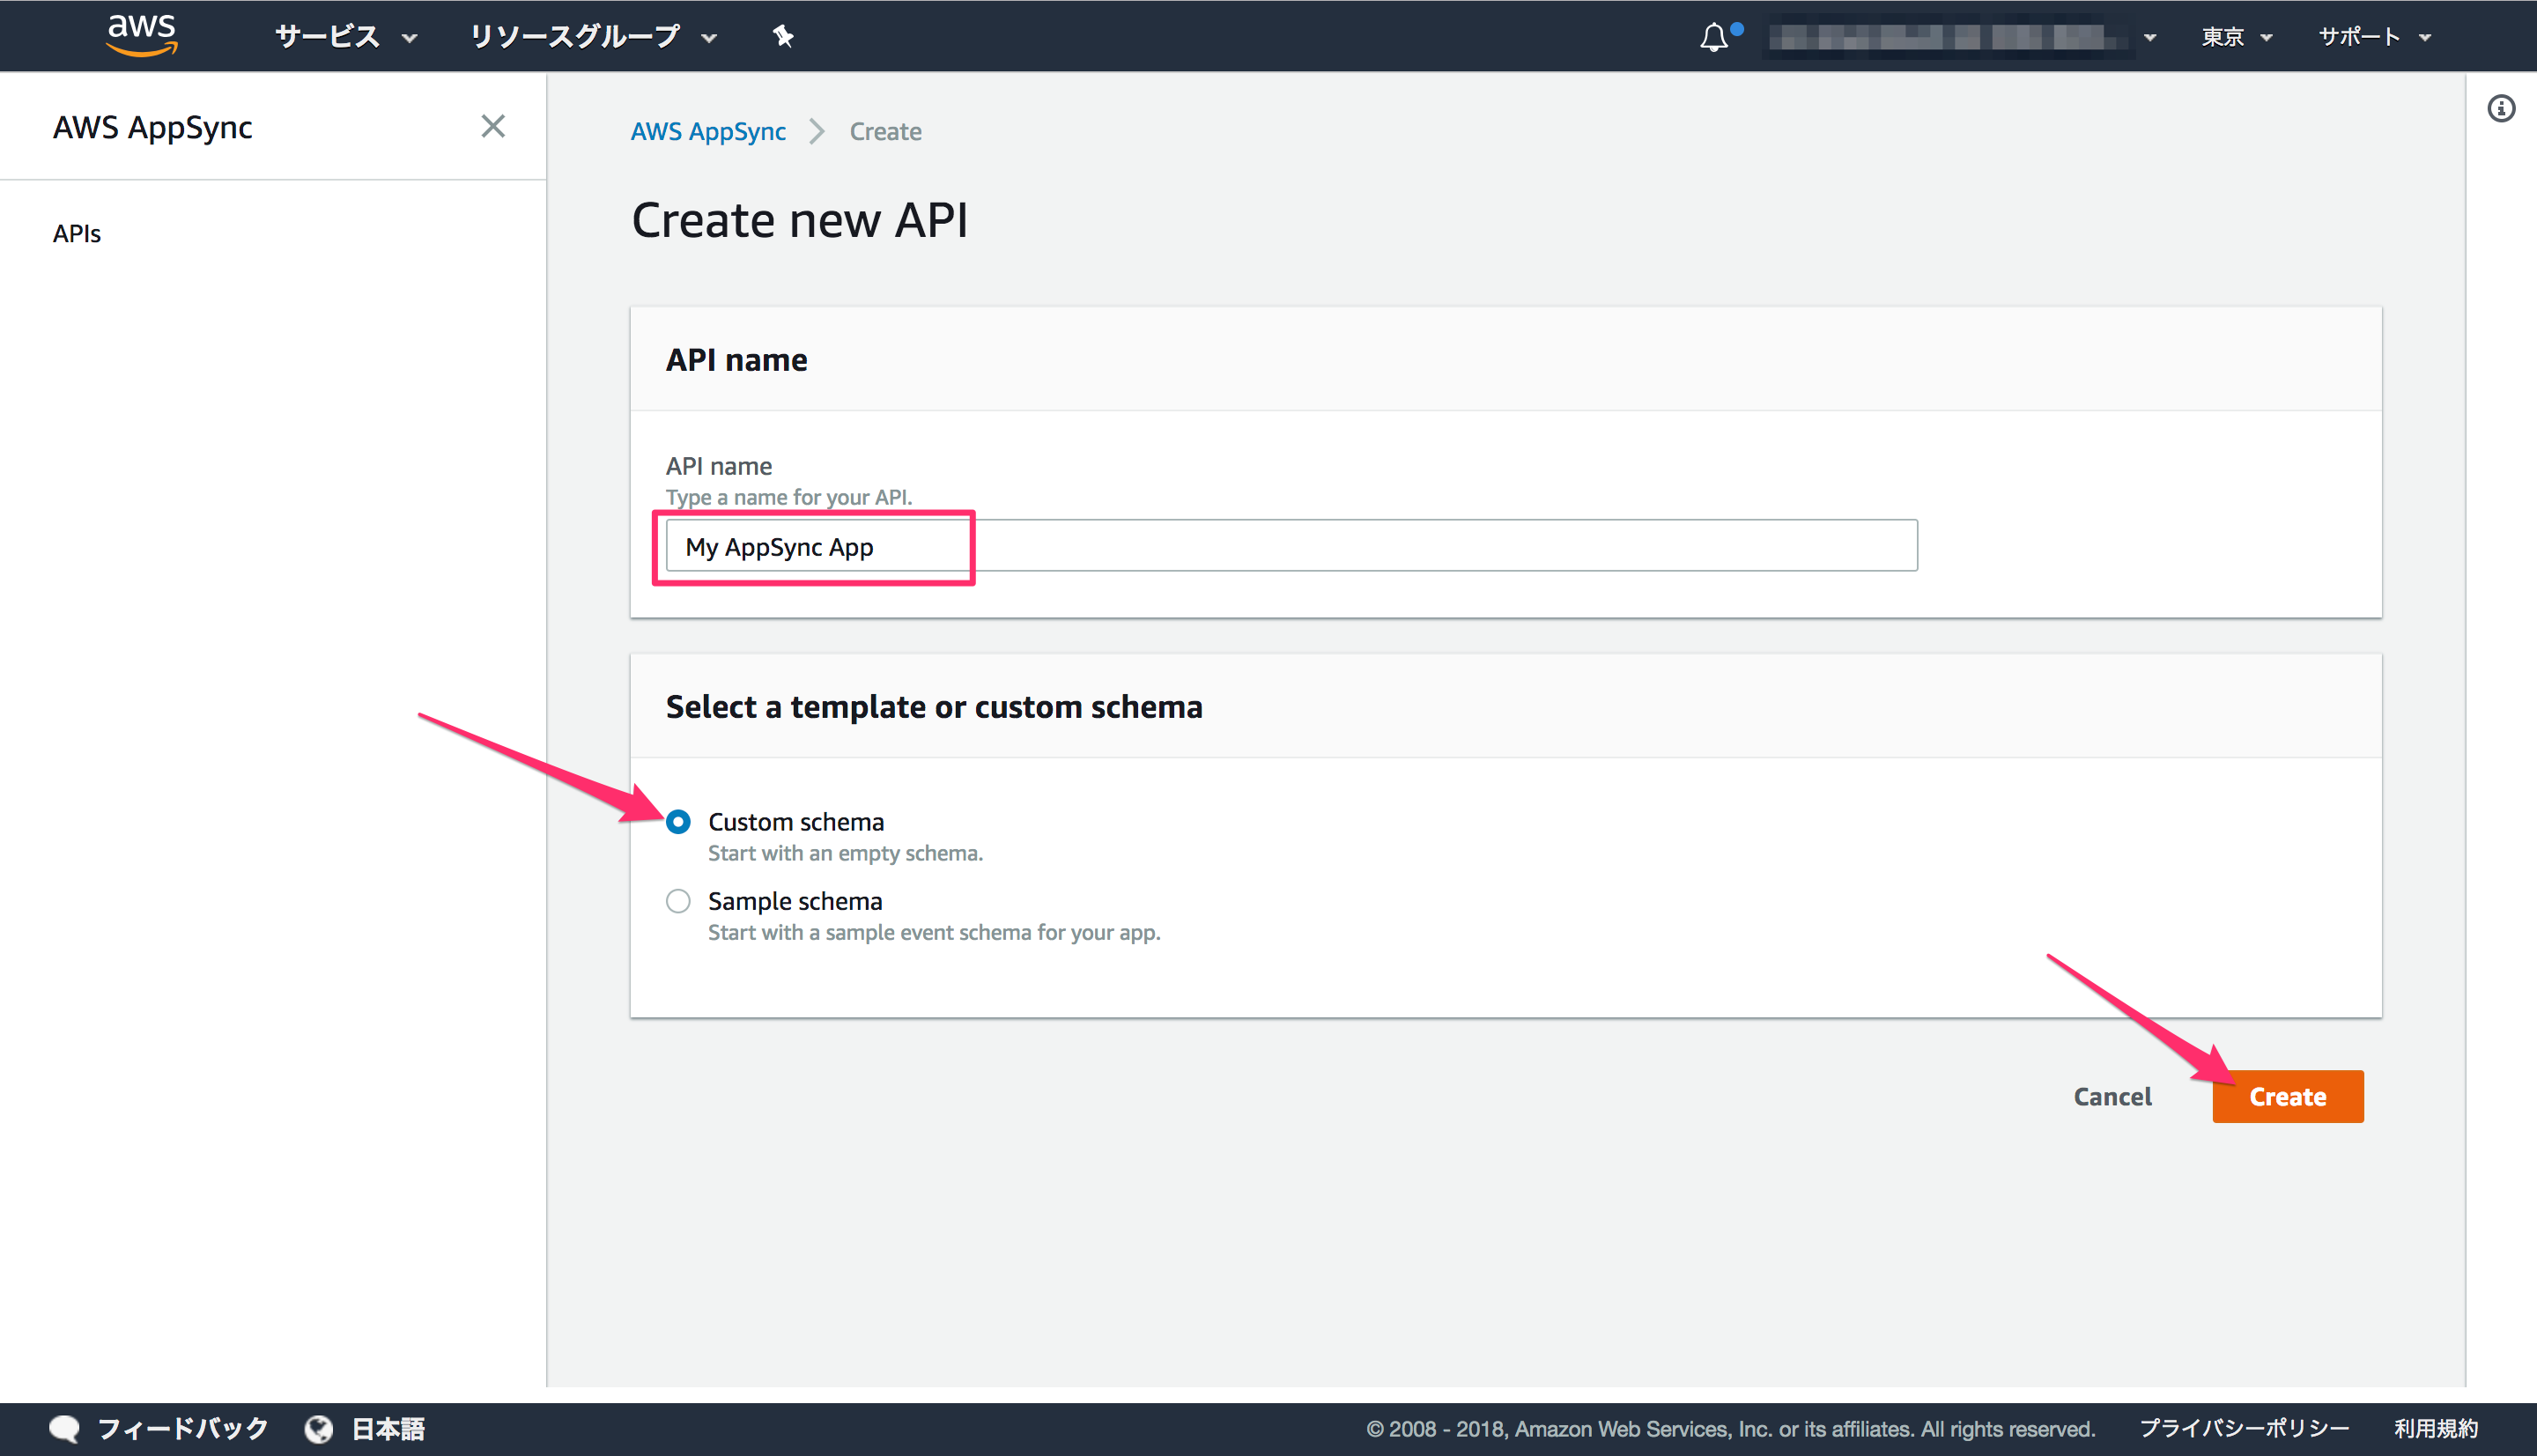
API名とスキーマを選択します。今回は、[Custom schema]を選びました。
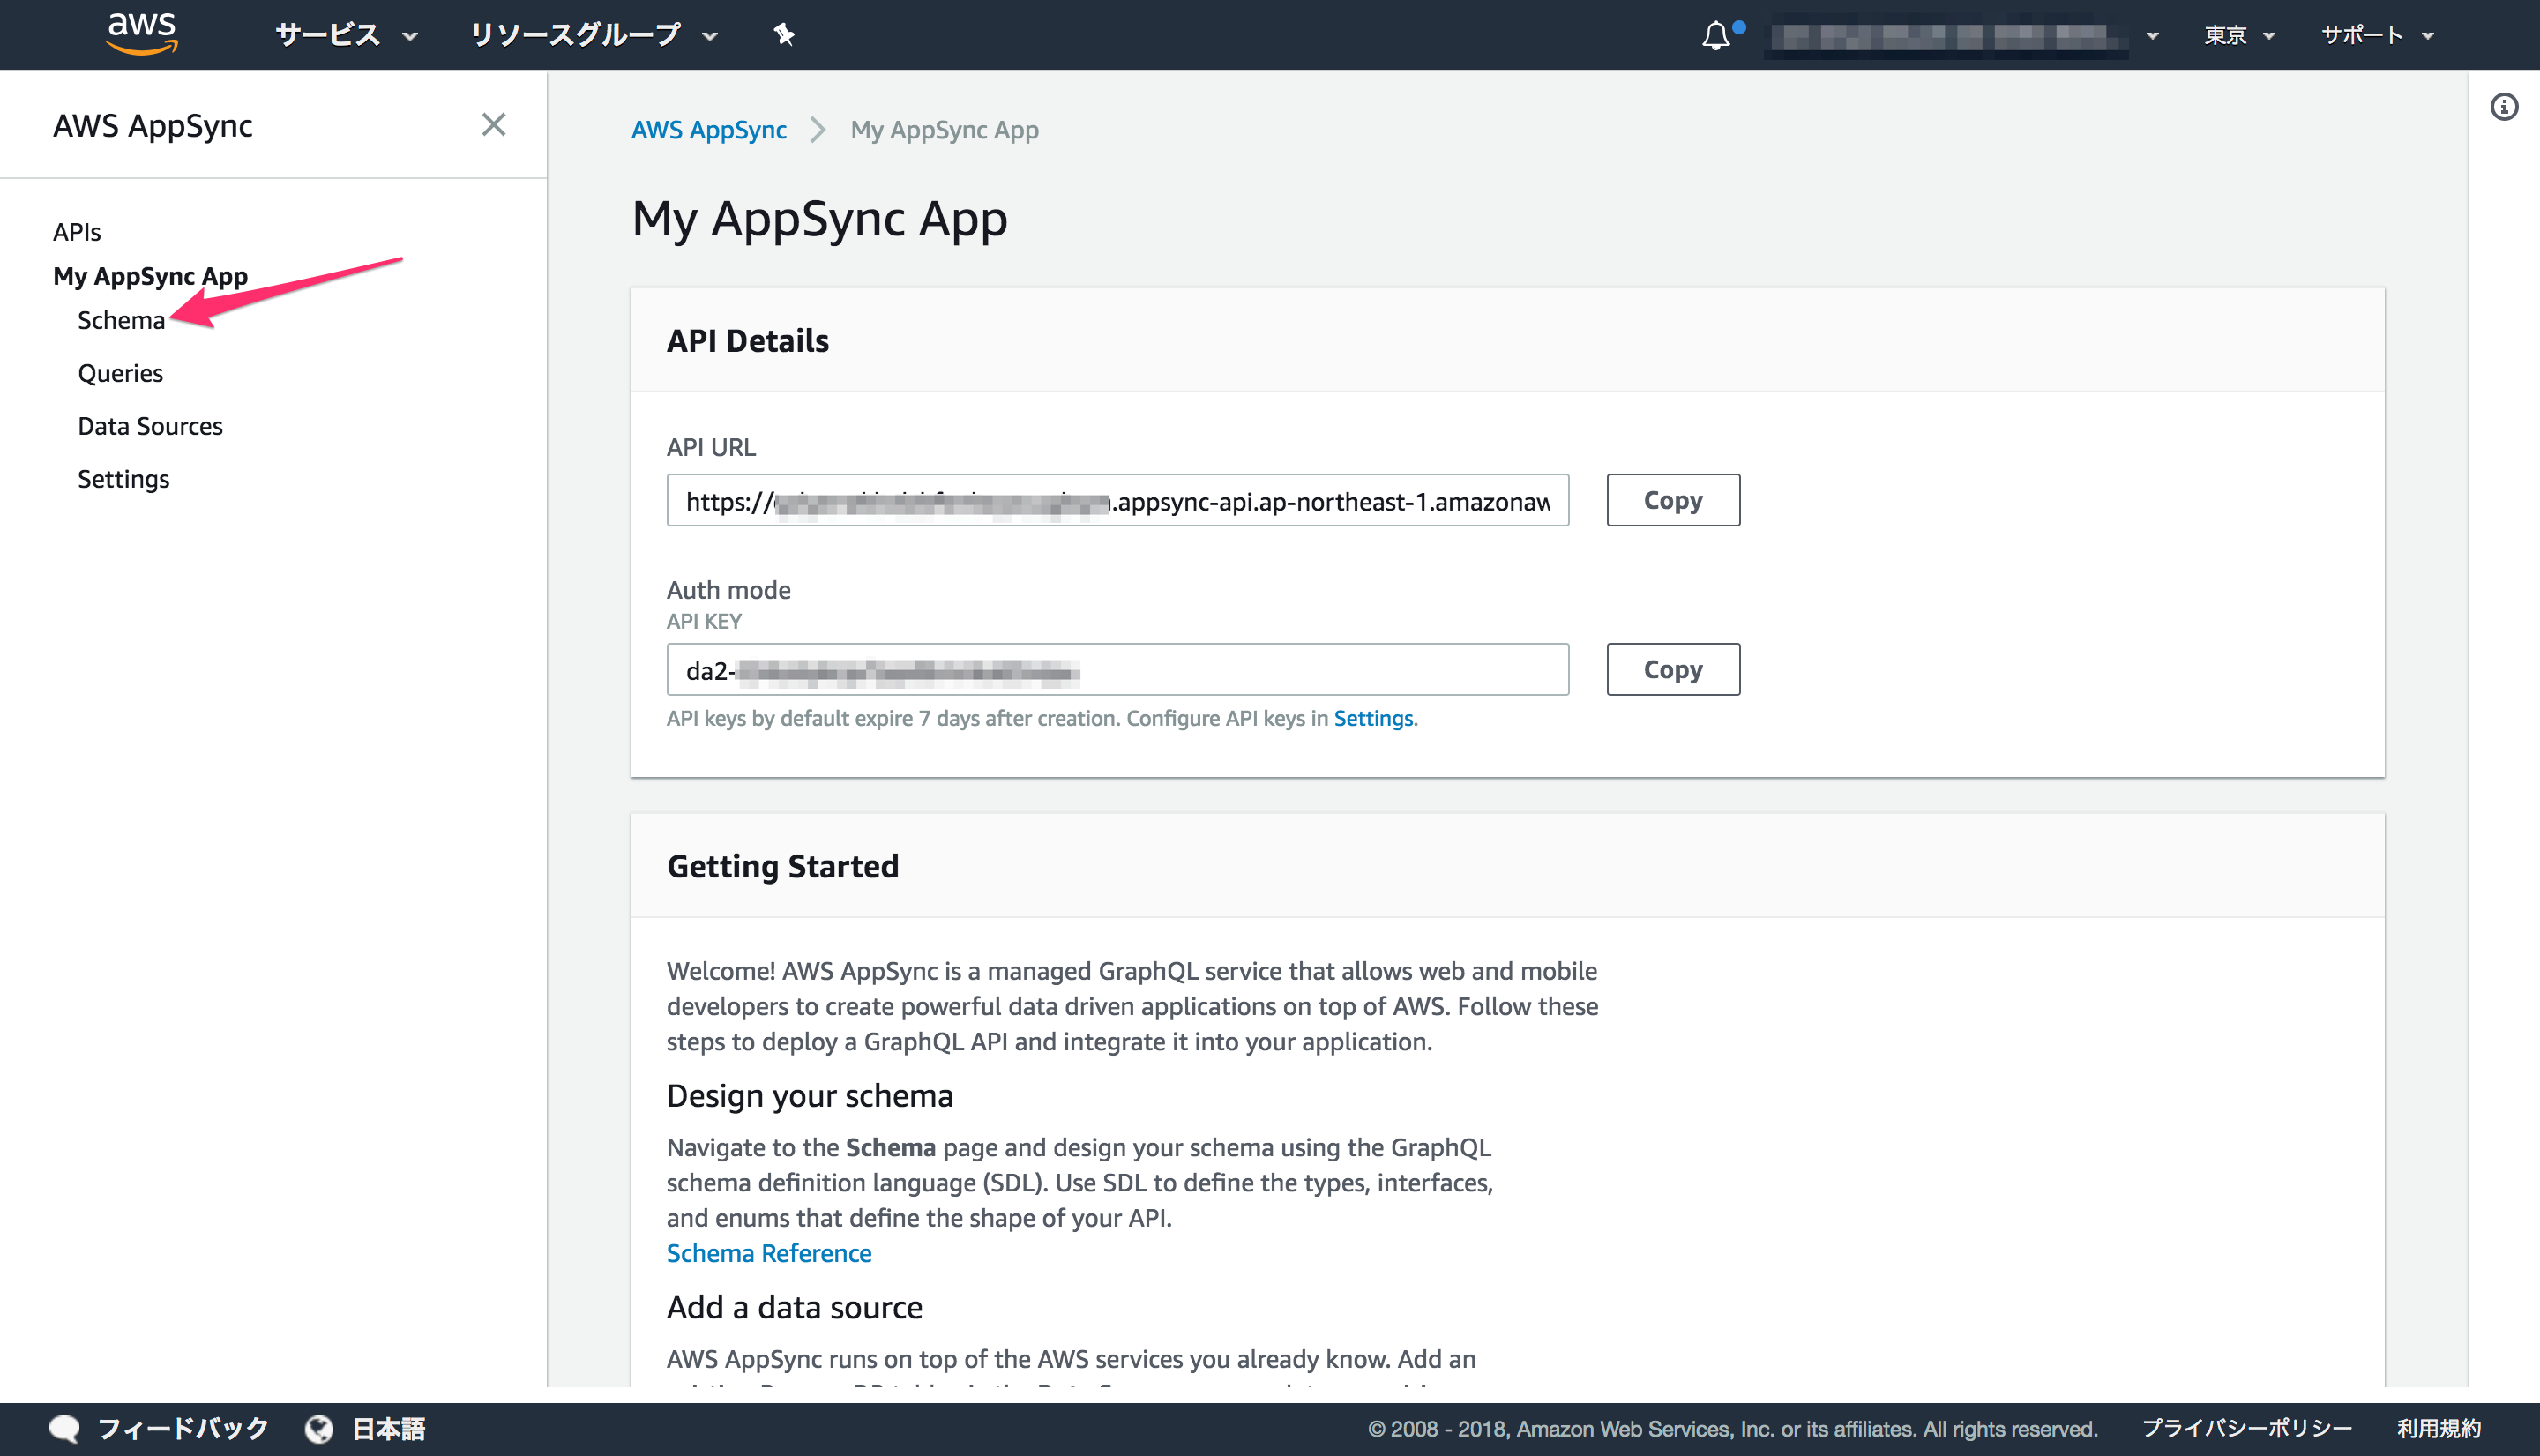
これで、APIエンドポイントは作成されますので、続けて、左のメニューから[Schema]を選択します。
スキーマを入力する欄がありますので、こちらに記述して保存します。
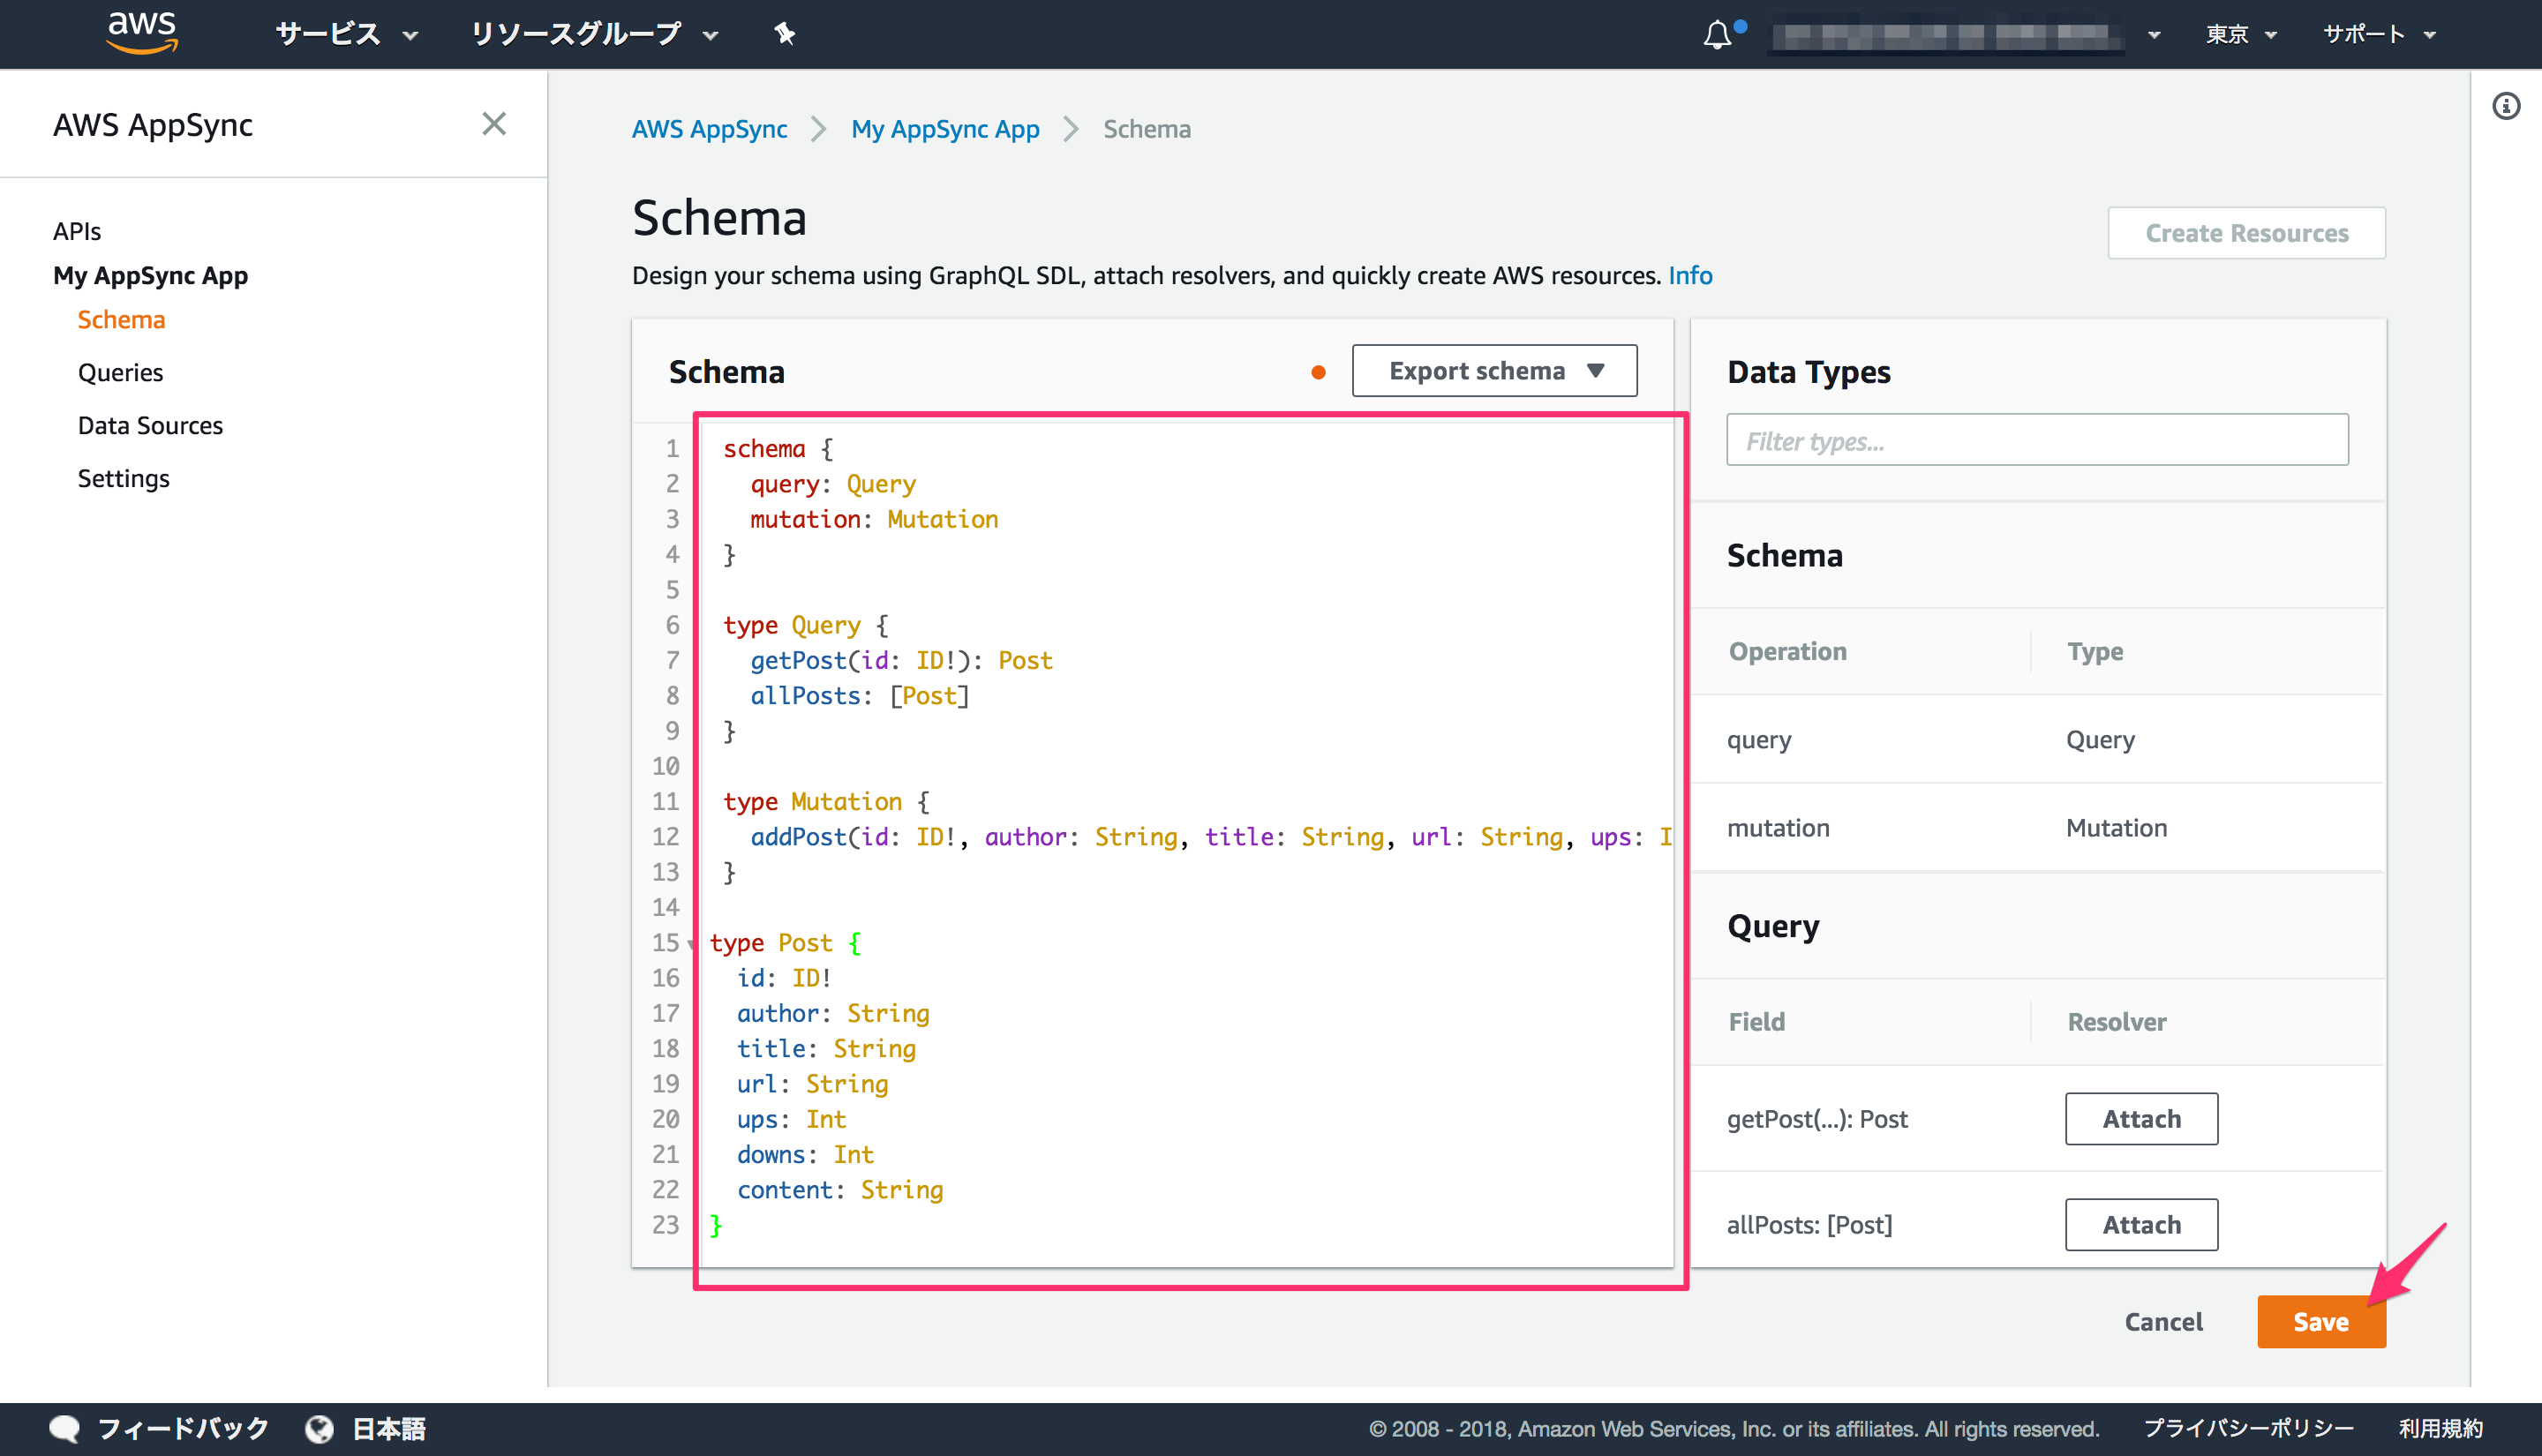
スキーマは、チュートリアルを参考に、以下のように記述しました。 この定義から後ほど、QueryのgetPost、allPostsByAuthor、searchPostsを設定していきます。
1 2 3 4 5 6 7 8 9 10 11 12 13 14 15 16 17 18 19 20 21 22 23 24 25 26 27 28 29 30 31 32 33 | type Mutation { addPost( id: ID!, author: String, title: String, url: String, ups: Int, downs: Int, content: String ): Post}type Post { id: ID! author: String title: String url: String ups: Int downs: Int content: String}type Query { getPost(id: ID!): Post allPosts: [Post] allPostsByAuthor(author: String!): [Post] searchPosts: [Post]}schema { query: Query mutation: Mutation} |
AppSyncデータソースの指定
データソースとして利用するElasticsearch Serviceを登録していきます。左のメニューから、[Data Sources]を選択します。新しいデータソースとして、先に作成したElasticsearch Serviceドメイン、IAM Roleを選択します。

任意の名前、データソースの種別としてElasticsearch Service、リージョン、ドメイン、IAM Roleを選択したら保存します。
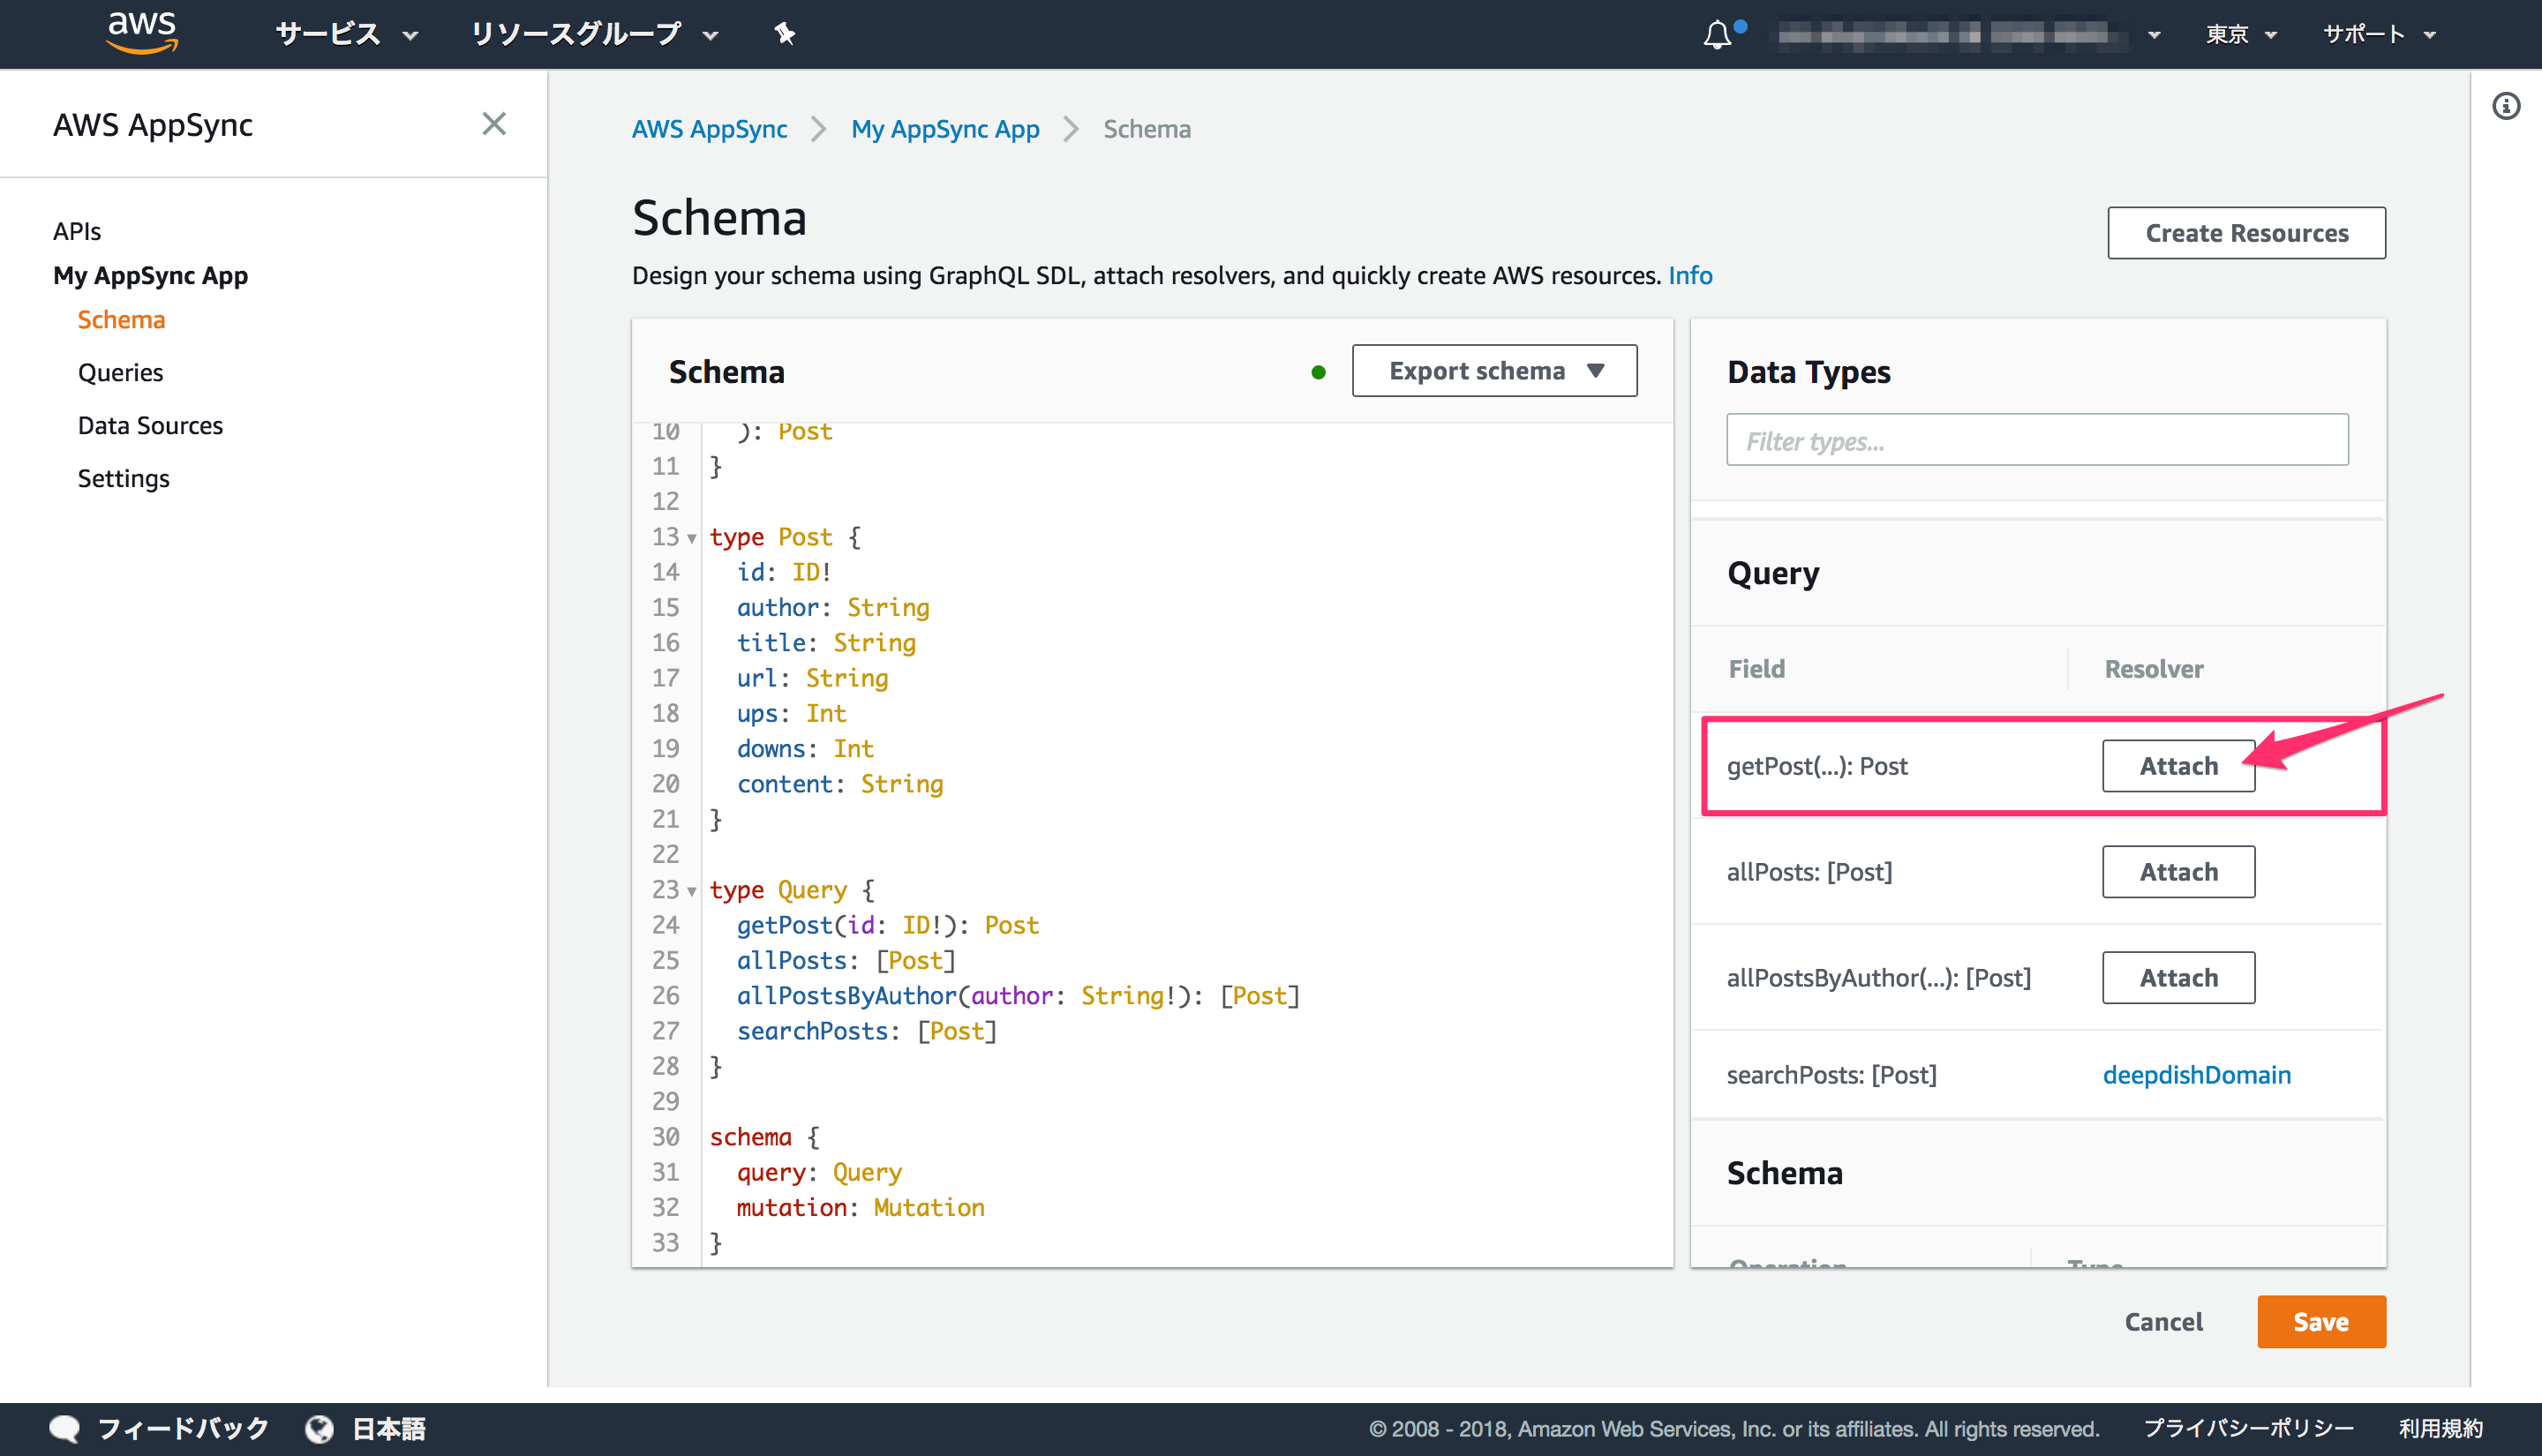
リゾルバマッピング
リゾルバマッピングにより、クエリとデータソースに対する処理を紐付けしていきます。今回は、
- getPost
- allPostsByAuthor
- searchPosts
の3つのクエリと、
- addPost
Mutationを設定します。
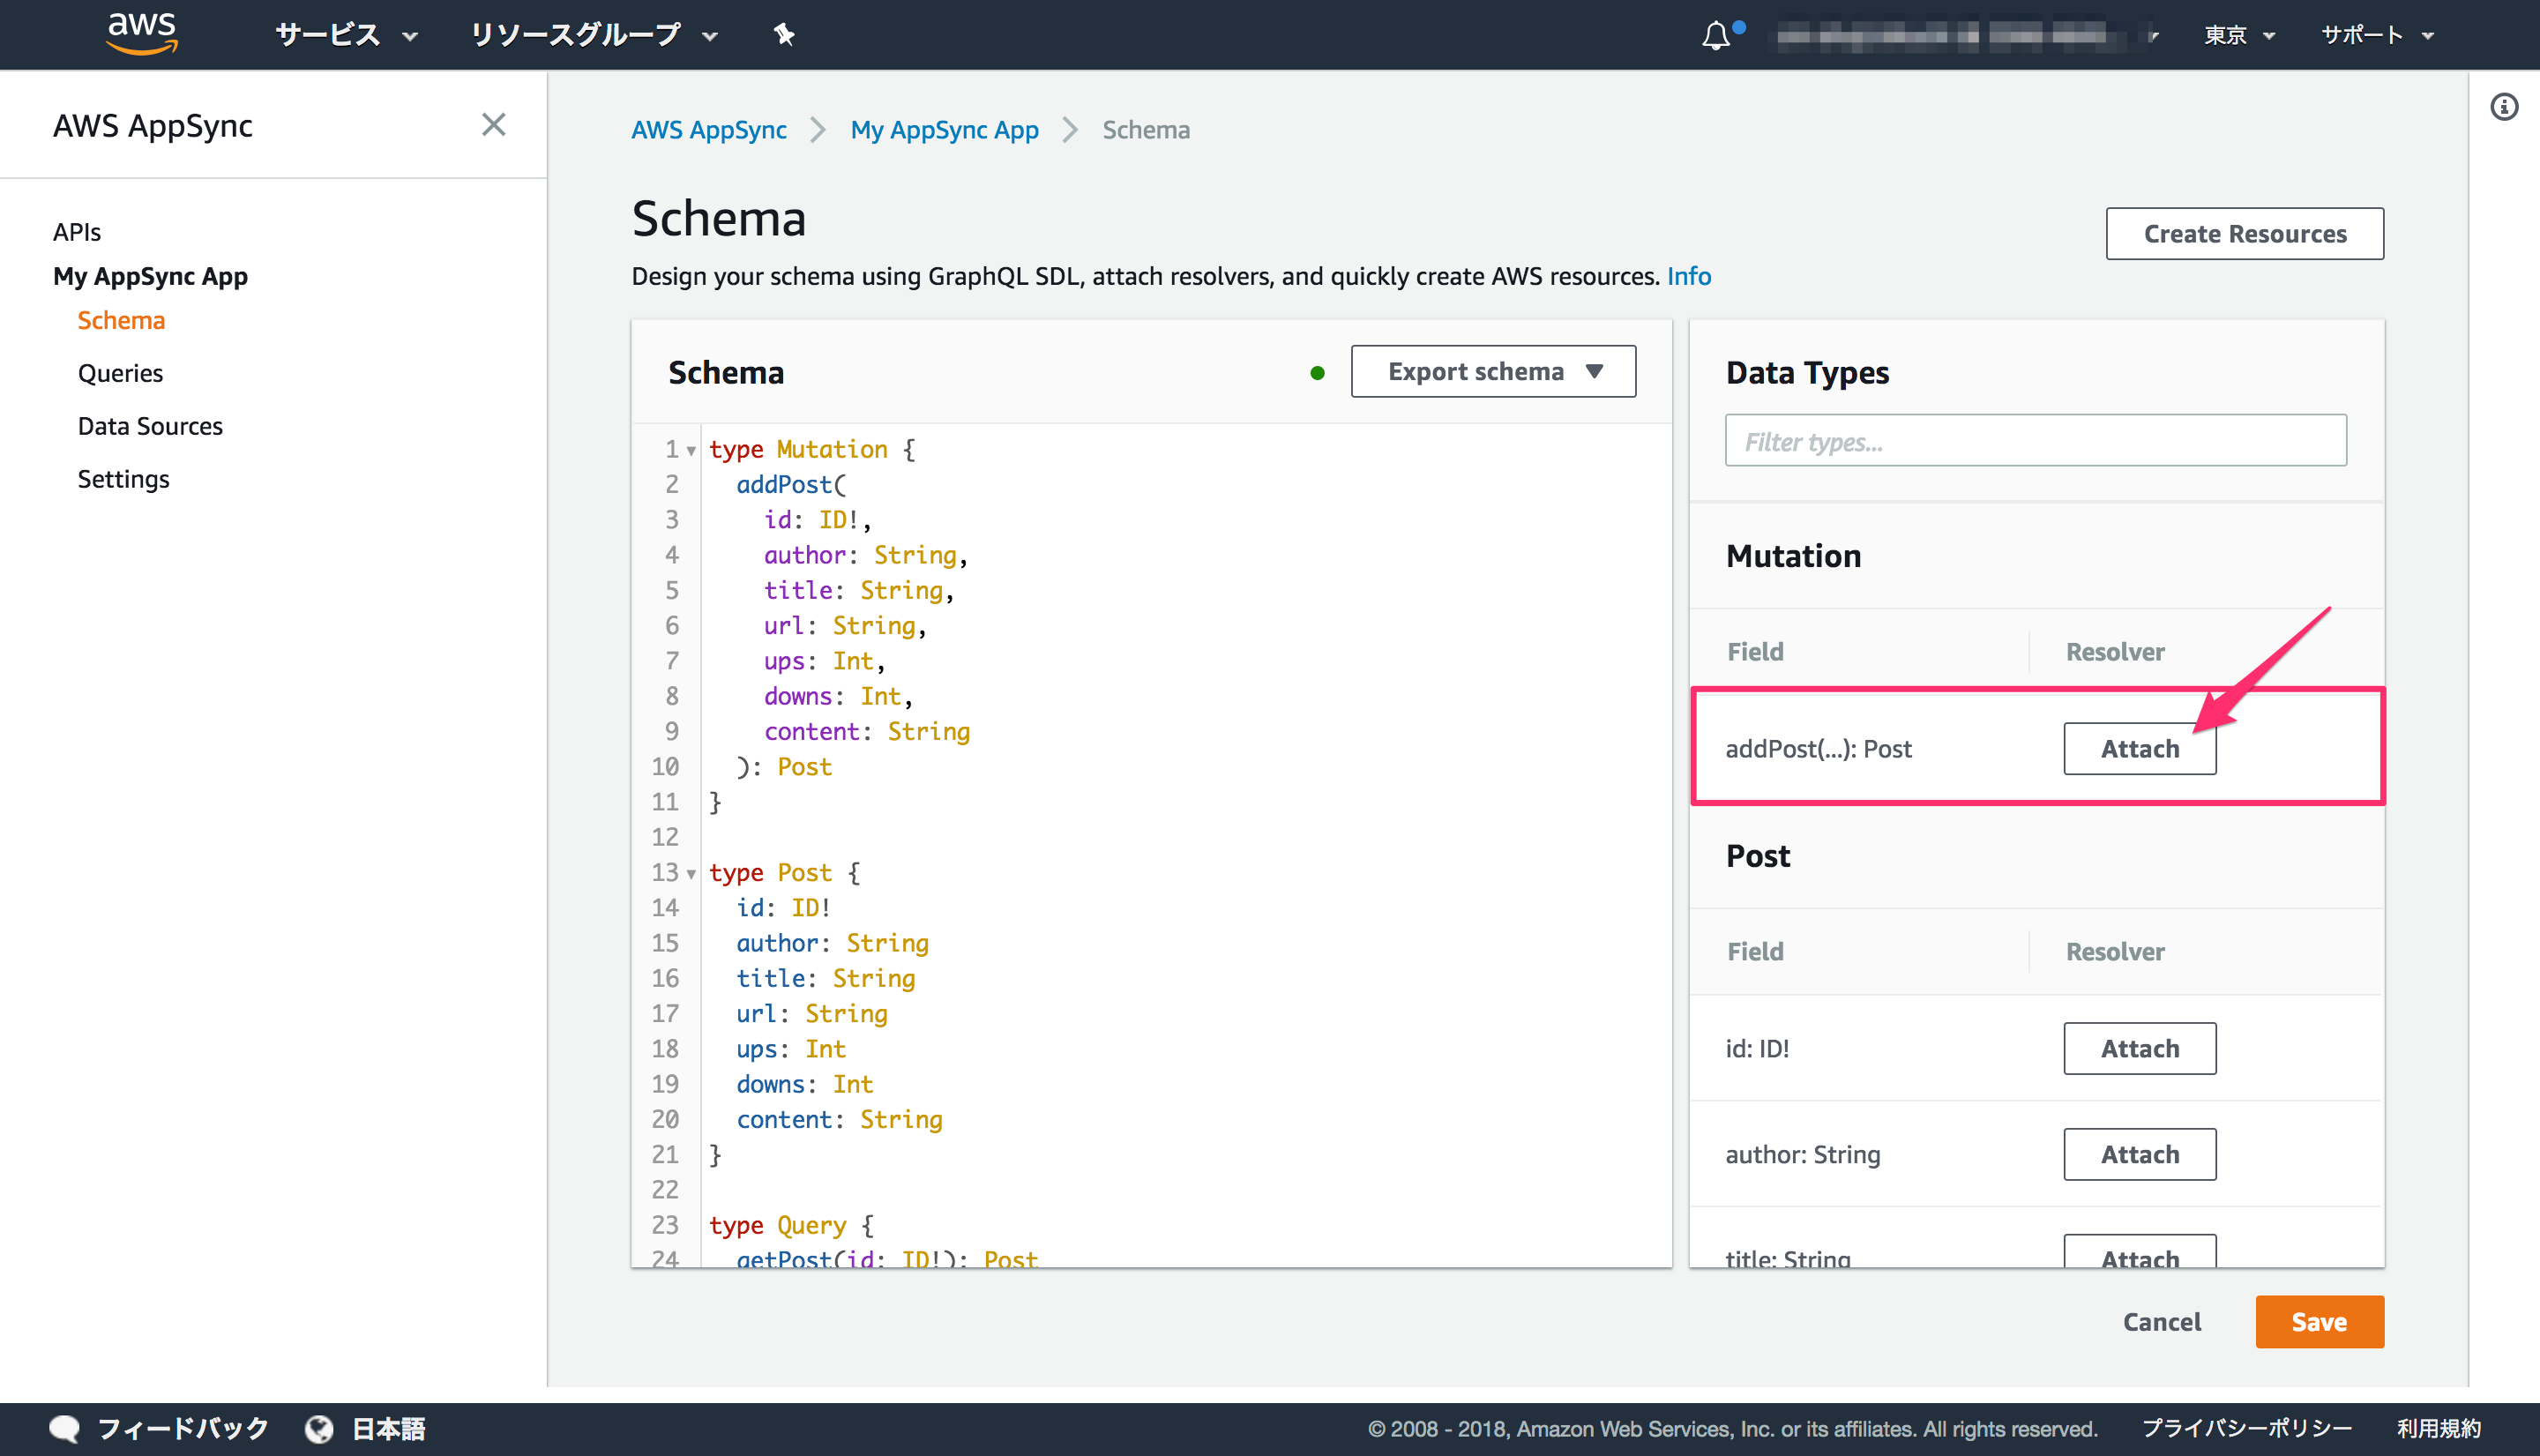
getPost
Schemaの右のリストから、getPostのAttacheを選択します。
新しくリゾルバを設定する画面になりますので、まずは設定済みのデータソースを選択します。

続けて、[request mapping template] と [response mapping template] を記述します。データソースがElasticsearch Serviceなので、リクエストはElasticsearchのQuery DSLがベースになります。
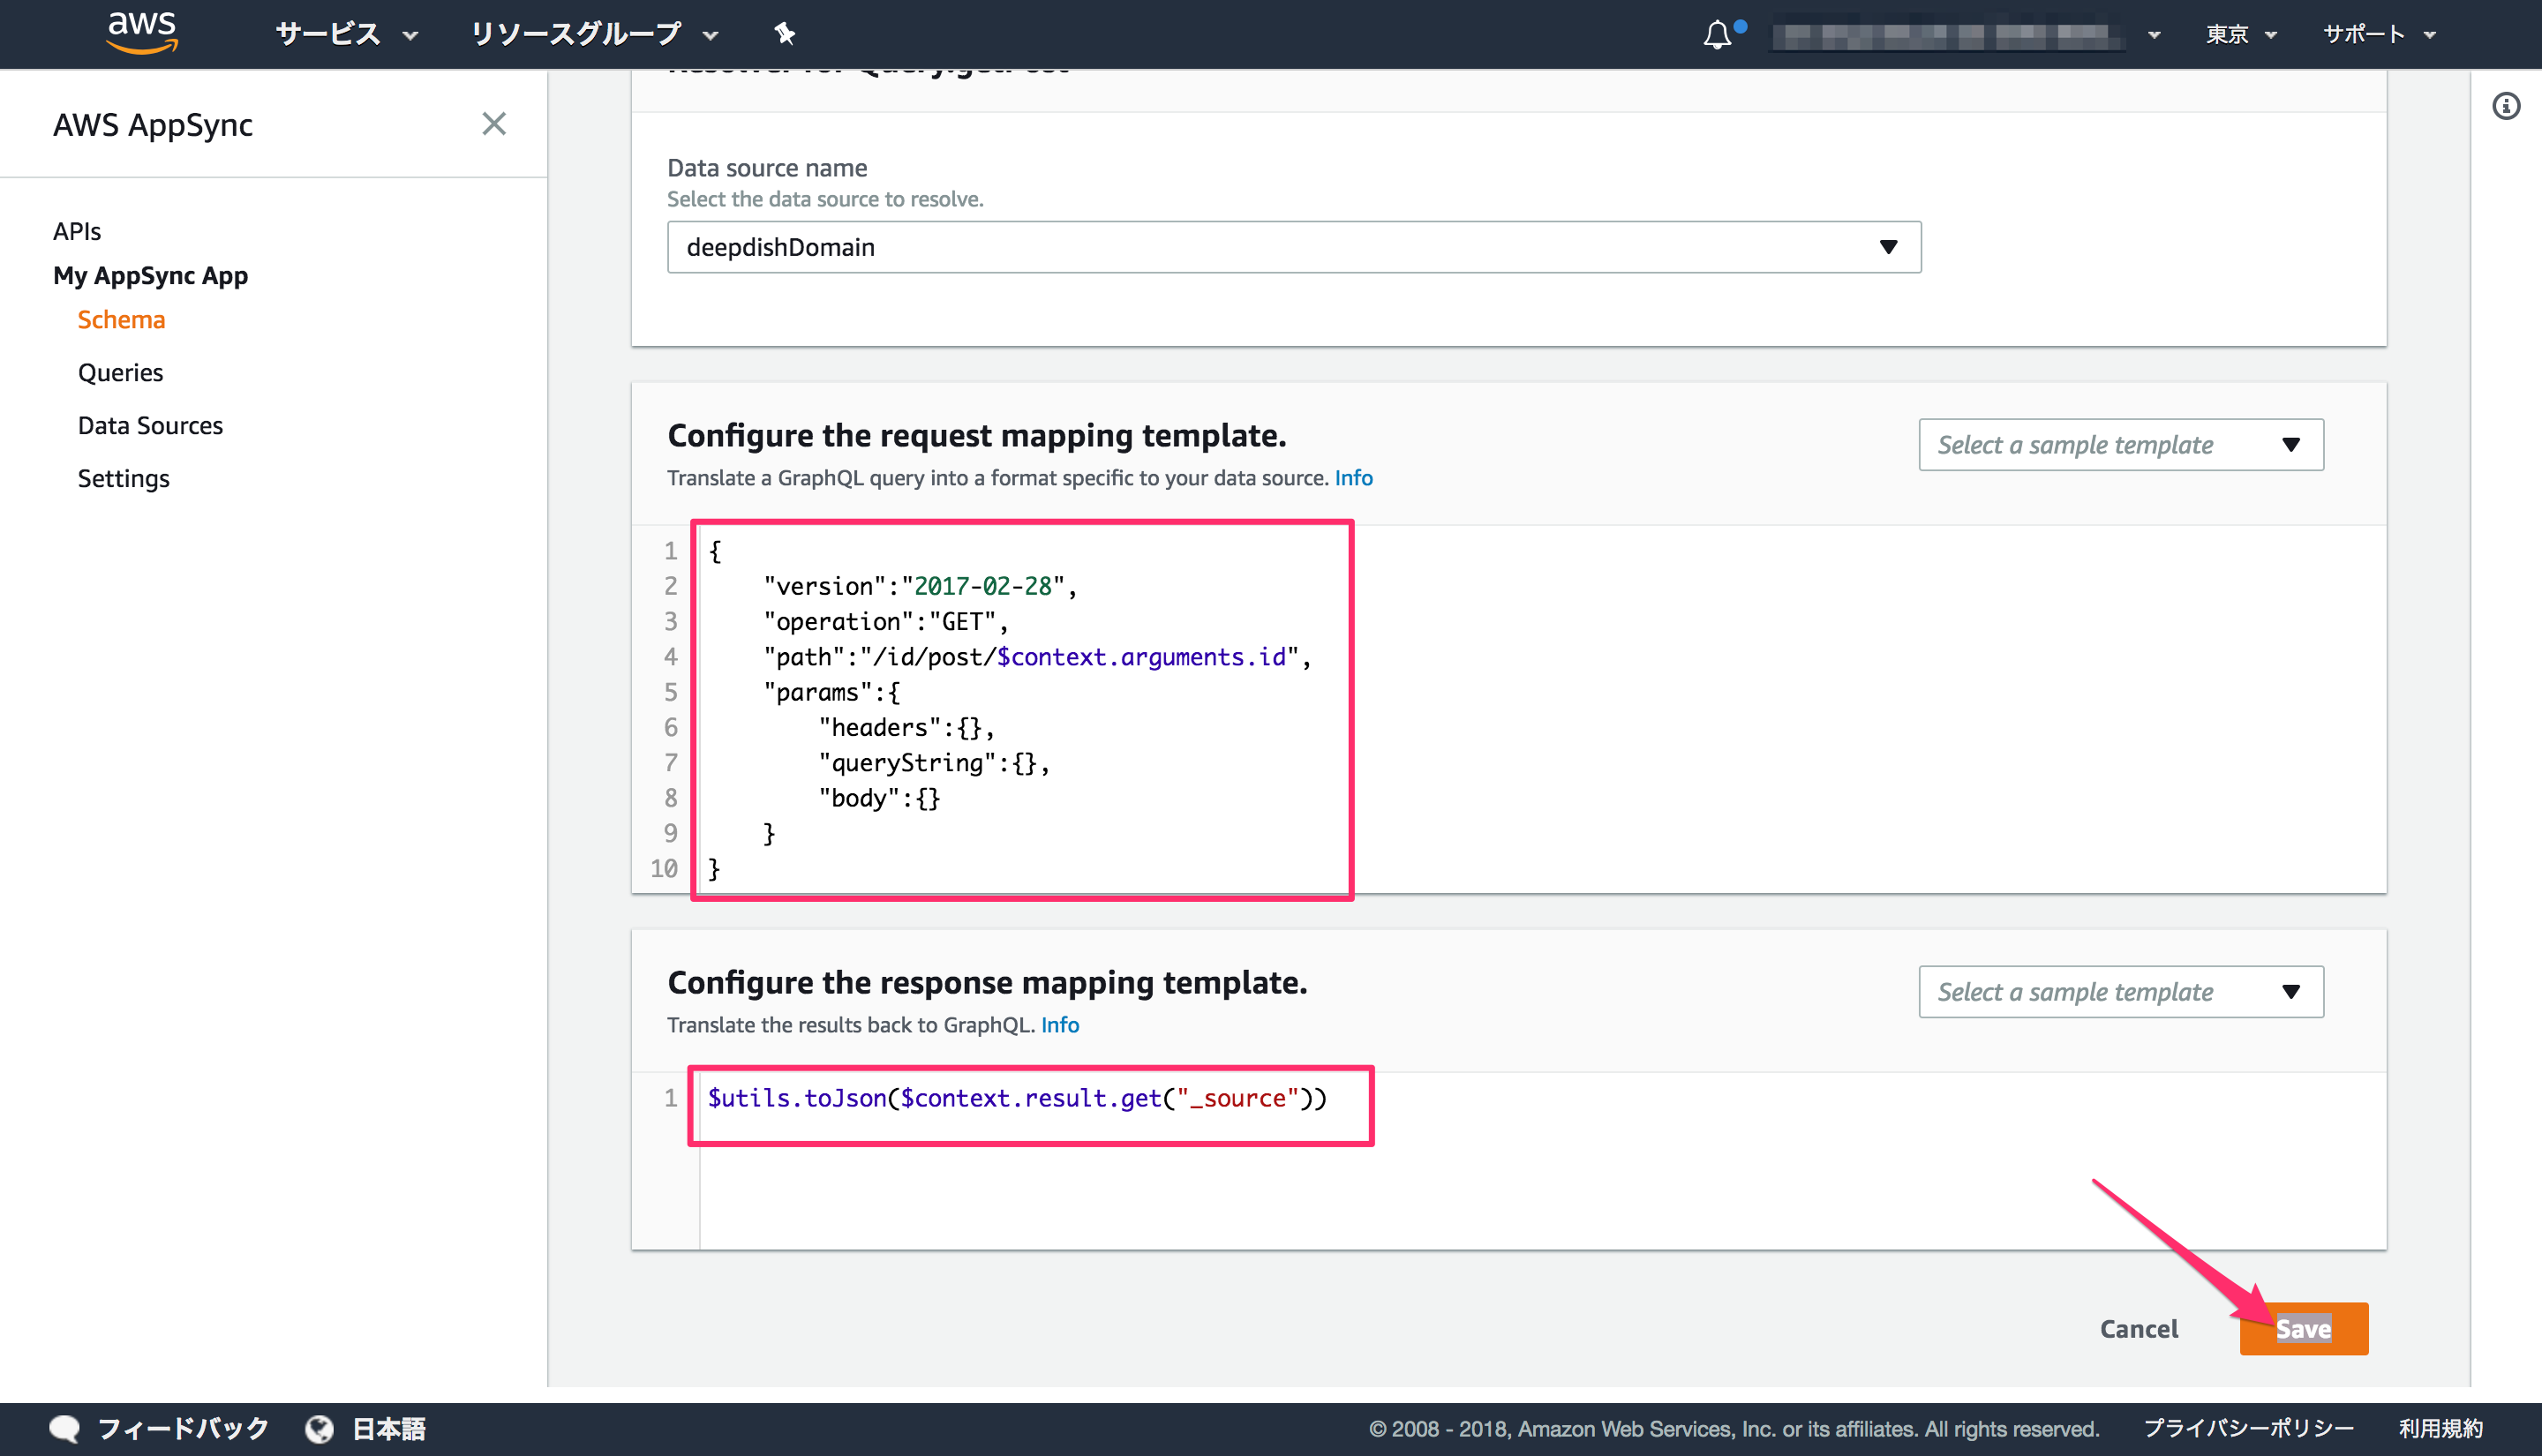
リクエストとレスポンスの記述内容詳細は公式ドキュメントを合わせて参照ください。
それぞれ、以下のように記述して保存します。
request mapping template
1 2 3 4 5 6 7 8 9 10 | { "version":"2017-02-28", "operation":"GET", "path":"/id/post/$context.arguments.id", "params":{ "headers":{}, "queryString":{}, "body":{} }} |
response mapping template
1 | $utils.toJson($context.result.get("_source")) |
allPostsByAuthor
こちらも同様に設定していきます。

request mapping template
1 2 3 4 5 6 7 8 9 10 11 12 13 14 15 16 17 18 | { "version":"2017-02-28", "operation":"GET", "path":"/id/post/_search", "params":{ "headers":{}, "queryString":{}, "body":{ "from":0, "size":50, "query":{ "match":{ "author":"$context.arguments.author" } } } }} |
response mapping template
1 2 3 4 5 6 | [ #foreach($entry in $context.result.hits.hits) #if( $velocityCount > 1 ) , #end $utils.toJson($entry.get("_source")) #end] |
searchPosts
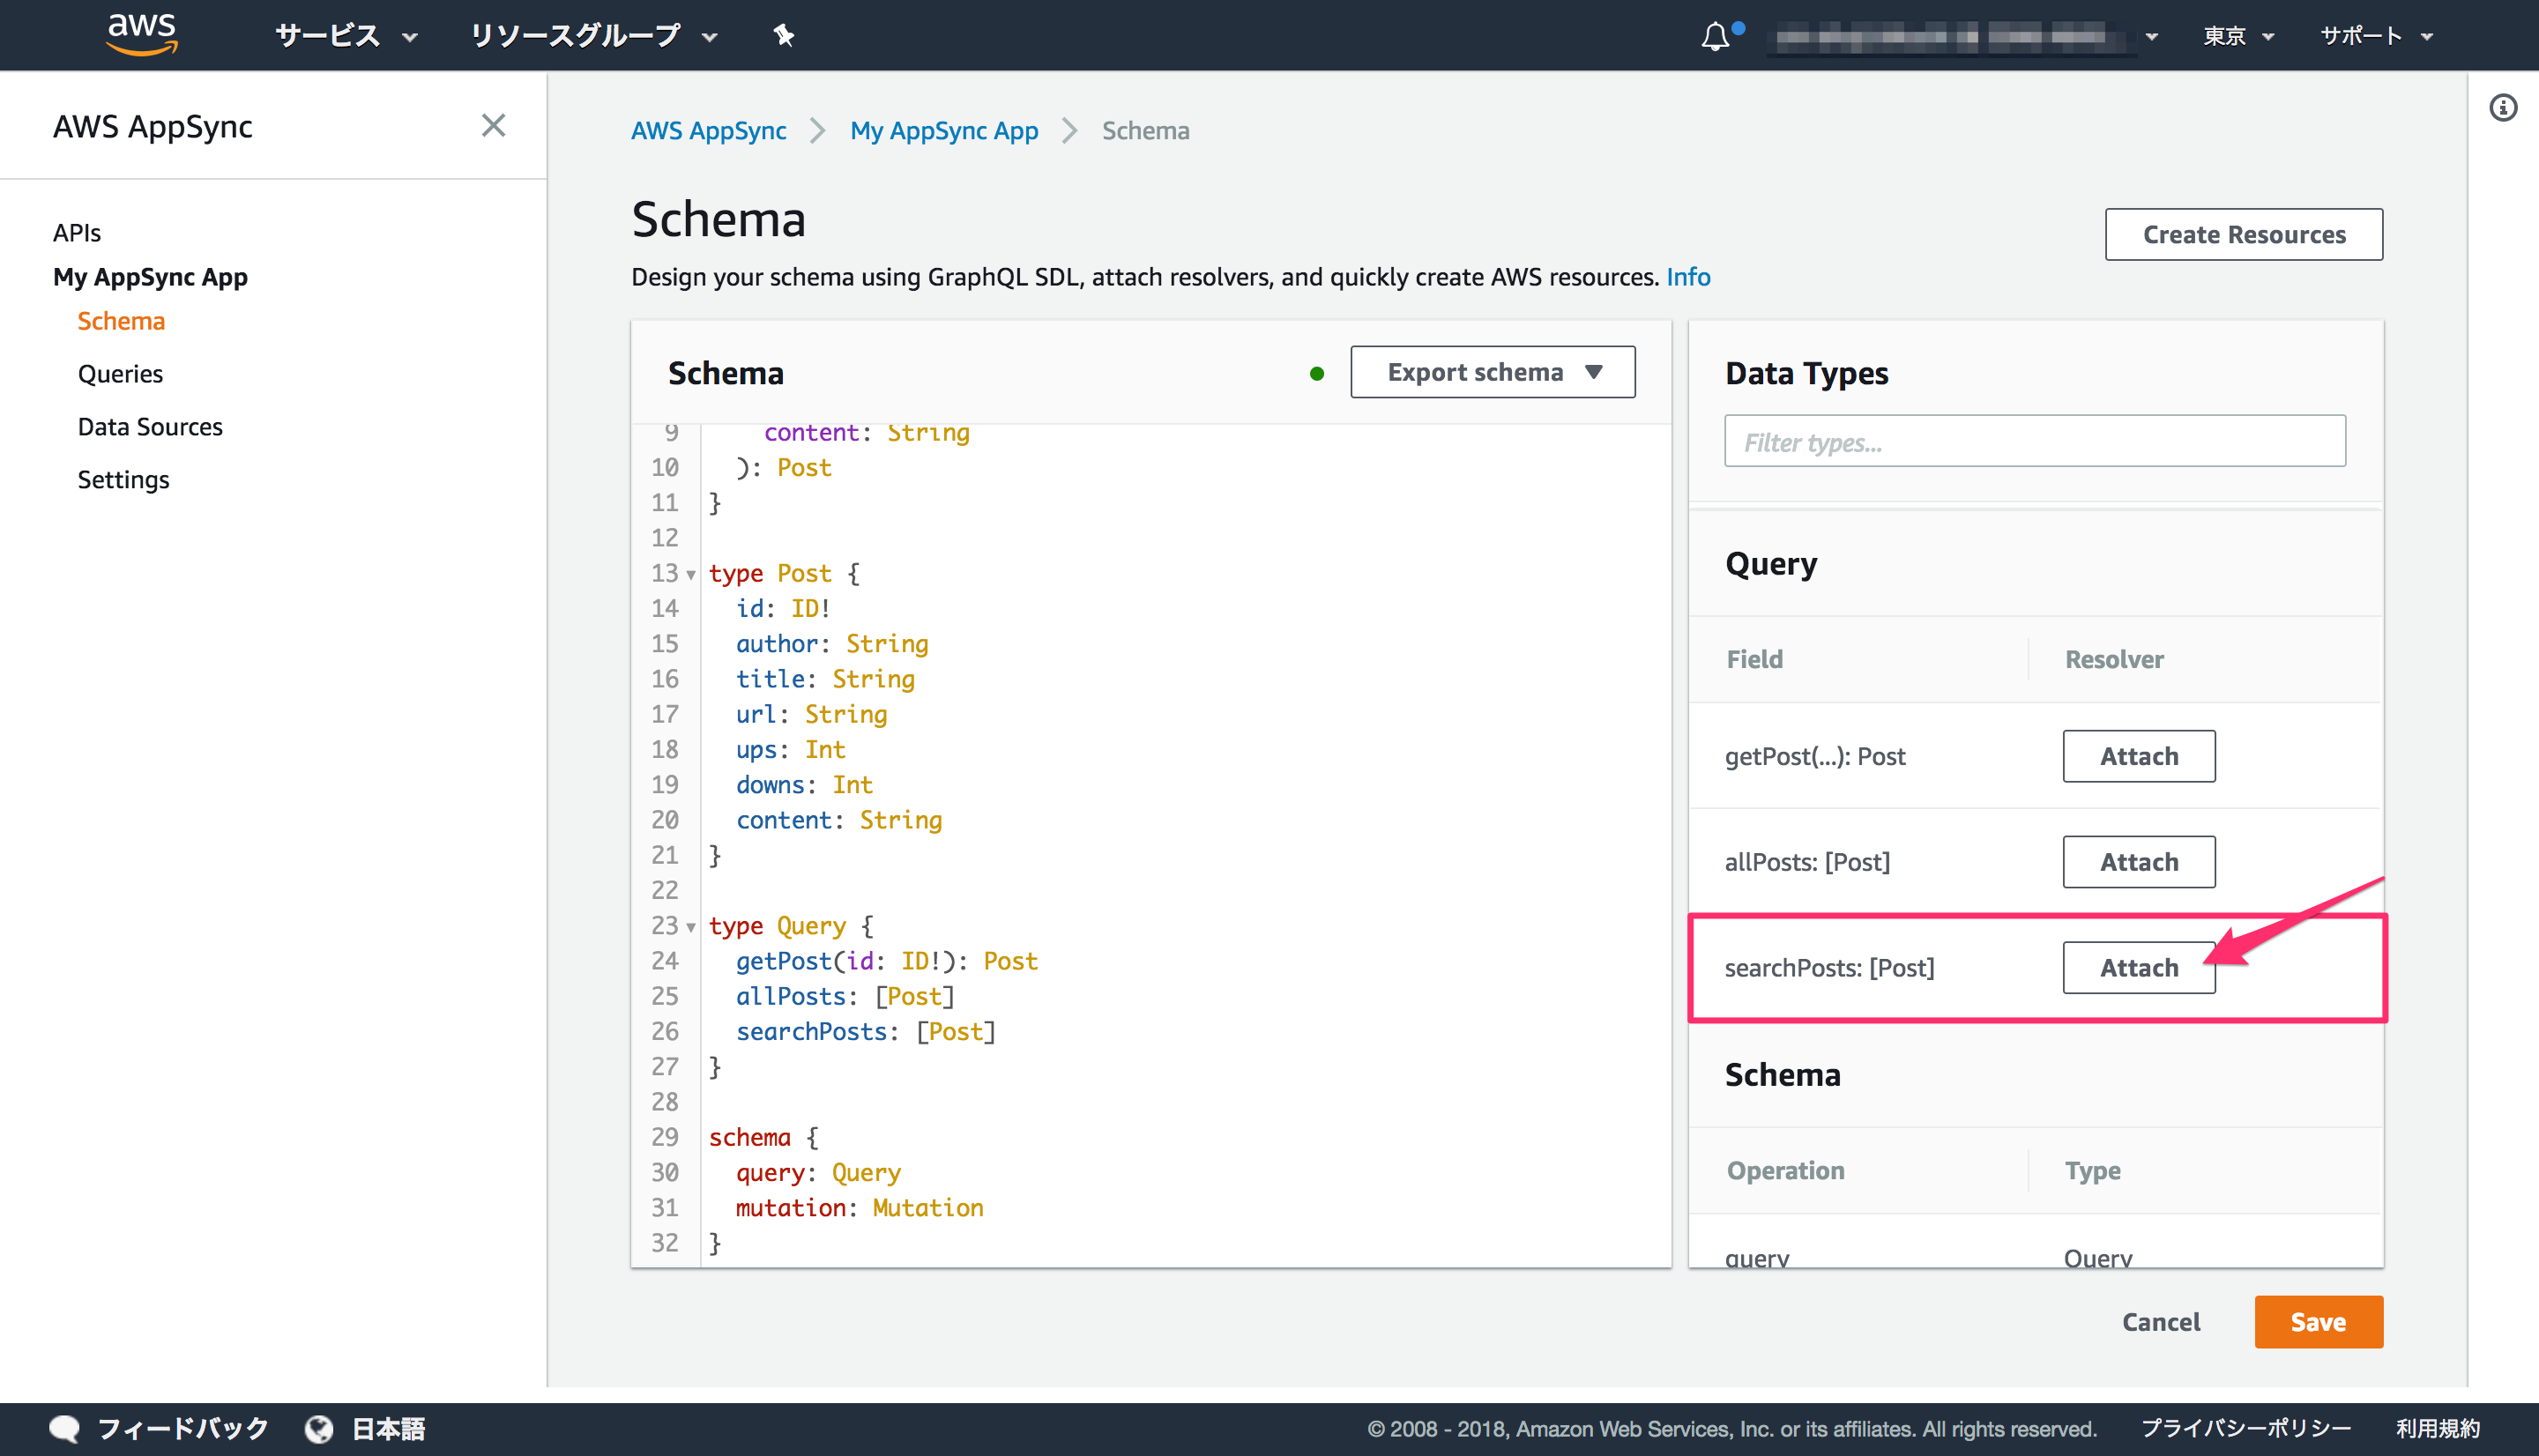
request mapping template
1 2 3 4 5 6 7 8 9 10 11 12 13 | { "version":"2017-02-28", "operation":"GET", "path":"/id/post/_search", "params":{ "headers":{}, "queryString":{}, "body":{ "from":0, "size":50 } }} |
response mapping template
1 2 3 4 5 6 | [ #foreach($entry in $context.result.hits.hits) #if( $velocityCount > 1 ) , #end $utils.toJson($entry.get("_source")) #end] |
addPost
最後に、データをインサートするためのaddPostを登録します。
1 2 3 4 5 6 7 8 9 10 11 12 13 14 15 16 17 18 | { "version":"2017-02-28", "operation":"PUT", "path":"/id/post/$context.arguments.id", "params":{ "headers":{}, "queryString":{}, "body":{ "id":"$context.arguments.id", "author":"$context.arguments.author", "ups":"$context.arguments.ups", "downs":"$context.arguments.downs", "url":"$context.arguments.url", "content":"$context.arguments.content", "title":"$context.arguments.title" } }} |
response mapping template
1 | $utils.toJson($context.result.get("_source")) |
クエリの実行
それでは、設定したAPIにクエリを実行していきます。左メニューの[Queries]からクエリが実行可能です。
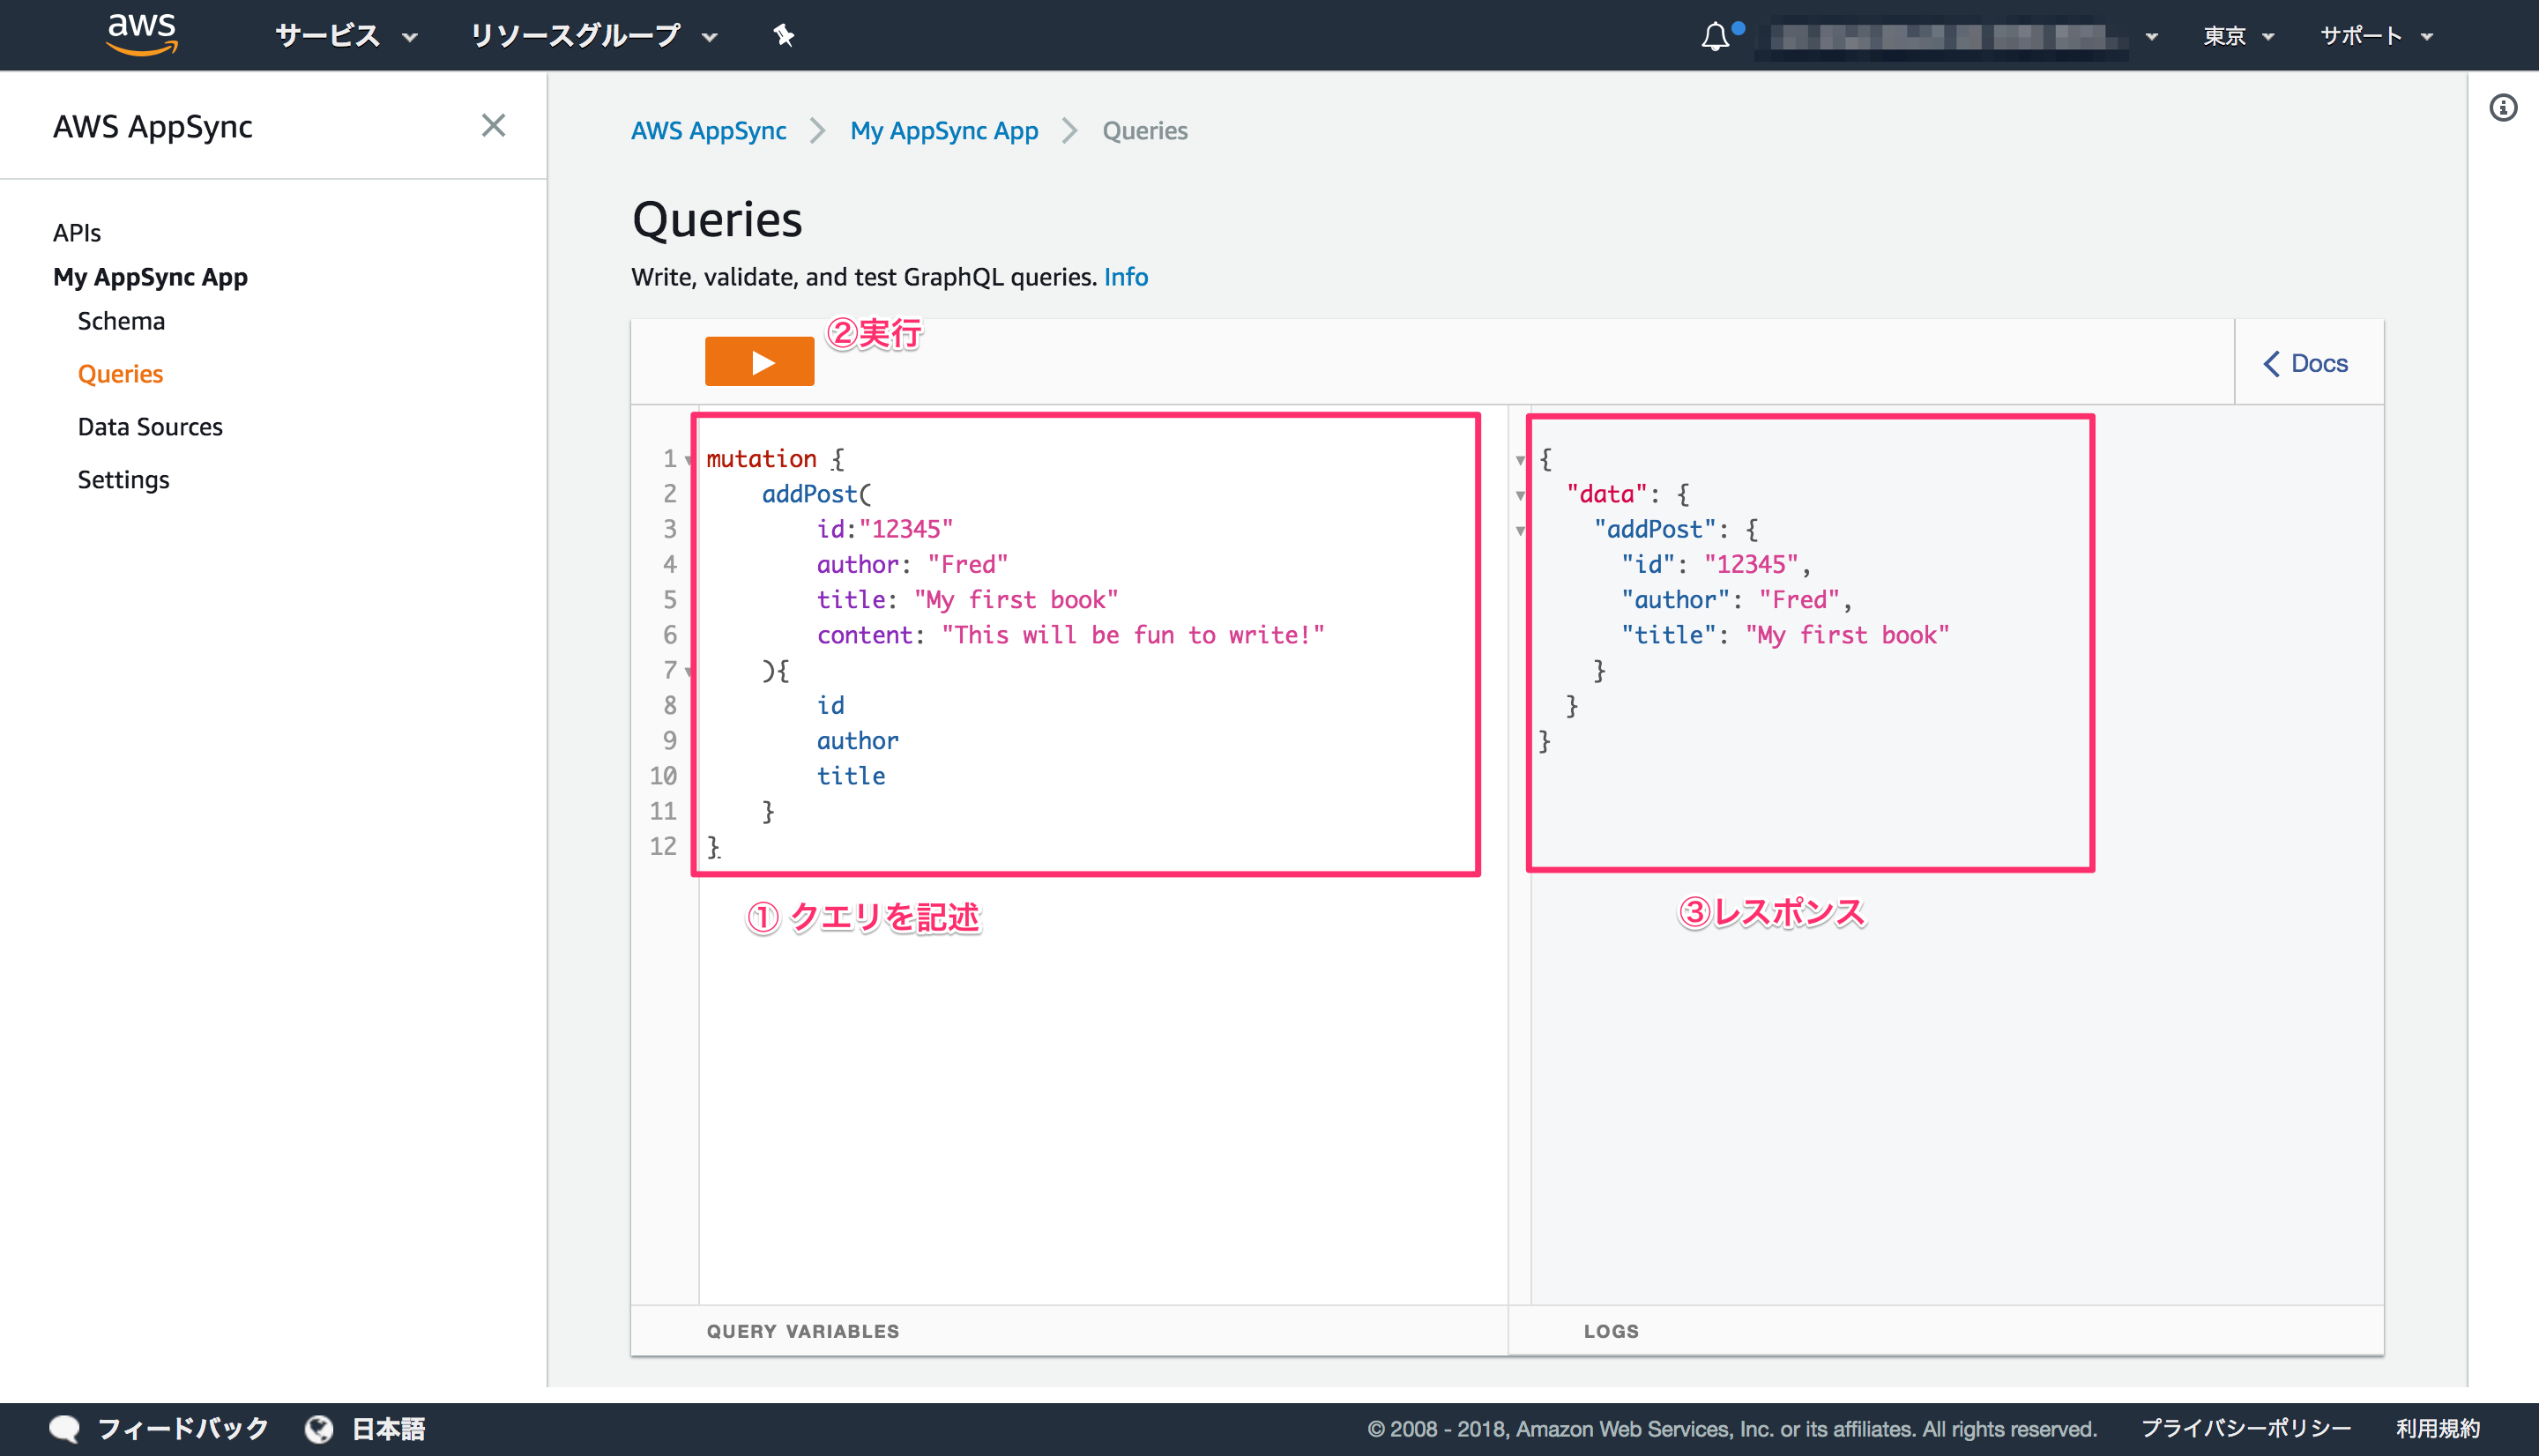
addPost
まずはデータのインサートです。
リクエスト
1 2 3 4 5 6 7 8 9 10 11 12 | mutation { addPost( id:"12345" author: "Fred" title: "My first book" content: "This will be fun to write!" ){ id author title }} |
レスポンス
1 2 3 4 5 6 7 8 9 | { "data": { "addPost": { "id": "12345", "author": "Fred", "title": "My first book" } }} |
インサートできました。もう一件インサートしておきます。
リクエスト
1 2 3 4 5 6 7 8 9 10 11 12 | mutation { addPost( id:"67890" author: "John" title: "My second book" content: "This will be fun to write!" ){ id author title }} |
レスポンス
1 2 3 4 5 6 7 8 9 | { "data": { "addPost": { "id": "67890", "author": "John", "title": "My second book" } }} |
getPost
getPostでは、idを指定したクエリが可能です。
リクエスト
1 2 3 4 5 6 7 8 | query { getPost(id: "12345") { id title author content }} |
レスポンス
1 2 3 4 5 6 7 8 9 10 | { "data": { "getPost": { "id": "12345", "title": "My first book", "author": "Fred", "content": "This will be fun to write!" } }} |
searchPosts
searchPostsで、一括してデータを取得できます。
リクエスト
1 2 3 4 5 6 7 8 | query { searchPosts { id title author content }} |
レスポンス
1 2 3 4 5 6 7 8 9 10 11 12 13 14 15 16 17 18 | { "data": { "searchPosts": [ { "id": "12345", "title": "My first book", "author": "Fred", "content": "This will be fun to write!" }, { "id": "67890", "title": "My second book", "author": "John", "content": "This will be fun to write!" } ] }} |
allPostsByAuthor
allPostsByAuthorでは、authorにマッチするデータを取得できます。
リクエスト
1 2 3 4 5 6 7 8 | query { allPostsByAuthor(author: "John") { id title author content }} |
レスポンス
1 2 3 4 5 6 7 8 9 10 11 12 | { "data": { "allPostsByAuthor": [ { "id": "67890", "title": "My second book", "author": "John", "content": "This will be fun to write!" } ] }} |
まとめ
AWS AppSyncのデータソースとして、Elasticsearch Serviceを利用してみました。APIからデータストアへのリクエストには、Query DSLがほぼそのまま利用できますので、慣れ親しんだデータソースであれば簡単に利用できそうです。
最後に、公式チュートリアルでは、Elasticsearch Serviceをデータソースとして使う上でのベストプラクティスが記載されていますので、紹介しておきます。
- Amazon Elasticsearch ServiceはプライマリDBではなく、参照用として用いるべきである。DynamoDBと組み合わせた利用も可能。(参考:Tutorial: Combining GraphQL Resolvers)
- Elasticsearch Serviceドメインへは、AppSyncサービスからのみアクセスを許可する。
- 小さい、低コストなクラスタを使って開発を開始し、本番稼働時にHA構成へと移行する