
Now, before you say it, I know. You’re reading this with a slightly egregious look on your face because, after all, it’s easy to install Steam on Ubuntu, right?
Perhaps not as easy as it could be.
You asked for this guide
Since Xenial’s launch a fair few readers have mailed us seeking help on installing the Steam, the popular digital games distribution platform, on their clean install. Most of these requests wrestle with the installer package distributed on the official Steam website.
In this post I will show you how to install Steam on Ubuntu 16.04 Xenial Xerus — both the recommended way, and the very much unrecommended way!
For the purposes of this guide I’m going to assume two things: 1) you’re already running Ubuntu 16.04 (Unity), and 2) you have a device capable of running Steam and/or meets the Steam for Linux system requirements.
1. Install Steam Easy Way (Recommended)
Steam is available to install on Ubuntu 16.04 Xenial Xerus from Ubuntu Software or through the command line apt programme.
Click to Install Steam on Ubuntu
Getting a ‘package not found’ error? If so, you need to enable the multiverse repository first.
This can be done in one of two ways:
- Open ‘Software & Updates’ from the Unity Dash
- Go to the ‘Ubuntu Software’ tab
- Check the box next to ‘Ubuntu Software Restricted by Copyright (Multiverse)‘
- Click ‘Close’
You will be asked if you wish to update your package index. Accept this and let it do its thing.
Once this has completed you can proceed to install Steam by searching for to in the Ubuntu Software app. Alternatively, press the button below to trigger the install:
Click to Install Steam on Ubuntu
If you’d rather do all of the above using the command line run the following commands:
sudo add-apt-repository multiverse

sudo apt update && sudo apt install steam
Skip ahead to the section marked ‘Next Steps’ to continue.
2. The Hard Way (Not Recommended)
You don’t have to use the Ubuntu package to install Steam (but it is far easier if you do). If for whatever reason you want to use the installer package available to download from the Steam website, follow this:
First, if you haven’t already, download the latest Steam installer package from the official website by clicking the button below.
Download Steam for Ubuntu (.deb installer)
Go to your Downloads folder and double-click on the deb file to begin installation through the Ubuntu Software app.
If you’re running a 64-bit version of Ubuntu you should install the app using the command line to ensure there are no dependency or multi-arch issues.
To do this open a new Terminal window and run the following (assuming you left the package in your Downloads folder):
cd ~/Downloads

sudo dpkg -i steam-lastest.deb
Next Steps
The next step to getting things running is to open the Steam set-up. You’ll find an app launcher on your desktop (and in the Unity Dash). Click on this.
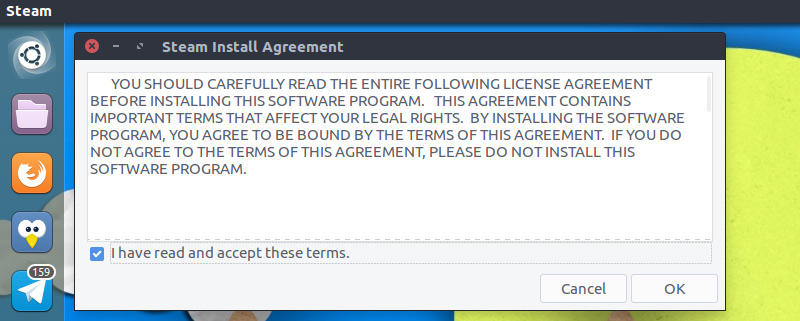
First, you’ll be asked to agree to some Ts&Cs. If you’re okay with these check the box and click through to proceed.
If you’re on a 64-bit version of Ubuntu a new Terminal window will open asking for permission to install a few additional multi-arch packages which will also drag in a glut of additional multi-arch dependencies.

To use Steam on a 64-bit version of Ubuntu you must install these.
If you don’t, you’ll see this dialog:

Steam will next pull down any updates from its servers and, once you’re logged in, prompt you to add the Steam repo for future updates.

Troubleshooting
If Steam fails to load (and because the Steam runtime includes a bunch of ye olde libraries, it may) you will find scary sounding solutions on the Arch wiki (yes, Arch, but the fixes still work on Ubuntu), specifically:
LD_PRELOAD='/usr/$LIB/libstdc++.so.6 /usr/$LIB/libgcc_s.so.1 /usr/$LIB/libxcb.so.1 /usr/$LIB/libgpg-error.so' steam
Any problems, give a shout below.